The first time I tried to make gluten-free sugar cookies, I almost gave up baking for good. It was a Tuesday afternoon in early December, and my kitchen looked like a flour bomb had gone off—a very expensive, grainy flour bomb. The dough crumbled, the cookies spread into weird, flat pancakes, and the taste? Let’s just say it was memorable for all the wrong reasons. I stood there, spatula in hand, staring at a baking sheet of sad, gummy discs, and honestly, I felt like I’d failed at the most basic of holiday traditions.
Then my neighbor, an older woman named Gertie who grew up on a farm in Nebraska, knocked on my door to return a casserole dish. She saw the mess, the frustration on my face, and the tray of what I was trying to pass off as cookies. She didn’t laugh, though she had every right to. She just said, “You’re overthinking it, honey. The flour isn’t the problem—it’s the trust.” She walked me through her old-fashioned method, which, as it turns out, works perfectly even when you swap out the wheat flour. She taught me that the dough needs to feel a certain way in your hands, not just look a certain way on the page.
That conversation changed everything. These Perfect Gluten-Free Christmas Sugar Cookies with Royal Icing are a direct result of that afternoon with Gertie. They have that classic, crisp edge with a soft, tender center. The dough rolls out beautifully without cracking, holds its shape in the oven, and is sturdy enough to handle a thick layer of royal icing. Maybe you’ve been there—standing in the baking aisle, staring at a bag of gluten-free flour, wondering if a decent sugar cookie is even possible. I promise you, it is. Let me show you how.
Why You’ll Love This Recipe
Look, I’ve tested more gluten-free cookie recipes than I care to count. Some were gritty. Some tasted like cardboard. Others fell apart the second you tried to ice them. This one is none of those things. After a dozen test batches and a lot of honest feedback from my family (kids are brutally honest, aren’t they?), I landed on a formula that actually works.
- Quick & Easy: The dough comes together in about 15 minutes. After a quick chill, you’re ready to roll, cut, and bake. No complicated steps or weird ingredients.
- Simple Ingredients: You don’t need a specialty grocery store. Most of these items are probably in your pantry right now. The gluten-free flour blend is the only “special” thing, and I’ll tell you exactly which one to use.
- Perfect for Christmas: These cookies are made for decorating. They hold their shape perfectly, whether you’re cutting out stars, snowflakes, or little Christmas trees. No spreading, no puffing up.
- Crowd-Pleaser: I served these at a holiday party last year, and no one—not a single person—knew they were gluten-free until I told them. That’s the kind of win we’re aiming for.
- Unbelievably Delicious: The texture is spot on. Buttery, slightly sweet, with a clean finish. The royal icing sets up hard and glossy, making them perfect for gifting or decorating with the kids.
What makes this different from other recipes is the technique. Most gluten-free sugar cookies rely on too much butter or xanthan gum to compensate for the lack of gluten. This recipe uses a clever combination of cream cheese and a specific flour blend to create the structure and tenderness you’re looking for. It’s not just another version—it’s the best version I’ve ever made.
Honestly, this is the kind of cookie that makes you close your eyes after the first bite. It’s comfort food reimagined—safe for your dietary needs, but with the same soul-soothing satisfaction of a classic holiday cookie. Perfect for impressing guests without the stress, or turning a simple afternoon baking session into a cherished memory.
What Ingredients You Will Need
This recipe uses simple, wholesome ingredients to deliver that classic sugar cookie flavor and texture. The magic is in the ratios and the specific type of gluten-free flour you choose. I’ve done the hard work so you don’t have to.
For the Sugar Cookies
- Unsalted butter, softened: 1 cup (2 sticks / 226g). Make sure it’s truly at room temperature—soft but not melty. I prefer Kerrygold for its rich flavor.
- Cream cheese, softened: 4 oz (113g). This is the secret ingredient! It adds tenderness and prevents the cookies from being too crumbly. Use full-fat for best results.
- Granulated sugar: 1 cup (200g). Standard white sugar works perfectly.
- Large egg: 1, at room temperature. Cold egg can seize the butter mixture.
- Vanilla extract: 2 teaspoons. Pure vanilla extract, not imitation, for the best flavor.
- Almond extract: ½ teaspoon. Optional, but it adds that classic “bakery” taste. Trust me on this one.
- Gluten-free all-purpose flour blend: 3 cups (420g). This is crucial. I highly recommend King Arthur Flour Gluten-Free Measure for Measure or Bob’s Red Mill 1-to-1 Baking Flour. These blends already have xanthan gum included. Do not use a single-grain flour like almond or coconut flour unless you know what you’re doing—the texture will be completely different.
- Baking powder: 1 ½ teaspoons. Make sure it’s fresh for proper lift.
- Salt: ½ teaspoon. Fine sea salt is best.
For the Royal Icing
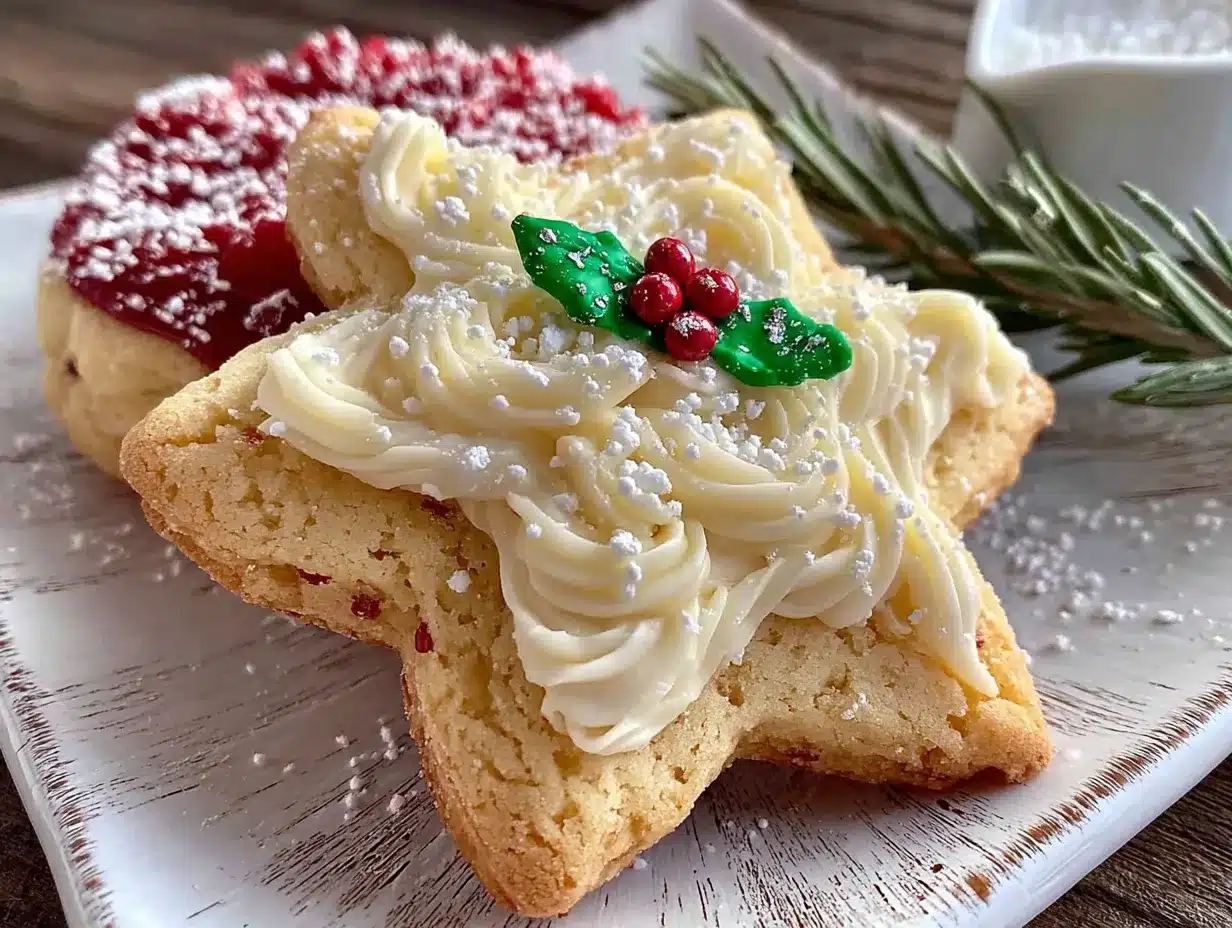
- Powdered sugar: 3 cups (340g), sifted. Sifting is non-negotiable here—lumps will ruin the smooth finish.
- Meringue powder: 3 tablespoons. This is the standard for royal icing that hardens. You can find it at most craft stores or online.
- Warm water: 5-6 tablespoons. Start with 5 and add more as needed.
- Vanilla extract: 1 teaspoon. Optional, but it cuts the sweetness slightly.
- Gel food coloring: As desired. I prefer gel colors over liquid because they don’t thin out the icing.
Ingredient Selection Tip: For the flour, look for a blend that lists “rice flour” or “sorghum flour” as the first ingredient. Avoid blends with high amounts of bean flours (like garbanzo) as they can leave a weird aftertaste in sweet baked goods.
Equipment Needed
You don’t need a professional bakery setup for these cookies. Most of this stuff you probably already have. Here’s what you’ll need:
- Stand mixer or hand mixer: A stand mixer with the paddle attachment makes creaming the butter and cream cheese effortless, but a hand mixer works perfectly too. I’ve used both.
- Rolling pin: A standard rolling pin is fine. If you have a French-style tapered pin, even better for control.
- Parchment paper: You’ll use this for rolling the dough and lining the baking sheets. It’s your best friend for preventing sticking without adding extra flour.
- Baking sheets: Light-colored, rimmed baking sheets work best. Dark sheets can cause the bottoms to brown too quickly.
- Cookie cutters: Christmas shapes! Stars, trees, snowflakes, gingerbread men—whatever you love.
- Cooling rack: Essential for letting the cookies cool completely before icing.
- Piping bags or squeeze bottles: For the royal icing. I actually prefer squeeze bottles for flooding—they’re less messy and give you more control.
- Small offset spatula: Great for spreading icing evenly, but a butter knife works in a pinch.
Budget-Friendly Tip: Don’t have a rolling pin? A clean wine bottle works surprisingly well. Just make sure it’s smooth and label-free.
Preparation Method
Alright, let’s get to the good part. Follow these steps closely, and you’ll have a batch of perfect, beautiful cookies. Total time from start to finish is about 2.5 hours, including chilling and cooling.
- Cream the butter and cream cheese. In the bowl of your stand mixer fitted with the paddle attachment, beat the softened butter and cream cheese together on medium speed until smooth and combined—about 2 minutes. You want it light and fluffy, but don’t overdo it. Scrape down the sides of the bowl.
- Add the sugar. Add the granulated sugar and beat on medium speed for another 2-3 minutes until the mixture is pale and fluffy. It should look like a thick, creamy paste.
- Incorporate the wet ingredients. Add the egg, vanilla extract, and almond extract (if using). Beat on low speed until just combined. The mixture might look a little curdled at this point—that’s totally normal, don’t panic.
- Whisk the dry ingredients. In a separate medium bowl, whisk together the gluten-free flour blend, baking powder, and salt. This ensures the baking powder is evenly distributed.
- Combine wet and dry. With the mixer on low speed, gradually add the dry ingredients to the wet mixture. Mix until a soft dough forms. It will be slightly sticky, but it should hold together. If it feels too sticky to handle, add another tablespoon of flour.
- Divide and chill the dough. Turn the dough out onto a lightly floured surface (use more of your gluten-free flour blend). Divide it in half, shape each half into a flat disc about 1-inch thick, and wrap tightly in plastic wrap. Refrigerate for at least 1 hour, or up to 2 days. This step is non-negotiable—chilled dough is much easier to roll and cut without sticking.
- Preheat and prepare. When you’re ready to bake, preheat your oven to 350°F (175°C). Line two baking sheets with parchment paper.
- Roll out the dough. Take one disc of dough out of the fridge. Place it between two sheets of parchment paper. Roll it out to about ¼-inch thickness. Rolling between parchment means you don’t need to add extra flour, which keeps the cookies tender. If the dough feels too hard, let it sit at room temperature for 5 minutes.
- Cut the cookies. Use your cookie cutters to cut out shapes. Transfer the cut cookies to the prepared baking sheets, spacing them about 1 inch apart. Gather the scraps, re-roll, and cut again. You can repeat this process a few times, but the dough will get tougher the more you work it.
- Bake. Bake for 8-10 minutes, or until the edges are just barely set and the bottoms are light golden brown. The centers should look dry but not browned. Rotate the baking sheet halfway through for even baking. Let the cookies cool on the baking sheet for 5 minutes, then transfer them to a wire rack to cool completely. Pro tip: Underbake slightly for a softer cookie. They will continue to set as they cool.
- Make the royal icing. While the cookies are cooling, make the icing. In a large bowl, combine the sifted powdered sugar and meringue powder. Add 5 tablespoons of warm water and the vanilla extract. Beat on low speed until combined, then increase to medium-high speed and beat for 4-5 minutes until the icing is thick, glossy, and forms stiff peaks. It should hold its shape when you lift the beater.
- Adjust the consistency. For outlining and flooding, you need two consistencies. For the outline, the icing should be stiff enough to hold a sharp line. For flooding (filling in), thin it out by adding a few drops of water at a time until it flows like thick honey and a ribbon of icing settles back into itself in about 10 seconds.
- Decorate! Once the cookies are completely cool, use a piping bag fitted with a small round tip (or a squeeze bottle) to outline each cookie. Let the outline dry for a few minutes, then flood the center with the thinner icing. Use a toothpick to spread the icing into corners and pop any air bubbles. Let the cookies dry completely, uncovered, for 4-6 hours or overnight. The icing should be hard and glossy to the touch.
Sensory Cue: When you pull the cookies out of the oven, they should be fragrant with vanilla and butter. The edges will look matte, not shiny. If they’re shiny, they need another minute or two.
Cooking Tips & Techniques
I’ve made every mistake in the book so you don’t have to. Here are the things I wish someone had told me sooner.
Don’t skip the cream cheese. I know it sounds weird in a sugar cookie, but it’s the key to tenderness in gluten-free baking. The fat in the cream cheese coats the flour proteins and prevents them from absorbing too much moisture, which is what makes gluten-free cookies gummy or dry.
Chill the dough properly. I once tried to rush this step and ended up with cookies that spread into blobs. The gluten-free flour needs time to hydrate, and the fat needs to firm up. One hour minimum, no shortcuts.
Measure your flour correctly. Scooping directly from the bag with your measuring cup packs the flour down, leading to dense cookies. Instead, fluff the flour with a spoon, then spoon it into your measuring cup and level it off with a knife. If you have a kitchen scale, use it—420g is the magic number.
Royal icing is a patience game. The first time I made royal icing, I added too much water and ended up with a runny mess that slid right off the cookies. Start with less water than you think you need. You can always add more, but you can’t take it out. Also, keep a damp paper towel over your bowl of icing while you’re working to prevent it from drying out and forming a crust.
Use gel food coloring. Liquid food coloring will thin out your icing and mess with the consistency. Gel colors are concentrated and won’t affect the texture. A little goes a long way—start with a toothpick’s worth and add more if needed.
Variations & Adaptations
One of the best things about this recipe is how flexible it is. Here are some ways to make it your own.
Dairy-Free Version: Swap the butter for a high-quality vegan butter stick (like Miyoko’s or Country Crock Plant Butter) and use a dairy-free cream cheese alternative. The texture will be slightly different, but it still works beautifully. I’ve tested this with good results.
Lemon or Orange Sugar Cookies: Add 1 tablespoon of fresh lemon or orange zest to the sugar in step 2. The citrus cuts through the sweetness and adds a bright, festive flavor. I love making these for spring holidays.
Spiced Christmas Cookies: Add 1 teaspoon of ground cinnamon, ½ teaspoon of ground ginger, and ¼ teaspoon of ground nutmeg to the dry ingredients. This turns them into a gluten-free version of a snickerdoodle-sugar cookie hybrid. Perfect for a cozy winter evening.
No-Icing Option: If you’re short on time or just want a simpler cookie, skip the royal icing entirely. Before baking, brush the cut cookies with a little milk and sprinkle them with coarse sparkling sugar or colored sanding sugar. Bake as directed. They’re still beautiful and delicious.
Chocolate-Dipped Cookies: Bake the cookies plain, let them cool, then dip half of each cookie in melted dark chocolate. Let the chocolate set on parchment paper. It’s an elegant, low-effort way to dress them up for a cookie exchange.
Serving & Storage Suggestions
These cookies are at their best when the royal icing has fully set—hard and glossy. This usually takes 4-6 hours at room temperature, but overnight is even better. Serve them at room temperature on a beautiful platter or arrange them in a festive tin for gifting.
What to serve with them: A glass of cold milk is the classic pairing. For adults, they’re lovely with a cup of hot coffee, a spiced chai latte, or even a glass of dessert wine like Moscato. They also make a wonderful addition to a holiday cookie platter alongside gingerbread men and peppermint bark.
Storage Instructions: Store the decorated cookies in an airtight container at room temperature for up to 2 weeks. Yes, really! The royal icing actually helps preserve the cookies by sealing out moisture. Layer them between sheets of parchment paper to prevent the icing from sticking together.
Freezer Instructions: You can freeze the undecorated baked cookies for up to 3 months. Place them in a single layer in a freezer-safe bag or container. When you’re ready to decorate, thaw them at room temperature for about 30 minutes, then ice as directed. The dough itself can also be frozen—wrap the discs tightly and freeze for up to 2 months. Thaw overnight in the fridge before rolling.
Flavor Development: Honestly, these cookies taste even better the next day. The flavors meld together, and the texture softens just a little. If you can resist eating them all on day one, you’ll be rewarded on day two.
Nutritional Information & Benefits
Let’s be real—these are still a treat. But compared to traditional sugar cookies, this version has a few advantages. Because we’re using a gluten-free flour blend, they’re safe for anyone with celiac disease or gluten sensitivity. The cream cheese adds a small amount of protein and calcium, and the cookies are lower in sugar than many store-bought versions.
Estimated Nutritional Information (per cookie, based on 36 cookies):
- Calories: 145
- Fat: 7g
- Saturated Fat: 4g
- Carbohydrates: 20g
- Sugar: 14g
- Protein: 2g
- Fiber: 0.5g
Dietary Considerations: This recipe is gluten-free (obviously), nut-free (if using a nut-free flour blend), and can be made dairy-free with simple substitutions. It contains eggs and dairy (unless modified). The royal icing contains egg whites from the meringue powder, so it’s not suitable for a raw egg-free diet.
Personal Note: I love that this recipe lets everyone at the table enjoy a classic holiday cookie without compromise. Food should bring people together, not make them feel left out.
Conclusion
These Perfect Gluten-Free Christmas Sugar Cookies with Royal Icing are more than just a recipe—they’re a way to keep a beloved tradition alive, no matter your dietary needs. They have the buttery flavor, the crisp-tender texture, and the beautiful, glossy finish that makes sugar cookies so special. I’ve made them for family gatherings, cookie swaps, and quiet afternoons with my kids, and they never disappoint.
I encourage you to make these your own. Experiment with the variations. Get the kids involved in decorating. Don’t stress if the first few cookies aren’t perfect—mine never are, and they still taste amazing. The joy is in the process, the mess, and the moment you share them with someone you love.
Have you tried this recipe? I’d love to hear how it turned out! Drop a comment below and let me know what shapes you cut or how you customized the icing. Don’t forget to share this post with a friend who needs a good gluten-free cookie in their life. Happy baking, friend!
Frequently Asked Questions
Can I use a different gluten-free flour blend?
Yes, but the results may vary. I strongly recommend using a blend that contains xanthan gum, like King Arthur Flour Measure for Measure or Bob’s Red Mill 1-to-1. If you use a blend without xanthan gum (like a single-grain flour), you’ll need to add 1 teaspoon of xanthan gum or guar gum to the recipe. Otherwise, the cookies may be too crumbly.
Why did my cookies spread in the oven?
This is usually caused by dough that wasn’t chilled long enough or butter that was too soft. Make sure your butter and cream cheese are softened but not melty. If your kitchen is warm, pop the cut cookies on the baking sheet into the fridge for 10-15 minutes before baking. This helps them hold their shape.
Can I make the royal icing without meringue powder?
Technically, yes. You can use fresh egg whites (about 2 large egg whites) instead of meringue powder. However, fresh egg whites create a raw egg product, which carries a small risk of salmonella. Meringue powder is pasteurized and much more stable, plus it gives a more consistent result. I always recommend using meringue powder for safety and ease.
How do I get my royal icing to be perfectly smooth?
The key is sifting your powdered sugar and beating the icing long enough. Beat it on medium-high speed for a full 4-5 minutes. If you still see small bubbles, let the icing sit for 10-15 minutes, then gently stir it. The bubbles will rise to the surface and pop. Also, using a squeeze bottle instead of a piping bag can help you apply the icing more evenly.
Can I freeze the decorated cookies?
I don’t recommend freezing cookies after they’ve been decorated with royal icing. The condensation that forms during thawing can make the icing sticky or cause it to run. It’s much better to freeze the undecorated baked cookies and then ice them after they’ve thawed. The results are far more reliable.
Pin This Recipe!
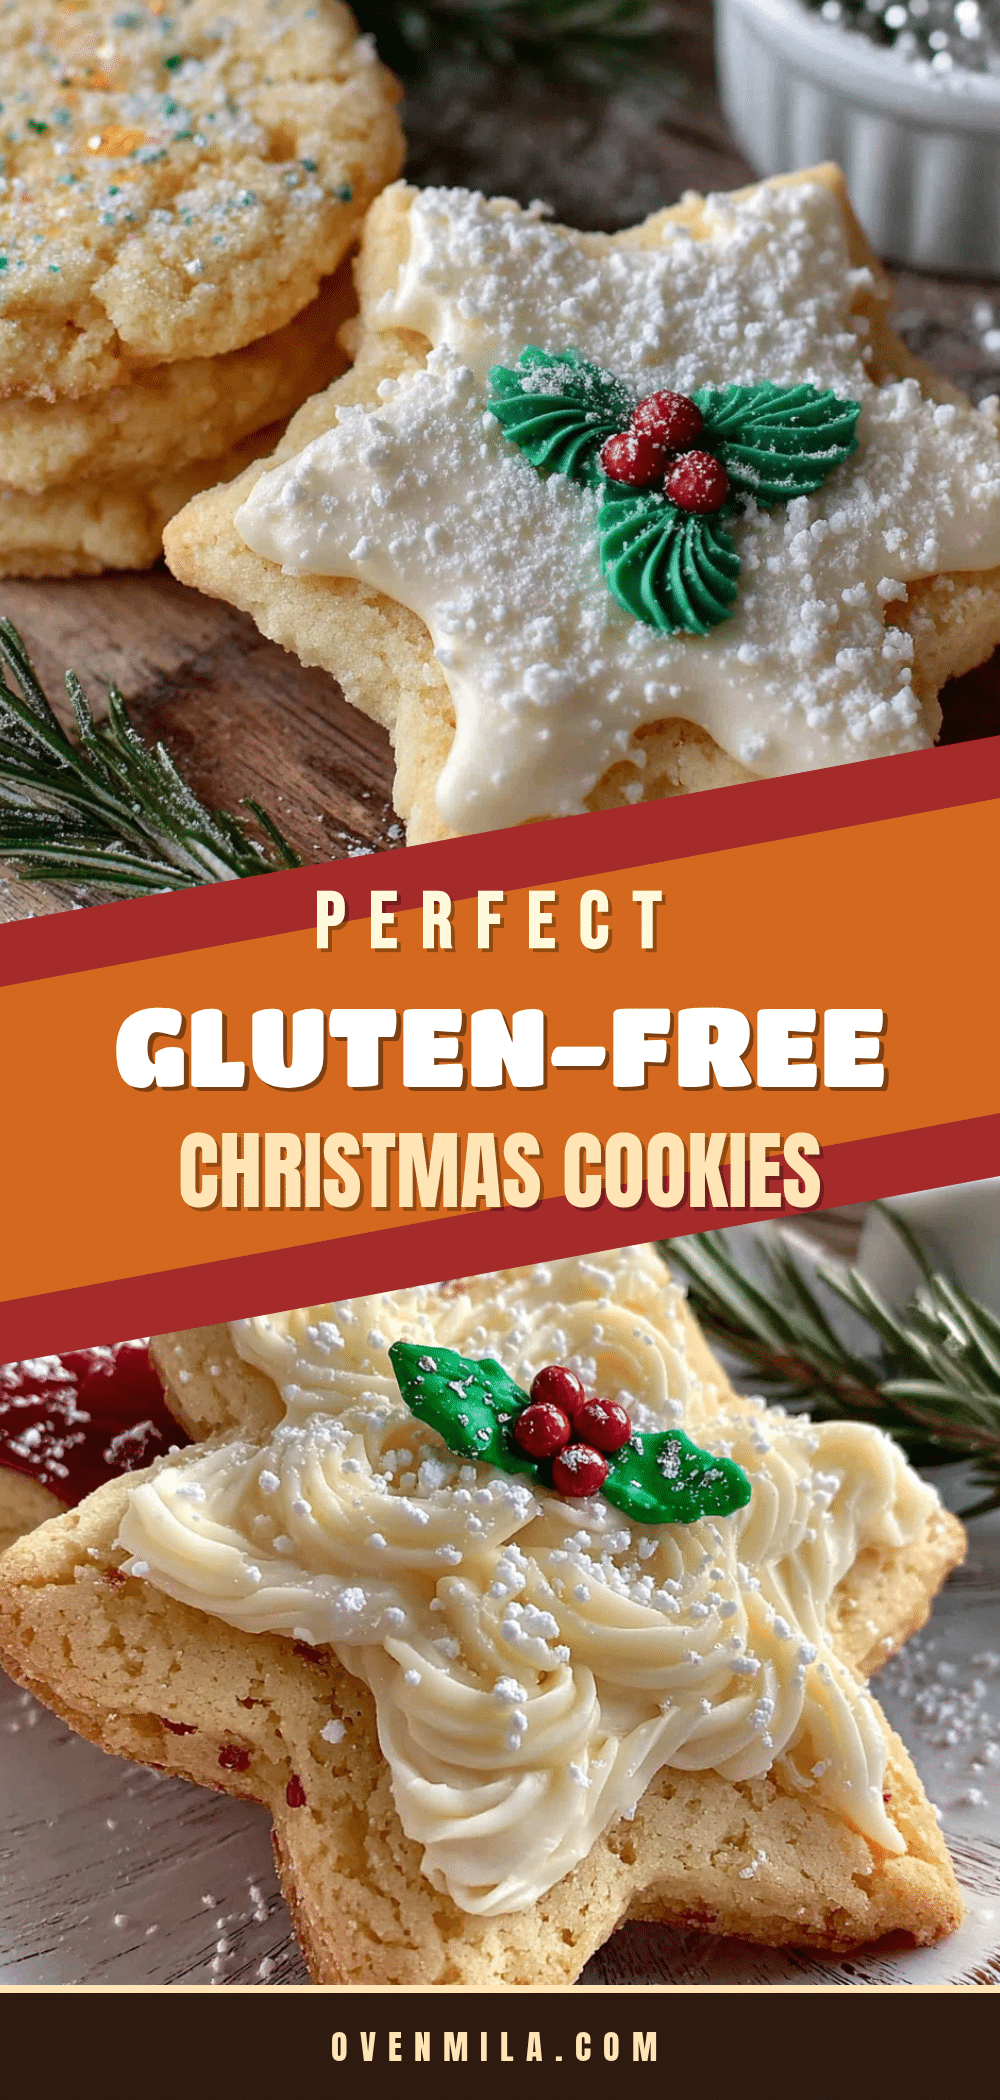
Perfect Gluten-Free Christmas Sugar Cookies with Royal Icing

These gluten-free sugar cookies have a classic crisp edge with a soft, tender center. The dough rolls out beautifully without cracking, holds its shape in the oven, and is sturdy enough to handle a thick layer of royal icing.
- Prep Time: 15 minutes
- Cook Time: 10 minutes
- Total Time: 2 hours 25 minutes (including 1 hour chilling and 4-6 hours drying)
- Yield: 36 cookies 1x
- Category: Dessert
- Cuisine: American
Ingredients
- 1 cup (2 sticks / 226g) unsalted butter, softened
- 4 oz (113g) cream cheese, softened
- 1 cup (200g) granulated sugar
- 1 large egg, at room temperature
- 2 teaspoons pure vanilla extract
- ½ teaspoon almond extract (optional)
- 3 cups (420g) gluten-free all-purpose flour blend (e.g., King Arthur Flour Measure for Measure or Bob’s Red Mill 1-to-1 Baking Flour)
- 1 ½ teaspoons baking powder
- ½ teaspoon fine sea salt
- 3 cups (340g) powdered sugar, sifted
- 3 tablespoons meringue powder
- 5–6 tablespoons warm water
- 1 teaspoon vanilla extract (optional)
- Gel food coloring (as desired)
Instructions
- Cream the butter and cream cheese: In the bowl of a stand mixer fitted with the paddle attachment, beat the softened butter and cream cheese together on medium speed until smooth and combined—about 2 minutes. Scrape down the sides of the bowl.
- Add the sugar: Add the granulated sugar and beat on medium speed for another 2-3 minutes until the mixture is pale and fluffy.
- Incorporate the wet ingredients: Add the egg, vanilla extract, and almond extract (if using). Beat on low speed until just combined.
- Whisk the dry ingredients: In a separate medium bowl, whisk together the gluten-free flour blend, baking powder, and salt.
- Combine wet and dry: With the mixer on low speed, gradually add the dry ingredients to the wet mixture. Mix until a soft dough forms. If it feels too sticky, add another tablespoon of flour.
- Divide and chill the dough: Turn the dough out onto a lightly floured surface. Divide it in half, shape each half into a flat disc about 1-inch thick, and wrap tightly in plastic wrap. Refrigerate for at least 1 hour, or up to 2 days.
- Preheat and prepare: When ready to bake, preheat oven to 350°F (175°C). Line two baking sheets with parchment paper.
- Roll out the dough: Take one disc of dough out of the fridge. Place it between two sheets of parchment paper. Roll it out to about ¼-inch thickness.
- Cut the cookies: Use cookie cutters to cut out shapes. Transfer cut cookies to prepared baking sheets, spacing them about 1 inch apart. Gather scraps, re-roll, and cut again.
- Bake: Bake for 8-10 minutes, or until edges are just barely set and bottoms are light golden brown. Rotate the baking sheet halfway through. Let cool on baking sheet for 5 minutes, then transfer to a wire rack to cool completely.
- Make the royal icing: In a large bowl, combine sifted powdered sugar and meringue powder. Add 5 tablespoons of warm water and vanilla extract. Beat on low speed until combined, then increase to medium-high speed and beat for 4-5 minutes until thick, glossy, and forms stiff peaks.
- Adjust the consistency: For outlining, keep icing stiff. For flooding, thin with a few drops of water until it flows like thick honey and a ribbon settles back into itself in about 10 seconds.
- Decorate: Once cookies are completely cool, use a piping bag fitted with a small round tip or a squeeze bottle to outline each cookie. Let outline dry for a few minutes, then flood the center with thinner icing. Use a toothpick to spread icing and pop air bubbles. Let dry completely, uncovered, for 4-6 hours or overnight.
Notes
Don’t skip the cream cheese—it’s key to tenderness. Chill the dough properly for at least 1 hour. Measure flour correctly by fluffing, spooning, and leveling. For royal icing, start with less water than you think you need. Use gel food coloring to avoid thinning the icing.
Nutrition
- Serving Size: 1 cookie
- Calories: 145
- Sugar: 14
- Fat: 7
- Saturated Fat: 4
- Carbohydrates: 20
- Fiber: 0.5
- Protein: 2
Keywords: gluten-free sugar cookies, Christmas cookies, royal icing, gluten-free baking, holiday cookies


