My brother-in-law Mark had claimed for years that he hated cake pops. Said they were “all frosting and no cake.” A gimmick for kids’ parties, not real dessert. Then I made these perfect pink velvet cake pops for my niece’s birthday party last spring. I caught him standing by the dessert table, not just eating one, but holding three in his napkin like a squirrel hoarding acorns. “These are different,” he muttered when he saw me watching. “These actually taste like cake.”
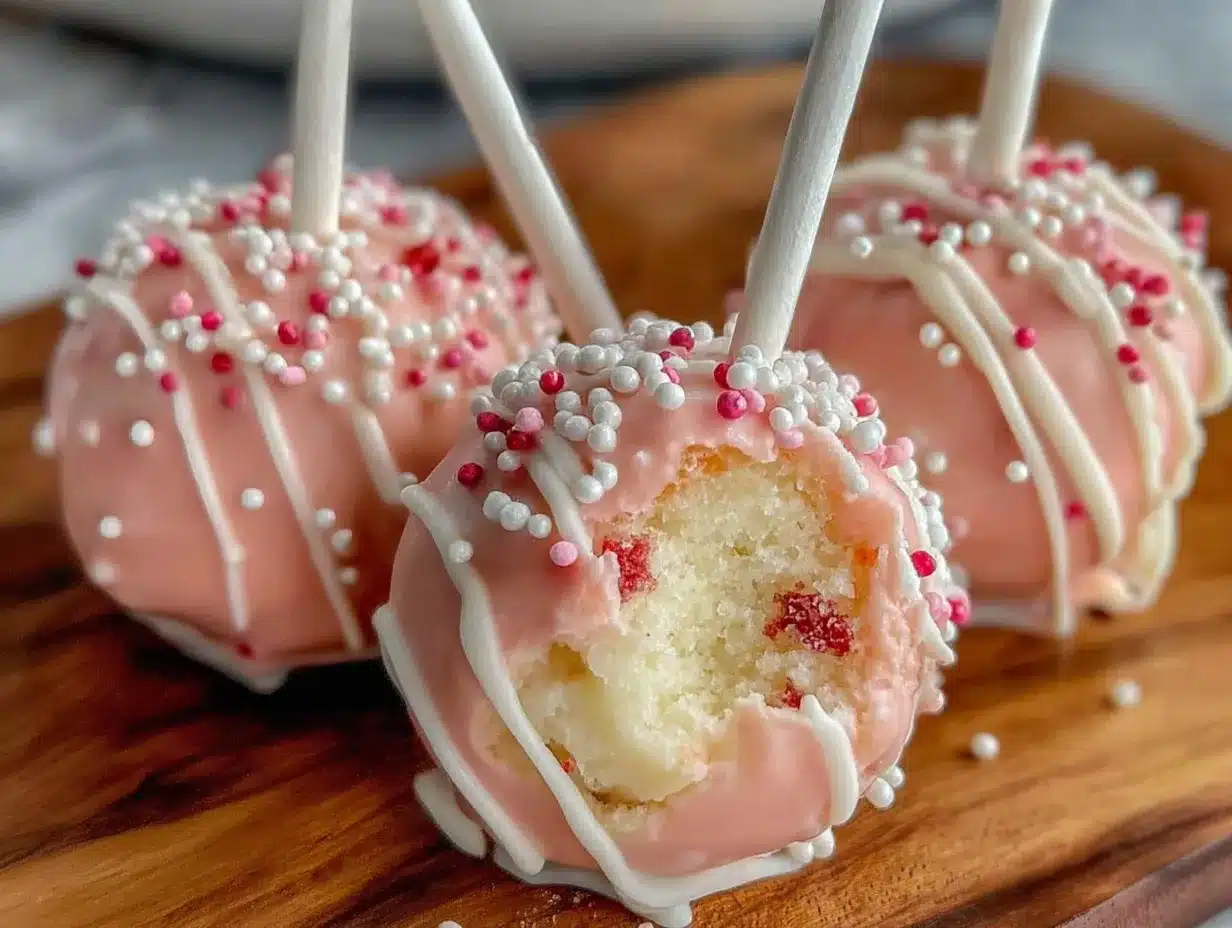
Honestly, I almost laughed out loud. Here was a grown man who had spent years trash-talking a dessert he’d clearly never had a good version of. And let me tell you, most store-bought cake pops deserve the criticism. They’re dry, cloyingly sweet, and that weird coating cracks when you bite into them. But these pink velvet cake pops? They’re something else entirely. The crumb is tender, the cream cheese frosting is tangy enough to balance the sweetness, and that candy coating snaps cleanly when you take a bite. I mean, I’ve made them for three parties since that birthday, and every single time, someone who “doesn’t like cake pops” ends up asking for the recipe.
Maybe you’ve been there too. You see those cute little spheres on a stick at a bakery and think, “That’s cute, but is it worth the calories?” Let me tell you, this version is. The secret is in the velvet cake base itself—it’s not just red velvet dyed pink. It’s a properly moist buttermilk cake with just enough cocoa to give it depth without making it taste like chocolate. The pink color comes from gel food coloring, and it turns out this gorgeous rosy shade that photographs beautifully for Pinterest but also tastes like the real deal. I keep making them because they’re the kind of dessert that makes people stop and smile. And honestly, watching Mark grab a fourth one before the party even ended was pretty satisfying too.
Why You’ll Love This Recipe
I’ve tested this recipe about seven times to get it just right. The first batch was too crumbly and wouldn’t stay on the sticks. The second batch had too much frosting and felt heavy. By batch number four, I had it dialed in, and I’m sharing every lesson I learned so you don’t have to go through the trial and error yourself.
- Party-Perfect Presentation : These cake pops look like they came from a fancy bakery, but you’re the one who made them. The pink velvet color is stunning on a dessert table, and guests always grab them first.
- Simple Ingredients : No weird additives or hard-to-find items. You probably have most of the baking staples already, and the pink gel coloring is easy to find at any craft store or online.
- Make-Ahead Friendly : You can prep the cake balls days in advance and dip them the day of your party. This is huge when you’re hosting and need to spread out the work.
- Crowd-Pleasing Flavor : The tangy cream cheese frosting inside pairs perfectly with the sweet candy coating outside. Kids love the color, adults love the taste, and everyone loves that they’re on a stick.
- Foolproof Method : I’ve included all my tips for keeping the coating smooth, the cake moist, and the pops stable on the stick. No cracking, no sliding, no stress.
What makes these different from every other cake pop recipe? It’s the balance. The cake isn’t too sweet because the buttermilk and cocoa keep it grounded. The cream cheese frosting is homemade, not canned, so it has that tangy richness that cuts through the sugar. And the candy coating? I use a specific brand and technique that gives you that perfect snap without being too thick. This isn’t just another version of a cake pop. It’s the one that converts skeptics and makes hosts look like rock stars.
These pink velvet cake pops are perfect for Valentine’s Day, baby showers, birthday parties, or honestly just a Tuesday when you want something pretty. They make people happy. And when you’re hosting, that’s really what you’re after, right?
What Ingredients You Will Need
This recipe uses simple baking ingredients to create something that looks and tastes special. The magic is in how they come together, not in fancy ingredients you’ll never use again.
For the Pink Velvet Cake
- 2 ½ cups (312g) all-purpose flour – Spoon and level for accuracy. Too much flour makes dry cake.
- 1 ½ cups (300g) granulated sugar – Adds sweetness and helps with tenderness.
- 1 teaspoon baking soda – Helps the cake rise properly.
- 1 teaspoon baking powder – Works with the baking soda for a light crumb.
- ½ teaspoon salt – Balances sweetness and enhances flavor.
- 1 tablespoon unsweetened cocoa powder – Just enough for that velvet flavor without making it chocolate. I use Hershey’s, but any brand works.
- 1 cup (240ml) buttermilk – Room temperature. This is non-negotiable for moisture. If you don’t have buttermilk, add 1 tablespoon lemon juice to regular milk and let it sit 5 minutes.
- 1 ½ cups (300g) granulated sugar – Adds sweetness and helps with tenderness.
- ½ cup (120ml) vegetable oil – Keeps the cake moist for days. Canola or avocado oil also work.
- 2 large eggs – Room temperature. Cold eggs seize the batter.
- 2 teaspoons vanilla extract – Pure vanilla, not imitation, for the best flavor.
- 1 tablespoon white vinegar – Reacts with the baking soda for lift and tenderness.
- 1 to 2 teaspoons pink gel food coloring – Gel, not liquid. Liquid coloring will thin the batter too much. I use Americolor “Deep Pink” for the prettiest shade.
For the Cream Cheese Frosting
- 4 oz (113g) cream cheese – Full-fat, softened. Low-fat cream cheese makes the frosting too loose.
- ¼ cup (57g) unsalted butter – Softened. Let it sit out for at least an hour.
- 2 cups (240g) powdered sugar – Sifted if it’s lumpy.
- 1 teaspoon vanilla extract – Adds warmth to the tangy cream cheese.
- Pinch of salt – Balances the sweetness.
For the Coating and Decoration
- 16 oz (454g) pink candy melts or white candy melts + pink coloring – I use Wilton pink candy melts for consistent color. If using white melts, add a few drops of pink oil-based candy coloring. Never use gel food coloring in candy melts—it seizes them.
- 1 tablespoon coconut oil or vegetable shortening – Thins the coating for easier dipping and prevents cracking.
- Lollipop sticks – 4-inch sticks work best for cake pops.
- Optional decorations – Sprinkles, edible glitter, or white drizzle. I love using pink and white nonpareils for a party look.
Equipment Needed
You don’t need much for these pink velvet cake pops, but a few specific tools make the process much smoother. I’ve learned the hard way that trying to substitute can lead to frustration.
- 9×13-inch baking pan – A standard metal pan works perfectly. Glass pans tend to overbake the edges.
- Electric hand mixer or stand mixer – You can mix by hand, but a mixer makes the frosting silky smooth.
- Large mixing bowls – At least two. One for dry ingredients, one for wet.
- Cookie scoop or melon baller – For uniform cake balls. A 1-inch scoop is ideal. I bought a set of three on Amazon for under ten dollars, and they make portioning so much faster.
- Baking sheet lined with parchment paper – For freezing the cake balls. Make sure it fits in your freezer.
- Microwave-safe bowl or double boiler – For melting the candy coating. A glass measuring cup works great because it’s deep enough for dipping.
- Styrofoam block or floral foam – To hold the cake pops upright while they set. You can also use a cardboard box with holes poked in it. I’ve used an egg carton in a pinch, and honestly, it worked fine.
- Piping bag or zip-top bag – For drizzling extra decoration if you want to get fancy.
If you don’t have a cookie scoop, just use your hands. Make sure they’re slightly damp so the cake mixture doesn’t stick to your palms. And if you don’t have a Styrofoam block, you can stand the pops in a tall glass or mug, but they might lean a little. Nobody’s judging at a party.
Preparation Method
Step 1: Bake the Pink Velvet Cake
Preheat your oven to 350°F (175°C). Grease your 9×13 pan lightly with butter or cooking spray. In a large bowl, whisk together the flour, sugar, baking soda, baking powder, salt, and cocoa powder. In a separate bowl, whisk the buttermilk, oil, eggs, vanilla, vinegar, and pink gel coloring until smooth. The color should be a vibrant hot pink because it will fade slightly during baking. Pour the wet ingredients into the dry and stir until just combined. Don’t overmix—a few lumps are fine. Pour the batter into the prepared pan and bake for 22 to 25 minutes. The cake is done when a toothpick inserted in the center comes out with just a few moist crumbs. Let the cake cool completely in the pan on a wire rack. This takes about an hour. Do not rush this step. Warm cake makes crumbly cake pops.
Step 2: Make the Cream Cheese Frosting
While the cake cools, beat the softened cream cheese and butter together in a medium bowl until smooth and fluffy. About 2 minutes on medium speed. Add the powdered sugar one cup at a time, beating on low speed to avoid a sugar cloud. Add the vanilla and salt, then beat on medium-high for another minute until the frosting is light and airy. Taste it. It should be tangy and sweet, not just sugary. If it’s too soft, pop it in the fridge for 15 minutes to firm up.
Step 3: Crumble the Cake and Mix
Once the cake is completely cool, use your hands to crumble it into a large bowl. Break it down until there are no large chunks left. You want fine, even crumbs. Add about ¾ cup of the cream cheese frosting to the crumbs and mix with a spatula or your hands. The mixture should hold together when pressed but not feel greasy. If it’s too dry, add more frosting a tablespoon at a time. If it’s too wet, add a few more cake crumbs. You’re looking for a Play-Doh consistency—moldable but not sticky.
Step 4: Form the Cake Balls
Scoop out portions of the cake mixture using your cookie scoop or a tablespoon. Roll each portion between your palms into a smooth ball. Place them on the parchment-lined baking sheet. You should get about 30 to 36 cake balls, depending on size. Pop the baking sheet into the freezer for at least 30 minutes. This is crucial. Cold cake balls are much easier to dip, and they won’t fall off the sticks. I’ve skipped this step before and ended up with cake pops sliding off into the coating. Not pretty.
Step 5: Melt the Coating and Attach Sticks
Melt the pink candy melts in a microwave-safe bowl in 30-second bursts, stirring between each. Add the coconut oil or shortening and stir until smooth. The coating should be thin enough to dip but not watery. Let it cool for a few minutes. Remove the cake balls from the freezer. Dip the tip of each lollipop stick into the melted coating, then insert it about halfway into a cake ball. This acts like glue. Return the stuck cake pops to the freezer for another 10 minutes to set the stick in place.
Step 6: Dip the Cake Pops
Take the cake pops out of the freezer in small batches (about 6 at a time). Dip each pop fully into the melted coating, covering the entire cake ball. Gently tap the stick on the edge of the bowl to let excess coating drip off. Don’t shake or spin the pop—that causes cracking. Hold the pop over the bowl and let the excess drip for a few seconds. If you’re adding sprinkles, do it now while the coating is still wet. Stick the pop into your Styrofoam block or holder. Repeat with the remaining pops. If the coating gets too thick, reheat it in the microwave for 10 seconds.
Step 7: Let Them Set
Let the cake pops set completely at room temperature. This takes about 30 minutes. Don’t put them in the fridge to speed this up—condensation will make the coating sticky and blotchy. Once set, you can add a drizzle of white candy melts if you want extra flair. Store them in an airtight container at room temperature for up to 3 days, or in the fridge for up to a week.
Cooking Tips & Techniques
I’ve made about a hundred cake pops at this point, and I’ve messed up plenty. Here’s what I’ve learned so you don’t have to repeat my mistakes.
Don’t overmix the cake batter. Overmixing develops gluten, which makes the cake tough. You want a tender crumb that crumbles easily later. Mix until the flour just disappears into the batter. That’s it.
Use a kitchen scale if you have one. Measuring flour by volume can be inconsistent. If you scoop flour directly from the bag, you might end up with 20% more flour than the recipe calls for. Spoon it into the measuring cup and level it off, or just weigh it. Your cake will thank you.
Chill the cake balls thoroughly. I cannot stress this enough. Warm or room-temperature cake balls will fall apart when you dip them. They’ll slide off the stick. The coating will crack. Freeze them for at least 30 minutes, and keep them cold until you’re ready to dip. Work in small batches so the ones waiting don’t warm up.
Thin the candy coating. Candy melts straight out of the bag are too thick for smooth dipping. Adding a tablespoon of coconut oil or shortening makes the coating thin enough to coat the cake ball evenly without being gloppy. It also helps prevent that dreaded cracking that happens when the coating sets too fast.
Tap, don’t spin. When you pull the dipped cake pop out of the coating, tap the stick gently on the edge of the bowl. This encourages the excess to drip off evenly. If you spin the pop, the coating will develop thin spots that crack later. I learned this one the hard way after a batch that looked like a cracked desert floor.
Let them set at room temperature. I know you’re impatient. I am too. But the fridge causes condensation, and condensation makes the coating sticky and dull. Just wait the 30 minutes. Go set up your party decorations while you wait.
Variations & Adaptations
One of the best things about this recipe is how adaptable it is. I’ve made several variations depending on the occasion, and they’ve all been hits.
Chocolate Velvet Cake Pops – Swap the pink gel coloring for regular red velvet coloring, or just leave it out and increase the cocoa powder to 2 tablespoons. These taste like classic red velvet but in pop form. I made these for a Christmas party and they disappeared faster than the cookies.
White Chocolate Coating – Use white candy melts instead of pink, then drizzle with pink or red coating for a contrast look. This is gorgeous for weddings or bridal showers. Add edible gold glitter for extra elegance.
Gluten-Free Version – Substitute the all-purpose flour with a 1:1 gluten-free baking flour blend. I’ve used Bob’s Red Mill with great results. Make sure your candy melts are also gluten-free, as some contain wheat-based ingredients. The texture is slightly more delicate, so handle the cake balls gently.
Dairy-Free Adaptation – Use dairy-free cream cheese (Tofutti or Kite Hill work well) and vegan butter for the frosting. Replace the buttermilk with almond milk mixed with a teaspoon of vinegar. The cake will be slightly less tender, but still delicious. Use dairy-free candy melts like the ones from Pascha.
Funfetti Cake Pops – Add ¼ cup of rainbow sprinkles to the cake batter before baking. Use white candy coating and more sprinkles on top. These are perfect for kids’ birthday parties. My niece requested these for her party last year, and they looked like little confetti bombs on a stick.
Serving & Storage Suggestions
These pink velvet cake pops are best served at room temperature. The coating snaps when you bite into it, and the cake inside is soft and tender. If you’ve refrigerated them, let them sit out for 15 to 20 minutes before serving. The texture difference is noticeable.
For parties, arrange them in a tall glass vase or a dedicated cake pop stand. They make a stunning centerpiece all on their own. I like to scatter a few extra sprinkles around the base of the stand for a festive look. If you’re serving them alongside other desserts, they pair beautifully with vanilla cupcakes, chocolate truffles, or fresh fruit skewers. The pink color pops against a white tablecloth.
For storage, keep them in an airtight container at room temperature for up to 3 days. If you need to store them longer, refrigerate them for up to a week. Just remember to bring them back to room temperature before serving. You can also freeze the undipped cake balls for up to 3 months. Thaw them in the fridge overnight, then dip and serve. This is a great make-ahead strategy for big parties.
The flavors actually develop a bit overnight. The cake absorbs more of the frosting, and the coating sets completely. I honestly prefer them the day after I make them. They’re just a little more cohesive and the flavors meld together beautifully.
Nutritional Information & Benefits
Let’s be real—these are a treat. But here’s what you’re working with per cake pop (based on 30 pops):
- Calories: Approximately 180-200
- Fat: 9g
- Carbohydrates: 26g
- Sugar: 18g
- Protein: 2g
The cream cheese frosting provides a small amount of calcium and protein, and the buttermilk adds probiotics and B vitamins. The cocoa powder contains antioxidants called flavonoids, which are good for heart health. Obviously, the sugar content means these are an occasional indulgence, not an everyday snack. But for a party? They’re absolutely worth it.
If you’re watching your sugar intake, you can reduce the sugar in the cake by ¼ cup without affecting the texture much. The frosting needs the full amount for structure, but you can use a sugar-free vanilla pudding mix in the cake instead of some of the sugar. I haven’t tested this extensively, so proceed with caution.
Conclusion
These perfect pink velvet cake pops are the kind of dessert that makes hosting feel effortless. They look impressive, taste incredible, and somehow manage to convert even the most stubborn cake pop skeptics—I’m looking at you, Mark. The combination of tender velvet cake, tangy cream cheese frosting, and that satisfying snap of the candy coating is just unbeatable for parties.
I love that you can make them ahead, customize the color and decorations for any occasion, and watch them disappear from the dessert table within minutes. They’re forgiving enough for beginners but impressive enough for experienced bakers who want something pretty.
So go ahead and give them a try. Experiment with the color, play with the sprinkles, and don’t stress if a few aren’t perfect. That’s what makes them homemade. I’d love to hear how yours turn out—drop a comment below and tell me about your party, your color choice, or your own cake pop conversion story. Happy baking, friend!
Frequently Asked Questions
Can I use a box cake mix for these cake pops?
Absolutely. If you’re short on time, use a white or vanilla cake mix and add 1 tablespoon cocoa powder and pink gel coloring. Bake according to package directions, then proceed with the recipe. The texture will be slightly different, but they’ll still taste great.
Why did my candy coating crack?
Cracking usually happens when the cake balls are too cold when you dip them, or the coating is too thick. Make sure your coating is thin enough by adding coconut oil or shortening. Also, let the cake balls sit at room temperature for 5 minutes after freezing before dipping. That slight temperature adjustment helps prevent cracking.
Can I freeze the finished cake pops?
Yes, but the coating may develop condensation when thawing. It’s better to freeze the undipped cake balls and dip them fresh. If you must freeze finished pops, wrap them individually in plastic wrap and store in an airtight container. Thaw in the refrigerator overnight, then let them come to room temperature before serving.
How do I get the color that vibrant pink?
Use gel food coloring, not liquid. Liquid coloring will thin your batter and give you a pale, washed-out pink. Americolor “Deep Pink” or Wilton “Rose” gel are my go-tos. Start with 1 teaspoon and add more until you reach the desired shade. The color will fade slightly during baking, so go a shade darker than you want the final cake to be.
My cake pops keep falling off the sticks. What am I doing wrong?
This happens when the cake balls are too warm or the stick isn’t secured properly. Dip the tip of the stick in melted coating before inserting it into the cake ball. Then freeze the stuck pops for at least 10 minutes before dipping. This creates a glue-like bond that holds everything together.
Pin This Recipe!
Perfect Pink Velvet Cake Pops: Easy Party Favorite Recipe

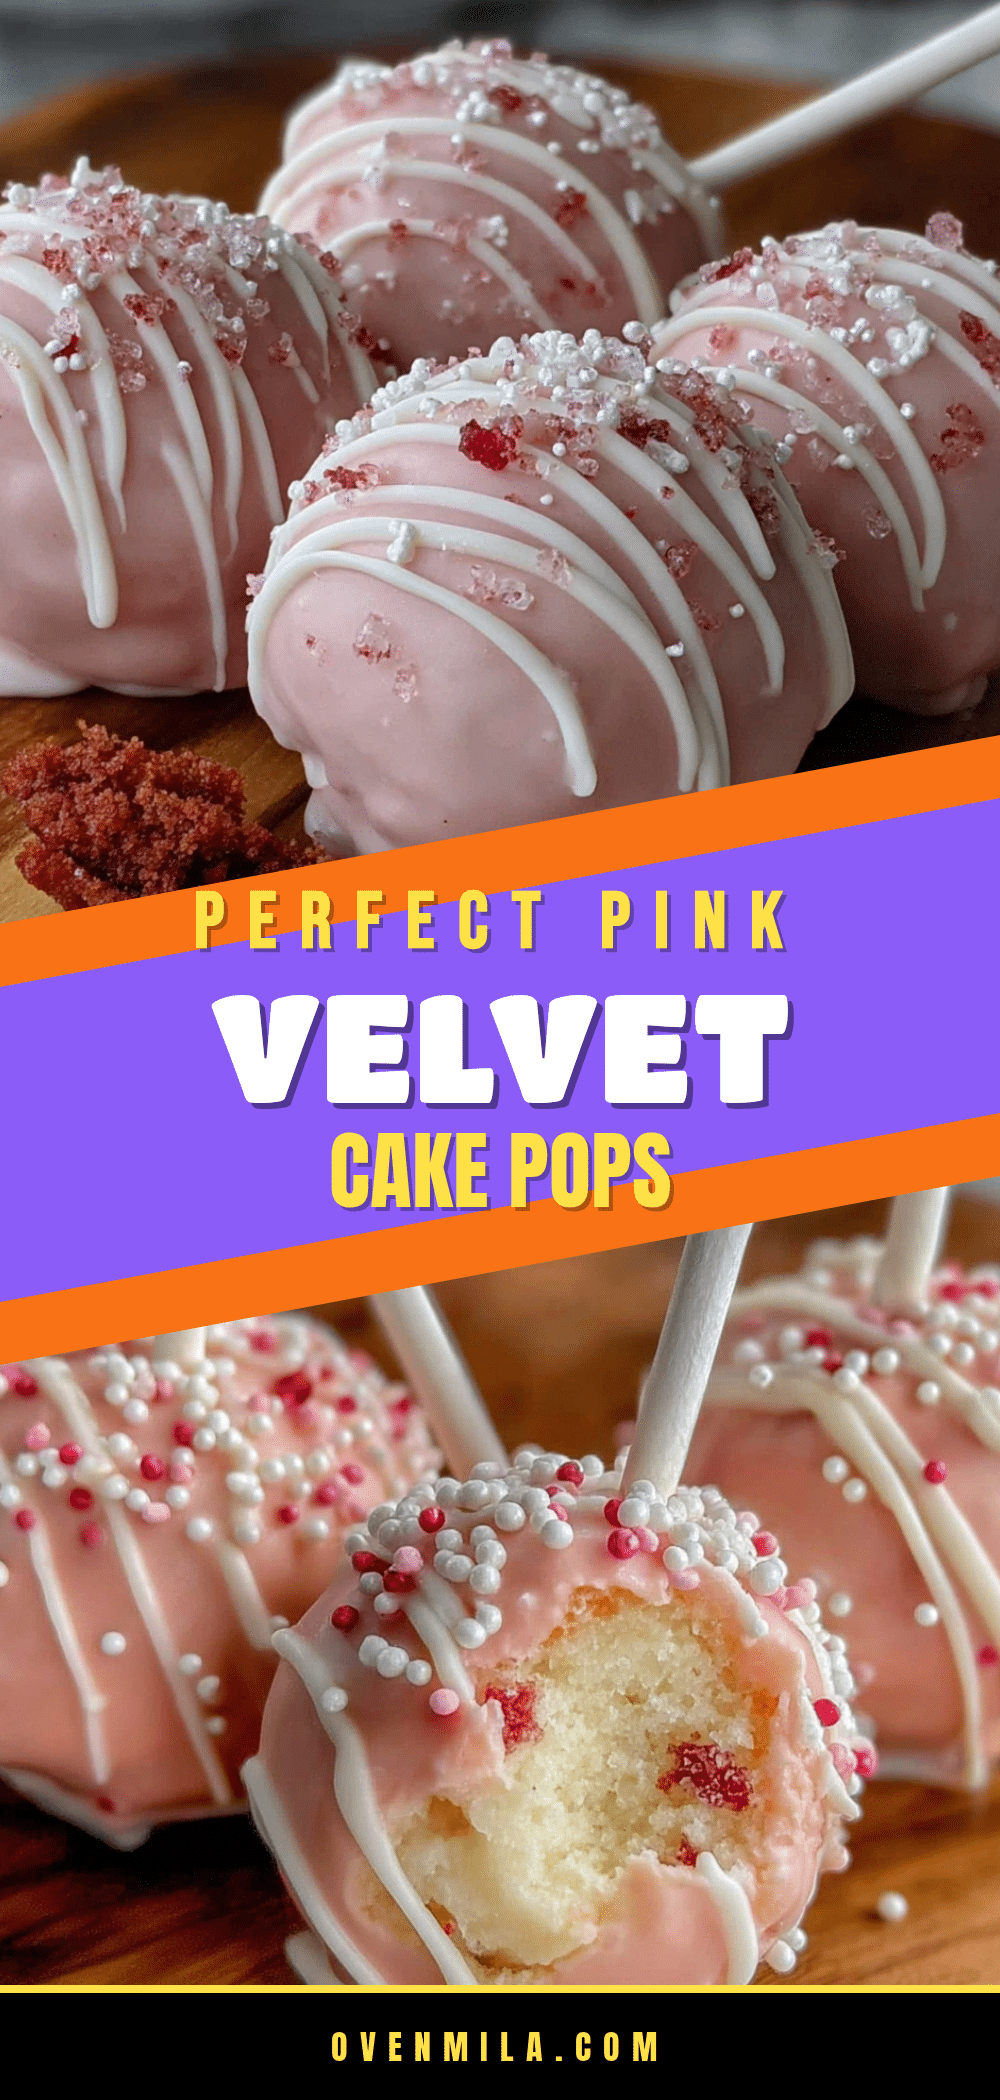
These pink velvet cake pops feature a tender buttermilk cake with a hint of cocoa, tangy cream cheese frosting, and a smooth candy coating that snaps cleanly. They’re a crowd-pleasing dessert that converts skeptics and looks stunning on any party table.
- Prep Time: 30 minutes
- Cook Time: 25 minutes
- Total Time: 1 hour 55 minutes (includes cooling and freezing)
- Yield: 30-36 cake pops 1x
- Category: Dessert
- Cuisine: American
Ingredients
- 2 ½ cups (312g) all-purpose flour
- 1 ½ cups (300g) granulated sugar
- 1 teaspoon baking soda
- 1 teaspoon baking powder
- ½ teaspoon salt
- 1 tablespoon unsweetened cocoa powder
- 1 cup (240ml) buttermilk, room temperature
- ½ cup (120ml) vegetable oil
- 2 large eggs, room temperature
- 2 teaspoons vanilla extract
- 1 tablespoon white vinegar
- 1 to 2 teaspoons pink gel food coloring
- 4 oz (113g) cream cheese, softened
- ¼ cup (57g) unsalted butter, softened
- 2 cups (240g) powdered sugar, sifted if lumpy
- 1 teaspoon vanilla extract
- Pinch of salt
- 16 oz (454g) pink candy melts or white candy melts + pink coloring
- 1 tablespoon coconut oil or vegetable shortening
- Lollipop sticks (4-inch)
- Optional decorations: sprinkles, edible glitter, or white drizzle
Instructions
- Preheat oven to 350°F (175°C). Grease a 9×13-inch baking pan.
- In a large bowl, whisk together flour, sugar, baking soda, baking powder, salt, and cocoa powder.
- In a separate bowl, whisk buttermilk, oil, eggs, vanilla, vinegar, and pink gel coloring until smooth.
- Pour wet ingredients into dry and stir until just combined. Do not overmix.
- Pour batter into prepared pan and bake for 22-25 minutes, until a toothpick inserted in center comes out with moist crumbs.
- Let cake cool completely in pan on a wire rack (about 1 hour).
- While cake cools, beat cream cheese and butter together until smooth and fluffy (about 2 minutes).
- Add powdered sugar one cup at a time, beating on low. Add vanilla and salt, then beat on medium-high for 1 minute until light and airy. Refrigerate if too soft.
- Once cake is cool, crumble it into fine crumbs in a large bowl.
- Add about ¾ cup cream cheese frosting to crumbs and mix until mixture holds together like Play-Doh. Add more frosting if too dry, or more crumbs if too wet.
- Scoop portions (about 1 tablespoon each) and roll into smooth balls. Place on parchment-lined baking sheet. You should get 30-36 balls.
- Freeze cake balls for at least 30 minutes.
- Melt pink candy melts in a microwave-safe bowl in 30-second bursts, stirring between each. Add coconut oil or shortening and stir until smooth.
- Dip tip of each lollipop stick into melted coating, then insert halfway into a cake ball. Return to freezer for 10 minutes.
- Remove cake pops from freezer in small batches (about 6 at a time). Dip each fully into coating, tap stick gently on bowl edge to remove excess. Add sprinkles immediately if desired.
- Insert stick into Styrofoam block or holder. Repeat with remaining pops.
- Let cake pops set at room temperature for about 30 minutes. Do not refrigerate.
- Optional: drizzle with white candy melts for extra flair. Store in airtight container at room temperature up to 3 days, or refrigerate up to 1 week.
Notes
Don’t overmix the cake batter. Use a kitchen scale for accuracy if possible. Chill cake balls thoroughly before dipping. Thin candy coating with coconut oil or shortening for smooth dipping. Tap the stick gently to remove excess coating; do not spin. Let cake pops set at room temperature to avoid condensation. For best flavor, make a day ahead.
Nutrition
- Serving Size: 1 cake pop
- Calories: 180200
- Sugar: 18
- Sodium: 120
- Fat: 9
- Saturated Fat: 3.5
- Carbohydrates: 26
- Fiber: 0.5
- Protein: 2
Keywords: pink velvet cake pops, cake pops, velvet cake, party dessert, Valentine's Day dessert, birthday party treats, cream cheese frosting, candy coating


