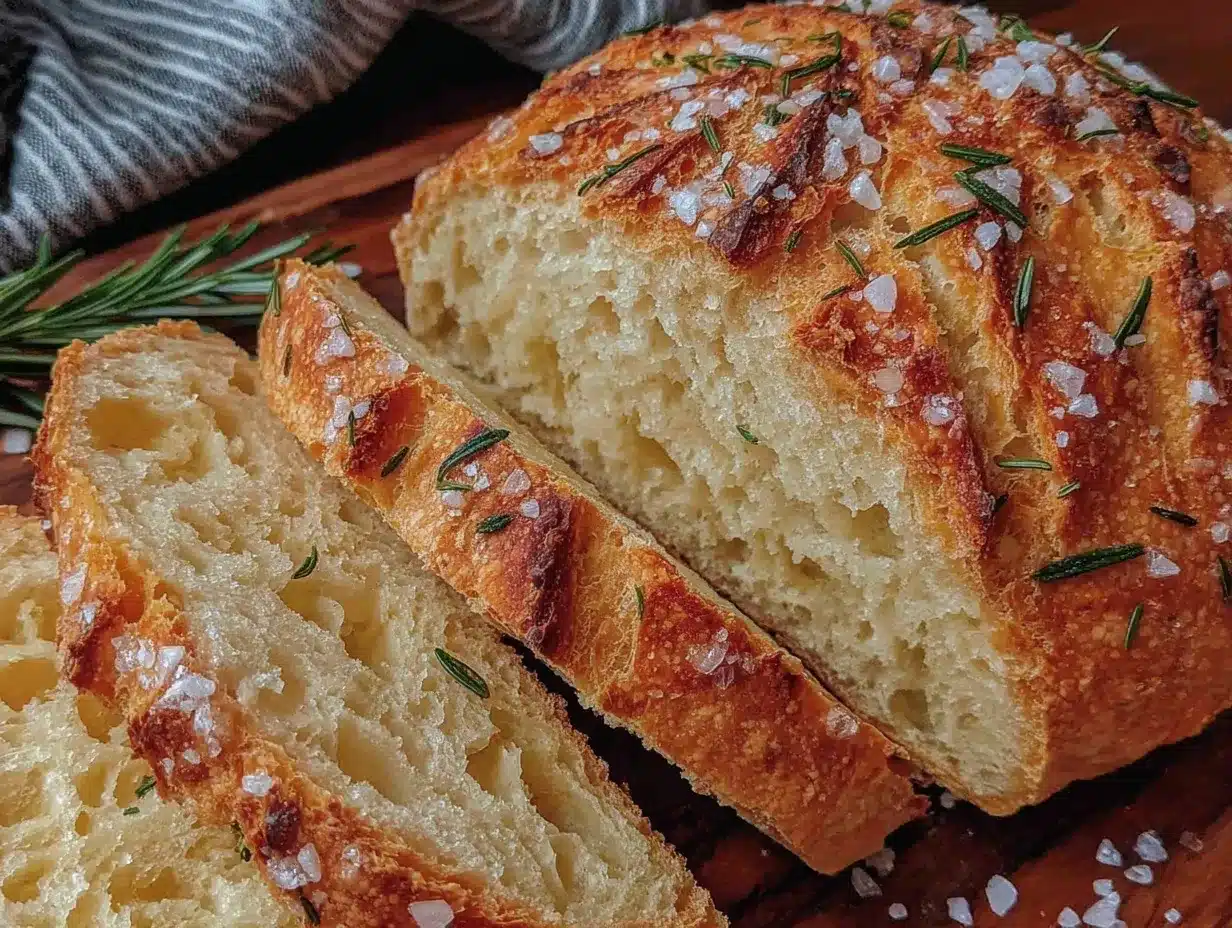
This craving for perfect sourdough bread hits me hard and fast—like right now—and I have everything except the confidence that today’s loaf will actually turn out right. You know that feeling when the kitchen smells like a cozy bakery, but the loaf in front of you looks more like a dense brick than the airy, crusty masterpiece you imagined? Yeah, been there. I stare at my starter bubbling away, questioning if it’s lively enough, wondering if that slight tweak I made to the hydration or fermentation time will be the secret sauce or a total flop. Honestly, sourdough baking is a little like a mood ring: it reflects your patience, your kitchen environment, and sometimes just plain luck. But when it finally comes together—the crackling crust as you slice through the bread, the open crumb with those perfect little holes—there’s this quiet satisfaction that makes all those early mornings and doughy fingers worth it. This perfect sourdough bread recipe with crispy crust and airy crumb stuck with me because it’s forgiving enough for home bakers but still rewards with that bakery-quality taste and texture. It’s like having a little artisan bakery right in your own kitchen, minus the long lines and hefty price tag.
Why You’ll Love This Recipe
Making sourdough bread can feel intimidating, but this recipe is designed to make things straightforward without skimping on flavor or texture. After countless tries and tweaking, here’s why it’s a solid bet for your next baking adventure:
- Quick & Easy: From mixing to baking, you’re looking at about 24 hours total, but hands-on time is just around 30 minutes, perfect for fitting into a weekend routine.
- Simple Ingredients: Nothing fancy here—just flour, water, salt, and a lively sourdough starter. If you’re like me, these are pantry staples you probably have already.
- Perfect for All Occasions: Whether you’re serving it alongside a fresh tomato salad or making sandwiches, this bread elevates everyday meals effortlessly.
- Crowd-Pleaser: Friends and family keep asking for more, impressed by the crunchy crust and that soft, airy crumb inside.
- Unbelievably Delicious: The tangy depth from the slow fermentation combined with the crackling crust makes this loaf a standout.
This isn’t just another sourdough recipe, either. I’ve fine-tuned the fermentation times for a perfect balance of tang and tenderness, and the baking technique creates that signature crispy crust without needing a fancy oven setup. Plus, if you’ve tried baking bread before and ended up with a loaf that’s too dense or bland, this recipe helps you avoid those pitfalls. It’s comfort food, no frills, but the kind that makes you close your eyes and savor every bite.
What Ingredients You Will Need
This recipe uses simple, wholesome ingredients to deliver bold flavor and satisfying texture without the fuss. Most are pantry staples, but a few tips on sourcing and substitutions will help you get the best loaf possible.
- Sourdough starter: Active and bubbly (fed 4-6 hours before use). If you don’t have one, you can find starter recipes or buy one from trusted brands like King Arthur Flour.
- Bread flour: About 500g (4 cups). Bread flour is key for that chewy texture and strong gluten structure. You can swap a portion with whole wheat flour (up to 20%) for flavor depth.
- Water: 350g (1 1/2 cups), lukewarm (around 75°F/24°C). Use filtered water if possible—chlorine can slow fermentation.
- Salt: 10g (2 tsp), preferably fine sea salt for even distribution.
Optional additions you might want to try once you’ve nailed the basic loaf:
- Rye flour: A small amount (up to 50g) can add complexity to your starter and dough.
- Olive oil or butter: Not traditional in sourdough, but a teaspoon can enrich the crumb if you like.
For gluten-free adaptations, try substituting with a blend of almond and tapioca flour, but the texture will vary significantly from classic sourdough. Also, if you prefer a dairy-free version of a sandwich spread, check out my creamy dill cucumber salad recipe for a tangy, fresh accompaniment that pairs beautifully with this bread.
Equipment Needed
- Mixing bowl: Large enough to hold the dough as it rises. Glass or stainless steel works best.
- Dough scraper: Super helpful for handling sticky dough and portioning.
- Kitchen scale: This is a must for accurate measurements—flour volume can be deceiving, trust me.
- Proofing basket (banneton): Optional but recommended for giving your loaf shape and that classic spiral pattern. If you don’t have one, a bowl lined with a well-floured kitchen towel works.
- Dutch oven or heavy oven-safe pot with lid: Crucial for creating the steam environment that crisps up the crust. I use a 5-quart Dutch oven, but any comparable size is fine.
- Lame or sharp knife: For scoring the dough before baking to help it expand properly.
Don’t have a proofing basket? No worries. When I started, my makeshift method was a colander lined with a floured towel. It works, but the banneton really gives that professional look and texture. And if you’re budgeting, kitchen scales don’t have to be fancy — I use a simple digital one that’s accurate enough for home baking. Just don’t skip this tool; guessing flour amounts is a recipe for frustration.
Preparation Method
- Feed your sourdough starter: About 4-6 hours before you plan to mix the dough, feed your starter with equal parts flour and water by weight (e.g., 50g each). It should be bubbly and active before use.
- Mix the dough (10 minutes): In a large bowl, combine 500g bread flour and 350g lukewarm water. Stir until no dry flour remains. Cover and autolyse for 30-45 minutes. This rest helps gluten development and flavor.
- Add starter and salt (5 minutes): Add 100g active starter and 10g salt to the dough. Mix thoroughly until the salt is fully incorporated. The dough will be sticky and shaggy.
- Bulk fermentation with stretch and folds (4-5 hours): Every 30 minutes for the first 2 hours, perform a set of stretch and folds: wet your hands, lift one side of dough, and fold it over the center. Repeat 4 times around the bowl. This builds gluten without kneading. Then let the dough rest undisturbed for another 2-3 hours at room temperature (about 70°F/21°C). The dough should rise noticeably and feel airy.
- Shape the dough (10 minutes): Turn the dough out onto a lightly floured surface. Shape it into a tight round boule by folding edges into the center and gently tightening with cupped hands. Place seam side up in a well-floured banneton or bowl.
- Final proof (2-3 hours or overnight): Cover the dough and let it proof until slightly puffy but not doubled. For convenience, you can refrigerate it overnight—this slows fermentation and develops flavor.
- Preheat oven and Dutch oven (45 minutes): Place your Dutch oven inside your oven and preheat to 475°F (245°C). Preheating is key to creating steam and crisp crust.
- Score and bake (45 minutes): Carefully remove the hot Dutch oven, turn your dough seam side down onto parchment paper, and score the top with a lame or sharp knife. Transfer dough with paper into the pot, cover, and bake covered for 20 minutes. Remove lid and bake an additional 25 minutes until deep golden and crusty.
- Cool completely: Let the bread cool on a wire rack for at least 1 hour before slicing. This step is crucial so the crumb sets properly.
When you score the bread, don’t worry if your cuts aren’t perfect—practice makes better! And if the crust starts browning too fast, tent with foil. The aroma filling your kitchen at the finish line? That’s your reward.
Cooking Tips & Techniques
One trick I learned the hard way is to watch your dough, not the clock. Ambient temperature can speed up or slow down fermentation, so look for a dough that’s risen and feels airy rather than sticking rigidly to times. Also, the stretch and fold method is a game-changer for texture and easier than kneading, so don’t skip those intervals.
Using a Dutch oven traps steam, which is essential for that glossy crispy crust. If you don’t have one, you can create steam by placing a pan of hot water in the oven, but the results won’t be quite the same.
Another tip: when shaping, be gentle but deliberate to keep air pockets intact. Overhandling can deflate your dough, leading to a denser crumb.
I used to rush the cooling process and slice the bread too soon, resulting in a gummy crumb. Waiting at least an hour is tough but worth it. Your patience pays off in that perfect airy texture.
Variations & Adaptations
If you want to mix things up, here are a few ways to customize this sourdough bread recipe:
- Whole Wheat or Rye Blend: Substitute up to 30% of the bread flour with whole wheat or rye flour for a nuttier, earthier flavor. The crumb may be slightly denser but still delicious.
- Add Seeds or Grains: Fold in sunflower seeds, flax, or oats during mixing for texture and nutrition.
- Herb and Garlic: Incorporate minced fresh herbs like rosemary or thyme plus roasted garlic for a savory twist that pairs well with hearty meals.
- Overnight Cold Proof: For more tang and convenience, proof the shaped dough in the fridge overnight and bake the next day. This also fits well if you want fresh bread without morning fuss.
- Gluten-Free Option: While traditional sourdough relies on gluten, experimenting with gluten-free starters and flours like buckwheat or rice can produce interesting results—though expect a different crumb and crust.
Personally, I once added a handful of toasted walnuts and dried cranberries for a seasonal loaf that was a hit during fall brunches, especially alongside my fresh black bean cowboy caviar salad. The crunch and sweetness complemented the tangy bread beautifully.
Serving & Storage Suggestions
This perfect sourdough bread is best served at room temperature, sliced thick with butter or your favorite spread. It pairs wonderfully with soups, stews, or fresh salads.
For storage, keep the loaf in a paper bag or wrapped loosely in a kitchen towel at room temperature for up to 3 days. Avoid plastic bags—they trap moisture and soften the crust.
If you want to store longer, slice and freeze the bread in airtight bags. Toast slices directly from frozen for best texture.
Leftovers can be transformed into croutons, breadcrumbs, or even savory bread pudding. I often enjoy reheated slices alongside a creamy brown butter pesto gnocchi dinner for a cozy night in.
Nutritional Information & Benefits
One slice (about 60g) of this sourdough bread typically contains approximately:
| Nutrient | Amount |
|---|---|
| Calories | 150 |
| Carbohydrates | 30g |
| Protein | 6g |
| Fat | 1g |
| Fiber | 2g |
Sourdough fermentation helps break down gluten and phytic acid, making minerals like magnesium and zinc more bioavailable. Plus, the natural fermentation can aid digestion for some people. Just a heads-up—this bread contains gluten and isn’t suitable for those with celiac disease.
Conclusion
Making perfect sourdough bread with a crispy crust and airy crumb might sound like a tall order, but this recipe breaks it down into approachable steps that anyone can follow. It’s a recipe that rewards patience and a bit of practice with real, delicious results that bring joy to your table. You can easily tweak it to suit your taste and schedule, making it a versatile kitchen staple.
For me, this bread represents a small but meaningful way to slow down and savor the simple pleasure of homemade food. I hope it becomes one of your favorite recipes, too, and that you find your own moments of quiet satisfaction while baking it.
FAQs about Perfect Sourdough Bread Recipe
How do I know if my sourdough starter is ready to use?
Your starter should be bubbly, active, and double in size within 4-6 hours of feeding. The surface might have bubbles and a pleasant sour smell.
Why is my sourdough bread dense instead of airy?
Common reasons include underproofing, using too much flour, or not enough gluten development. Try longer bulk fermentation and gentle handling during shaping.
Can I bake sourdough bread without a Dutch oven?
You can bake on a baking stone or sheet and add steam by placing a pan of hot water in the oven. The crust won’t be quite as crispy, but it still works.
How long does sourdough bread keep fresh?
Stored at room temperature in a paper bag, it stays good for about 3 days. For longer storage, slice and freeze.
Can I add flavors like herbs or seeds to this sourdough bread?
Absolutely! Fold in your favorite mix-ins during the initial mixing step for extra texture and flavor.
Pin This Recipe!
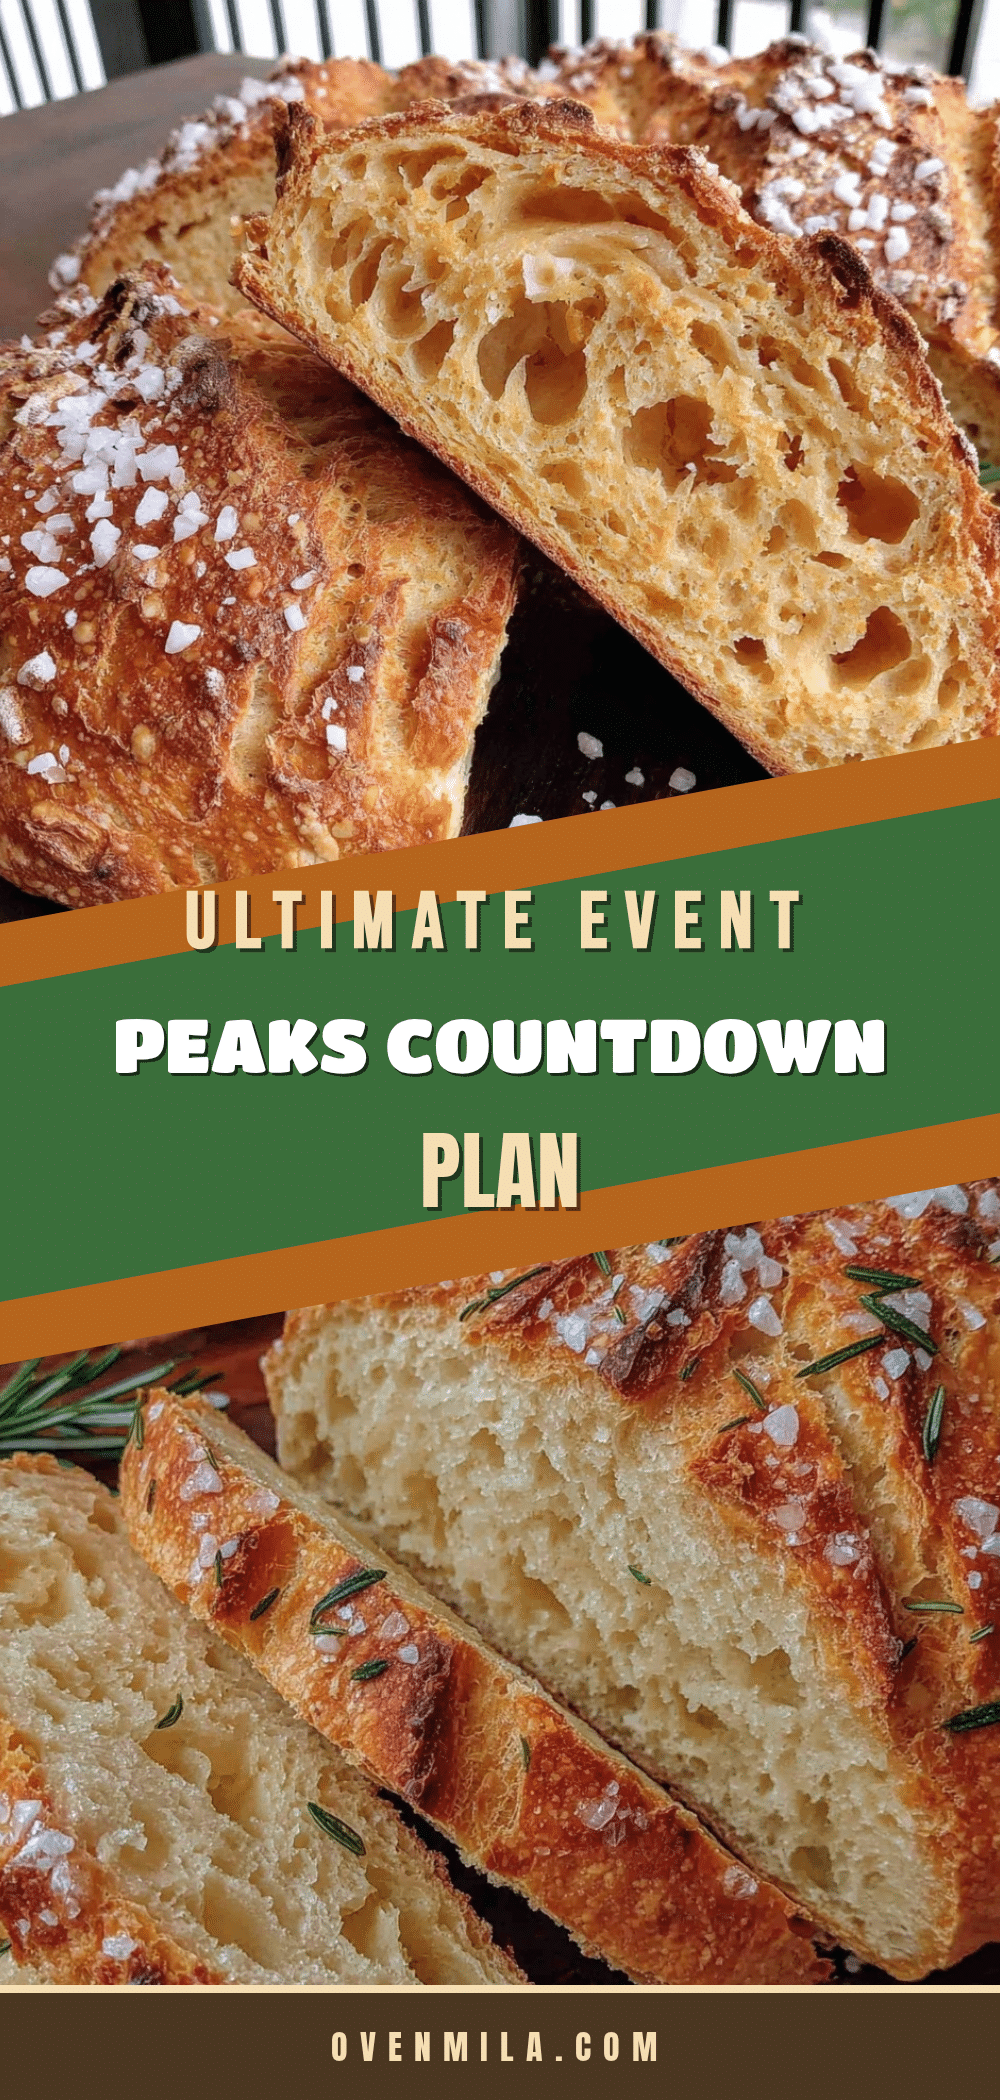
Perfect Sourdough Bread Recipe Easy Crispy Crust and Airy Crumb Guide

This sourdough bread recipe delivers a crispy crust and airy crumb, perfect for home bakers seeking bakery-quality bread with simple ingredients and straightforward steps.
- Prep Time: 30 minutes (hands-on)
- Cook Time: 45 minutes
- Total Time: 24 hours (including fermentation and proofing time)
- Yield: 1 loaf (about 1.5 lbs) 1x
- Category: Bread
- Cuisine: Artisan / Bakery Style
Ingredients
- 100g active sourdough starter (fed 4–6 hours before use)
- 500g bread flour (about 4 cups)
- 350g lukewarm water (about 1 1/2 cups, 75°F/24°C)
- 10g fine sea salt (about 2 teaspoons)
- Optional: up to 50g rye flour
- Optional: olive oil or butter (1 teaspoon)
- Optional additions: sunflower seeds, flax, oats, minced fresh herbs (rosemary, thyme), roasted garlic
Instructions
- Feed your sourdough starter about 4-6 hours before mixing the dough with equal parts flour and water by weight (e.g., 50g each). It should be bubbly and active before use.
- In a large bowl, combine 500g bread flour and 350g lukewarm water. Stir until no dry flour remains. Cover and autolyse for 30-45 minutes.
- Add 100g active starter and 10g salt to the dough. Mix thoroughly until salt is fully incorporated. The dough will be sticky and shaggy.
- Perform stretch and folds every 30 minutes for the first 2 hours: wet your hands, lift one side of dough, fold it over the center, repeat 4 times around the bowl. Then let dough rest undisturbed for another 2-3 hours at room temperature (about 70°F/21°C).
- Turn dough onto a lightly floured surface. Shape into a tight round boule by folding edges into the center and tightening with cupped hands. Place seam side up in a well-floured banneton or bowl.
- Cover and let dough proof for 2-3 hours or refrigerate overnight until slightly puffy but not doubled.
- Preheat oven and Dutch oven to 475°F (245°C) for 45 minutes.
- Remove hot Dutch oven, turn dough seam side down onto parchment paper, score top with a lame or sharp knife. Transfer dough with parchment into pot, cover and bake for 20 minutes.
- Remove lid and bake an additional 25 minutes until deep golden and crusty.
- Cool bread completely on a wire rack for at least 1 hour before slicing.
Notes
Watch dough rise and feel rather than relying strictly on time; ambient temperature affects fermentation speed. Use a Dutch oven to trap steam for a crispy crust. If crust browns too fast, tent with foil. Cool bread completely before slicing to avoid gummy crumb. Stretch and fold method replaces kneading for gluten development.
Nutrition
- Serving Size: 1 slice (about 60g)
- Calories: 150
- Fat: 1
- Carbohydrates: 30
- Fiber: 2
- Protein: 6
Keywords: sourdough bread, crispy crust, airy crumb, artisan bread, homemade bread, bread baking, sourdough starter, easy sourdough


