Dropped the last rack of baby backs onto the counter at 10 AM on a Saturday, three hours before people were supposed to show up, and realized I had nothing to serve with them. No sauce. No rub. No plan. Just a pile of ribs and a half-empty bottle of bourbon sitting next to the toaster from last week’s mango chili margarita experiment. That’s when these sticky brown sugar bourbon ribs were born — out of pure panic and a pantry that refused to cooperate.
The sugar was almost gone, the bourbon was barely enough for a decent pour, and I was this close to ordering pizza. But I dumped what I had into a bowl, added some butter because everything is better with butter, and started brushing it onto the ribs while they sat on the grill. The smell hit me about ten minutes in — sweet and smoky with that bourbon warmth cutting through — and I knew I’d stumbled onto something. These ribs didn’t need a complicated sauce or a fancy rub. They just needed what I had left.
That Labor Day cookout turned into a thing. Friends kept coming back to the grill, asking what I’d brushed on them. I kept saying “brown sugar and bourbon” like it was some kind of secret, but honestly, it was just dumb luck and a messy kitchen. These ribs have that sticky, caramelized crust that catches the light, and the meat pulls apart so clean you barely have to chew. They’re the kind of ribs that make people stop talking mid-bite. And that’s not bad for something thrown together in a panic.
Why You’ll Love This Recipe
I’ve made a lot of ribs over the years. Smoked them low and slow, boiled them (don’t judge, we’ve all done it), and slathered them in store-bought sauce that tasted like sugar and regret. These sticky brown sugar bourbon ribs are different. They’re the ones I keep coming back to, and here’s why they’ll stick in your rotation too.
- Incredibly Easy for the Flavor: No smoker, no complicated rub, no overnight marinade. You get deep, layered flavor from ingredients you probably already have. The bourbon does the heavy lifting.
- Perfect for Labor Day: These ribs were made for that last big cookout of summer. They grill up fast enough for a crowd and look impressive without making you sweat over a hot grill all afternoon.
- That Sticky Glaze: The brown sugar and bourbon caramelize into this glossy, tacky coating that clings to every rib. It’s sweet but balanced, with just enough bourbon bite to keep things interesting.
- Always a Crowd-Pleaser: I’ve served these at cookouts, game days, and random Tuesday dinners. Every single time, someone asks for the recipe. Kids love the sweetness, adults appreciate the complexity.
- No Fancy Equipment Needed: A grill, a saucepan, and a brush. That’s it. No smoker, no rotisserie, no special gadgets. Just good ribs and a simple glaze that does all the work.
What makes these ribs different from every other rack you’ve thrown on the grill is the glaze. Most recipes rely on a thick, bottled sauce that burns before it caramelizes. This one uses a thin, buttery mixture of brown sugar and bourbon that reduces into a perfect sticky coating. It’s not just another rib recipe — it’s the one that’ll ruin you for everything else. The first time I made these, my neighbor walked over and asked if I’d hired a caterer. I told him it was just brown sugar and bourbon. He didn’t believe me.
What Ingredients You Will Need
This recipe keeps things simple. You don’t need twenty ingredients or a trip to a specialty store. Most of these are pantry staples, and the ones that aren’t are worth keeping around for the next time you crave these ribs. The magic happens when the bourbon hits the brown sugar — it’s chemistry you can actually taste.
- Baby Back Ribs (2 racks, about 4-5 pounds total): Baby backs are my go-to for this recipe. They’re meatier than spare ribs but cook faster and stay tender. Look for racks with good marbling and even thickness. If you can only find St. Louis-style ribs, they’ll work too — just add about 15 minutes to the cooking time.
- Brown Sugar (1 cup, packed): Dark brown sugar gives deeper flavor, but light brown works fine too. The molasses in brown sugar is what creates that sticky, caramelized crust. Don’t use granulated sugar here — it won’t give you the same tacky texture.
- Bourbon (1/2 cup): Use something you’d actually drink. I like Buffalo Trace or Maker’s Mark for this, but any decent bourbon works. The alcohol cooks off, leaving behind that warm, oaky flavor. Avoid cheap whiskey — it tastes harsh and the bitterness lingers.
- Unsalted Butter (1/4 cup, melted): Butter smooths out the glaze and helps it cling to the ribs. It also adds richness that balances the sweetness. Use unsalted so you control the salt level.
- Apple Cider Vinegar (2 tablespoons): This cuts through the sweetness and adds brightness. It also helps tenderize the meat slightly. Don’t skip it — the acidity is what keeps these ribs from being cloying.
- Garlic Powder (1 tablespoon): Garlic powder blends into the glaze without burning. Fresh garlic can scorch on the grill, so stick with powder here.
- Smoked Paprika (1 tablespoon): Smoked paprika adds that barbecue depth without a smoker. It’s subtle but essential. Regular paprika works in a pinch, but you’ll miss that smoky note.
- Salt (1 tablespoon) and Black Pepper (1 teaspoon): Kosher salt is best for even seasoning. Freshly ground black pepper adds a little heat that plays off the sweetness.
- Cayenne Pepper (1/2 teaspoon, optional): A tiny kick of heat that wakes up the glaze. Leave it out if you’re feeding kids or spice-averse guests.
- Dijon Mustard (1 tablespoon): Mustard adds tang and helps the glaze stick. You won’t taste it directly — it just makes everything else taste more like itself.
I’ve made these ribs with different bourbons over the years, and the best results come from something mid-range. Not the expensive stuff you save for sipping, but not the bottom shelf either. I keep a bottle of Bulleit in my pantry just for this recipe. It’s smooth enough to enjoy in the glaze and strong enough to stand up to the brown sugar.
Equipment Needed
You don’t need a fancy setup for these ribs. I’ve made them on a gas grill, a charcoal kettle, and even a cast iron pan on the stove when the weather didn’t cooperate. Here’s what you’ll actually use.
- Grill (Gas or Charcoal): A gas grill is easiest for temperature control, but charcoal adds that smoky flavor you can’t fake. If you’re using charcoal, set up a two-zone fire — direct heat for searing, indirect for cooking through.
- Saucepan: A small saucepan for making the glaze. Nothing fancy — just something with a heavy bottom so the sugar doesn’t scorch.
- Basting Brush: A silicone brush is ideal. The bristles don’t shed, and it holds enough glaze to coat the ribs evenly. If you only have a pastry brush, that works too.
- Aluminum Foil: Heavy-duty foil for wrapping the ribs during the first part of cooking. This traps steam and keeps them tender before the glaze goes on.
- Tongs: Long tongs for moving the ribs on the grill. Short ones will burn your knuckles — trust me on this.
- Instant-Read Thermometer: Not strictly necessary, but it takes the guesswork out. Ribs are done around 195-203°F internal temperature. I use a Thermapen and it’s never let me down.
- Cutting Board and Sharp Knife: A sturdy board and a sharp chef’s knife for cutting the racks into individual ribs after they rest. A dull knife will shred the meat.
If you don’t have a grill, you can finish these in the oven. Wrap the ribs in foil, bake at 300°F for 2 hours, then unwrap, brush with glaze, and broil for 5-7 minutes until sticky. It’s not quite the same as grilled, but it’s close enough for a rainy day.
Preparation Method
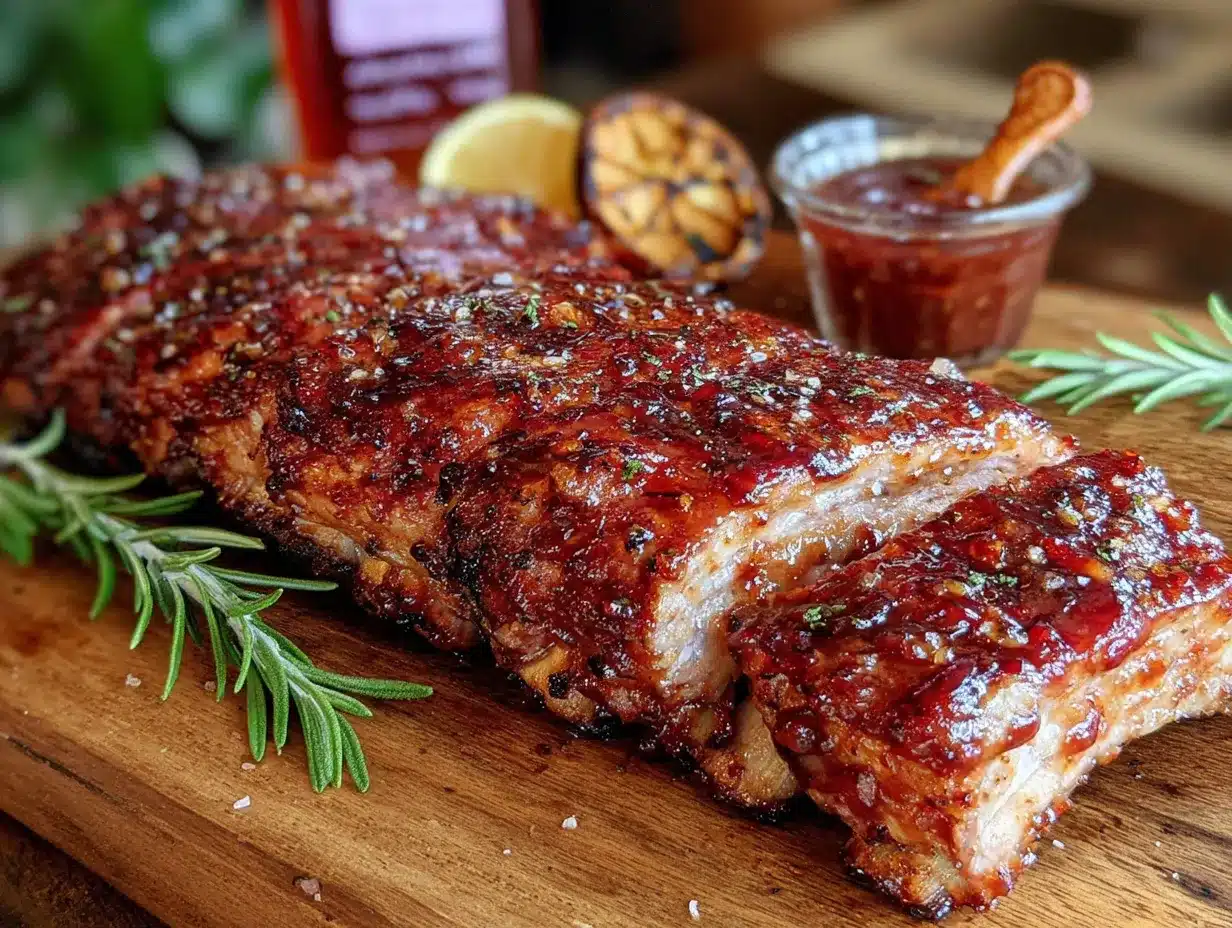
These ribs come together in stages, but none of them are complicated. The key is patience during the wrapping phase — that’s where the tenderness happens. Here’s exactly how I do it.
- Prep the Ribs (15 minutes): Remove the membrane from the back of each rack. Slide a butter knife under the membrane at one end, grab it with a paper towel, and pull it off. It comes off in one piece if you’re lucky. Don’t stress if it tears — just get as much off as you can. Pat the ribs dry with paper towels. Season both sides generously with salt and pepper. Let them sit at room temperature for 30 minutes while you make the glaze.
- Make the Glaze (10 minutes): In a small saucepan over medium heat, combine the brown sugar, bourbon, melted butter, apple cider vinegar, garlic powder, smoked paprika, cayenne (if using), and Dijon mustard. Whisk until the sugar dissolves and the mixture is smooth. Bring it to a gentle simmer, then reduce the heat to low. Let it cook for 5-7 minutes, stirring occasionally, until it thickens slightly. It should coat the back of a spoon but still be pourable. Remove from heat and set aside.
- Preheat the Grill (10 minutes): Heat your grill to 300-325°F for indirect cooking. On a gas grill, turn on one side and leave the other off. On a charcoal grill, bank the coals to one side. You want gentle, even heat — not a blazing fire.
- Wrap and Cook (1 hour 30 minutes): Place each rack of ribs on a large sheet of heavy-duty aluminum foil. Brush about 2 tablespoons of the glaze onto each rack, saving the rest for later. Wrap the foil tightly around the ribs, creating a sealed packet. Place the foil packets on the indirect-heat side of the grill. Close the lid and cook for 1 hour 15 minutes. The ribs will steam in their own juices, becoming incredibly tender.
- Unwrap and Glaze (20 minutes): Carefully remove the foil packets from the grill. Open them — watch out for the steam, it’s hot. Brush the ribs generously with more glaze on both sides. Place the ribs directly on the grill grates over medium heat (around 350-375°F). Cook for 5-7 minutes per side, brushing with more glaze each time you flip. The sugars will caramelize and the glaze will become sticky and tacky. You’re looking for a deep amber color with some charred spots.
- Rest and Serve (10 minutes): Transfer the ribs to a cutting board and let them rest for 10 minutes. This lets the juices redistribute. Cut between the bones to separate individual ribs. Brush with any remaining glaze before serving. The meat should pull away from the bone cleanly but not fall apart completely.
The first time I made these, I got impatient during the glazing phase and piled on too much glaze at once. It dripped onto the coals and flared up, charring the outside before the inside was done. Learn from my mistake — thin, even layers are better than one thick coat. Let each layer caramelize before adding the next.
Cooking Tips & Techniques
I’ve burned, dried out, and undercooked more ribs than I care to admit. These tips come from years of trial and error — mostly error, if I’m being honest. Save yourself the heartache and follow these.
Remove the Membrane: That thin, silvery skin on the back of the ribs is tough and chewy. It also blocks the glaze from penetrating. If you skip this step, you’ll be pulling strips of membrane off every bite. Not a good look. Use a paper towel for grip — it makes the job way easier.
Don’t Boil the Glaze: The glaze should simmer gently, not boil hard. Boiling breaks down the sugar too quickly and gives you a gritty, crystallized mess. Keep the heat low and stir often. If it starts to bubble aggressively, pull it off the heat for a minute.
Watch the Sugar: Brown sugar burns fast on a hot grill. That sticky glaze is amazing until it turns into black carbon. Keep the heat moderate during the glazing phase and watch the ribs like a hawk. If you see flare-ups, move the ribs to a cooler part of the grill immediately.
Let the Ribs Rest: I know it’s tempting to tear into them right away, but resting is non-negotiable. Those 10 minutes let the juices settle back into the meat. Cut too soon and you’ll have dry ribs on a puddle of juice that should have stayed inside.
Double Up on Glaze: Make a little extra glaze if you can. I always reserve a small bowl of un-used glaze for serving. Once the ribs hit the table, a final brush of fresh glaze makes them look glossy and restaurant-quality.
One thing I learned the hard way — don’t use a sugary barbecue sauce for the initial wrap. I tried that once, thinking it would add flavor. It just made the ribs soggy and the sugar burned off during the final grilling. Stick with the bourbon glaze from the start. Trust the process.
Variations & Adaptations
These ribs are flexible. I’ve tweaked them for different diets, different crowds, and different moods. Here are a few versions that actually work.
Spicy Bourbon Ribs: Add 1 tablespoon of chipotle powder or 2 minced chipotle peppers in adobo to the glaze. The smoky heat pairs beautifully with the bourbon. I made these for a game day cookout and they disappeared faster than the regular ones. Just warn people before they take a bite — the heat sneaks up on you.
Honey Bourbon Ribs: Swap half the brown sugar for honey. The honey gives the glaze a different kind of sweetness — floral and lighter. It also creates a slightly thinner glaze that clings differently. These are great if you want something a little less molasses-heavy.
Oven-Baked Bourbon Ribs: No grill? No problem. Wrap the ribs in foil and bake at 300°F for 2 hours. Unwrap, brush with glaze, and broil on high for 5-7 minutes, watching carefully so the sugar doesn’t burn. The texture is slightly different — less smoky, more tender — but still delicious.
Smoked Bourbon Ribs: If you have a smoker, use it. Smoke the ribs at 225°F for 3 hours with hickory or applewood. Wrap in foil with a little apple juice and cook for another hour. Then unwrap, glaze, and smoke for 30 more minutes. The smoky bourbon combination is next-level. I did this once for a smoked brisket sliders party and everyone lost their minds.
Pork Shoulder Variation: Use the same glaze on a pork shoulder or pork butt. Cook low and slow until it shreds, then toss the pulled pork in the glaze. It’s amazing on sandwiches with creamy dill potato salad on the side.
Serving & Storage Suggestions
These ribs are best served hot off the grill, but they’re surprisingly good at room temperature too. Here’s how I handle serving and leftovers.
Serving Temperature: Serve the ribs warm, not piping hot. Let them rest for 10 minutes after grilling, then cut and serve. If you’re feeding a crowd, keep them in a warm oven (200°F) on a baking sheet, loosely covered with foil, for up to 30 minutes. They’ll stay sticky and tender without drying out.
What to Serve With Them: These ribs pair well with classic cookout sides. I love them with creamy dill potato salad, coleslaw, or grilled corn. The sweetness of the ribs balances the tang of vinegar-based sides. For drinks, these ribs scream for a cold beer or a frozen mango chili margarita — the sweet heat combo works perfectly.
Storing Leftovers: If you have leftovers (unlikely, but possible), store them in an airtight container in the fridge for up to 4 days. The glaze will harden slightly, but it softens when reheated. Don’t stack the ribs too tightly or the glaze will stick together and pull off when you separate them.
Reheating: The best way to reheat is in a 300°F oven for 10-15 minutes, wrapped in foil. This keeps them moist and re-melts the glaze. You can also reheat on the grill over low heat for 5 minutes per side. Microwaving works in a pinch, but the texture suffers — the ribs get chewy and the glaze turns gummy.
Freezing: These ribs freeze beautifully. Wrap each rack tightly in plastic wrap, then foil, and freeze for up to 3 months. Thaw in the fridge overnight, then reheat in a 300°F oven. The glaze might lose a little of its shine, but the flavor stays intact. I’ve pulled these out for surprise guests more times than I can count.
The flavors actually deepen after a day in the fridge. I’ve snacked on cold leftover ribs the next morning, and they’re almost better than fresh. The bourbon mellows out and the brown sugar gets this almost caramel-like quality. Don’t judge — try it.
Nutritional Information & Benefits
These ribs are a splurge, no doubt about it. But they’re made with real ingredients, and there’s something to be said for cooking from scratch. Here’s the breakdown per serving (about 4-5 ribs, assuming 2 racks serve 6-8 people).
- Calories: Approximately 520-580 per serving
- Protein: 32-38g — Ribs are a solid source of protein, which keeps you full and supports muscle repair.
- Fat: 35-40g — Mostly from the pork and butter. Not light, but satisfying.
- Carbohydrates: 28-32g — Almost entirely from the brown sugar in the glaze.
- Sugar: 25-28g — This is the main trade-off. The glaze is sweet, and that’s kind of the point.
- Sodium: 600-700mg — The salt in the rub and the natural sodium in the pork add up. If you’re watching your salt, reduce the added salt in the rub.
These ribs are gluten-free, dairy-free (if you use a dairy-free butter substitute), and nut-free. They’re also keto-friendly if you skip the glaze or use a sugar substitute, though I haven’t tested that version. The pork itself is a good source of B vitamins, zinc, and iron. Bourbon in moderation has been linked to some heart health benefits, but let’s be real — we’re here for the flavor, not the health claims.
I don’t pretend these are health food. They’re celebration food. Labor Day, game day, Tuesday — whatever the occasion, these ribs are worth the calories. Balance them with lighter sides like a watermelon feta mint skewers or a green salad, and you’ve got a meal that feels indulgent without being over the top.
Conclusion
These sticky brown sugar bourbon ribs came from a panicked morning and a nearly empty pantry, but they’ve become my go-to for every cookout since. They’re the recipe I make when I want to impress without stress, when I want something that tastes like it took all day but actually came together in a couple of hours. The glaze is simple — brown sugar, bourbon, butter, and a few pantry spices — but it creates something that feels special. That sticky, caramelized crust. The way the meat pulls apart. The bourbon warmth that lingers after every bite.
I’ve made these ribs for Labor Day parties, summer barbecues, and random weeknight dinners when I needed something to look forward to. Every single time, someone asks for the recipe. And every single time, I tell them the same thing — it’s just brown sugar and bourbon, but it works.
Try these ribs for your next cookout. Adjust the spice level, swap the bourbon for whiskey, or add a little extra butter if you’re feeling reckless. Make them your own. And when someone asks you for the recipe, send them my way.
Drop a comment below and let me know how yours turned out. Did you add extra cayenne? Try it with honey? Smoke them for hours? I want to hear about it. Share your photos, your tweaks, your happy accidents. That’s what cooking is all about.
Frequently Asked Questions
Can I make these ribs without a grill?
Absolutely. Wrap the ribs in foil and bake at 300°F for 2 hours. Unwrap, brush with glaze, and broil on high for 5-7 minutes. Watch them carefully so the sugar doesn’t burn. The texture is slightly different — more tender, less smoky — but still delicious.
What’s the best bourbon for this recipe?
Use something mid-range that you’d actually drink. Buffalo Trace, Maker’s Mark, Bulleit, or Woodford Reserve all work well. Avoid bottom-shelf whiskey — the harsh flavors don’t cook out completely. And don’t use your expensive sipping bourbon either. Save that for the glass you pour while you cook.
How do I prevent the glaze from burning?
Keep the heat moderate during the glazing phase — around 350-375°F. Brush thin layers and let each one caramelize before adding the next. If you see flare-ups, move the ribs to a cooler part of the grill immediately. The sugar in the glaze burns fast, so stay close.
Can I use spare ribs instead of baby backs?
Yes, but adjust the cooking time. Spare ribs are larger and fattier, so they need about 15-20 minutes more in the foil wrap. They’re also more forgiving if you overcook them slightly. The glaze works exactly the same way.
How do I get the membrane off easily?
Slide a butter knife under the membrane at one end of the rack to loosen it. Grab the loosened edge with a paper towel (for grip) and pull slowly. It should come off in one piece. If it tears, just grab another edge and keep pulling. Don’t stress about getting every last bit — just remove as much as you can.
Pin This Recipe!
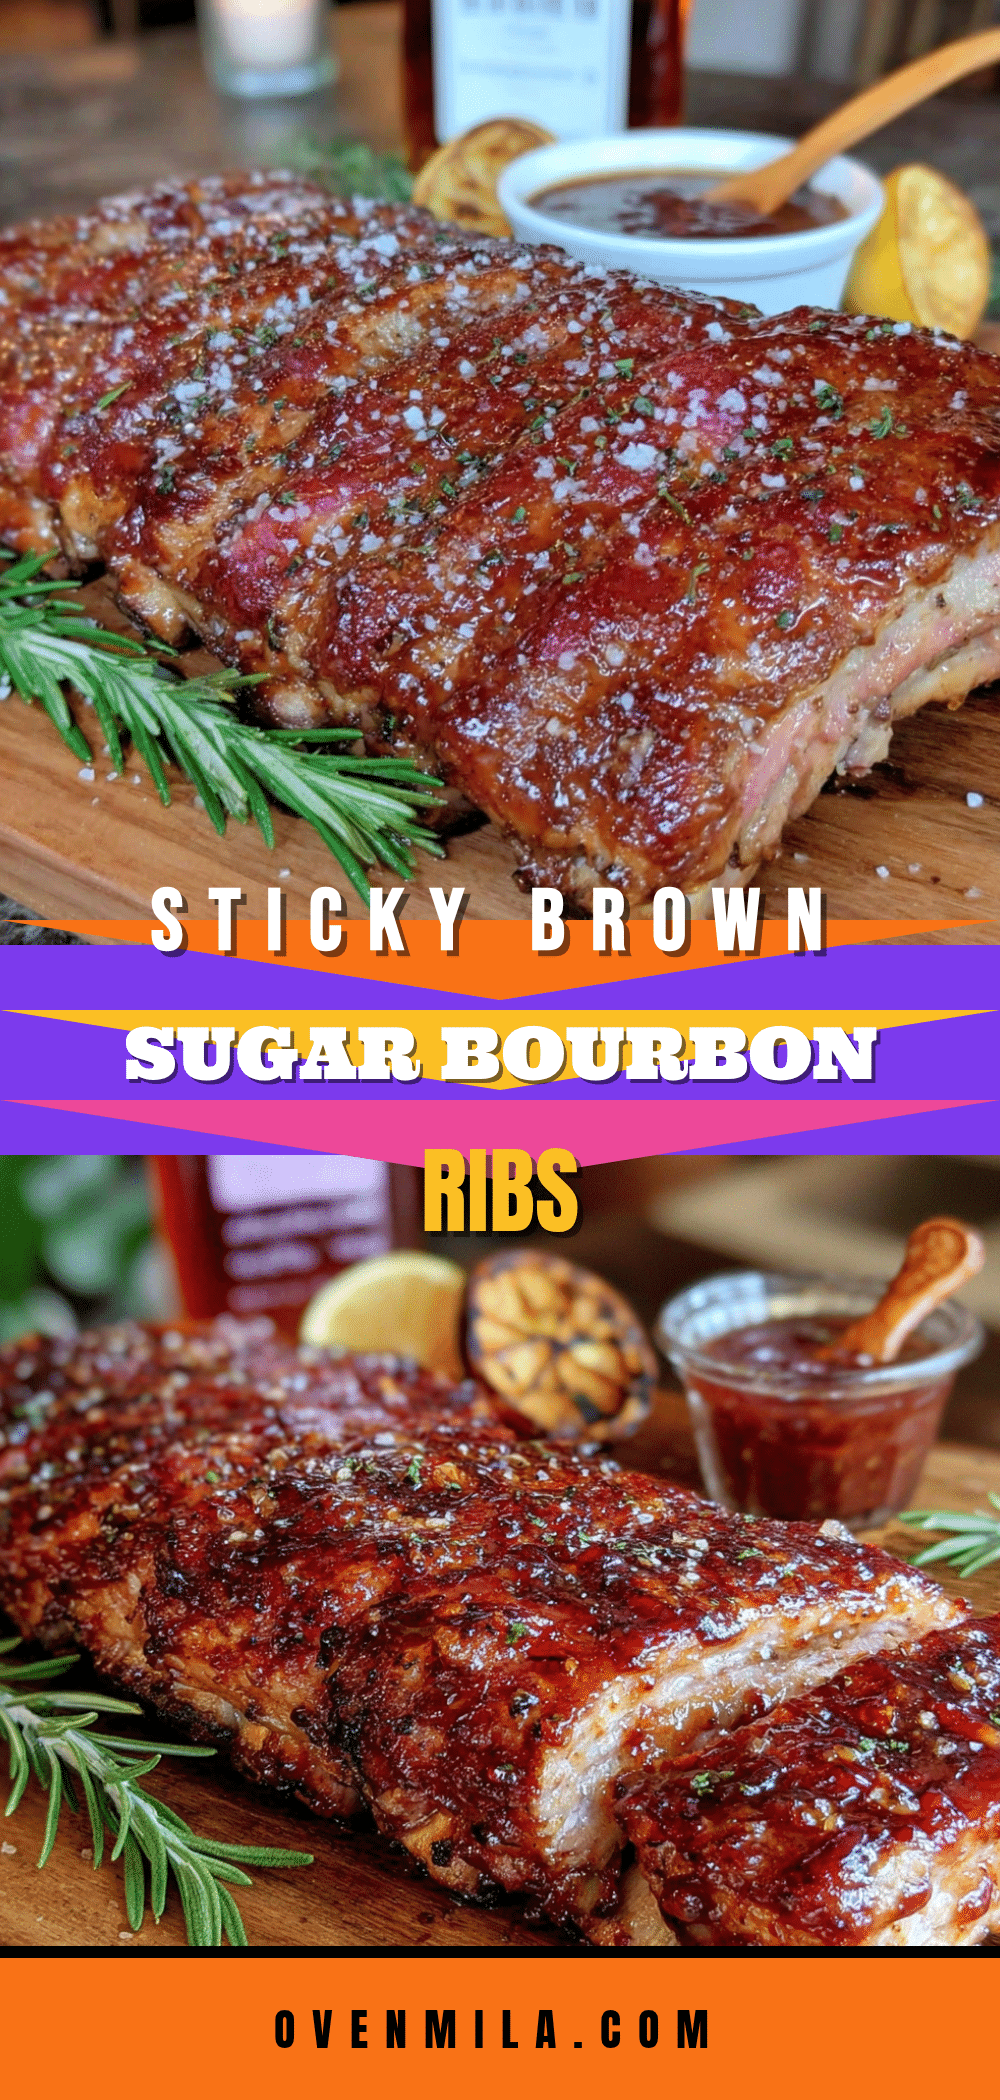
Perfect Sticky Brown Sugar Bourbon Ribs for Labor Day
These sticky brown sugar bourbon ribs are born out of pure panic and a pantry that refused to cooperate. They have a sticky, caramelized crust that catches the light, and the meat pulls apart so clean you barely have to chew.
- Prep Time: 15 minutes
- Cook Time: 1 hour 50 minutes
- Total Time: 2 hours 5 minutes
- Yield: 6-8 servings 1x
- Category: Main Course
- Cuisine: American
Ingredients
- 2 racks baby back ribs (about 4–5 pounds total)
- 1 cup packed brown sugar
- 1/2 cup bourbon
- 1/4 cup unsalted butter, melted
- 2 tablespoons apple cider vinegar
- 1 tablespoon garlic powder
- 1 tablespoon smoked paprika
- 1 tablespoon kosher salt
- 1 teaspoon black pepper, freshly ground
- 1/2 teaspoon cayenne pepper (optional)
- 1 tablespoon Dijon mustard
Instructions
- Remove the membrane from the back of each rack. Slide a butter knife under the membrane at one end, grab it with a paper towel, and pull it off. Pat the ribs dry with paper towels. Season both sides generously with salt and pepper. Let them sit at room temperature for 30 minutes while you make the glaze.
- In a small saucepan over medium heat, combine the brown sugar, bourbon, melted butter, apple cider vinegar, garlic powder, smoked paprika, cayenne (if using), and Dijon mustard. Whisk until the sugar dissolves and the mixture is smooth. Bring it to a gentle simmer, then reduce the heat to low. Let it cook for 5-7 minutes, stirring occasionally, until it thickens slightly. Remove from heat and set aside.
- Heat your grill to 300-325°F for indirect cooking. On a gas grill, turn on one side and leave the other off. On a charcoal grill, bank the coals to one side.
- Place each rack of ribs on a large sheet of heavy-duty aluminum foil. Brush about 2 tablespoons of the glaze onto each rack, saving the rest for later. Wrap the foil tightly around the ribs, creating a sealed packet. Place the foil packets on the indirect-heat side of the grill. Close the lid and cook for 1 hour 15 minutes.
- Carefully remove the foil packets from the grill. Open them, watching out for the steam. Brush the ribs generously with more glaze on both sides. Place the ribs directly on the grill grates over medium heat (around 350-375°F). Cook for 5-7 minutes per side, brushing with more glaze each time you flip. The sugars will caramelize and the glaze will become sticky and tacky.
- Transfer the ribs to a cutting board and let them rest for 10 minutes. Cut between the bones to separate individual ribs. Brush with any remaining glaze before serving.
Notes
Remove the membrane for best texture. Don’t boil the glaze; simmer gently. Watch the sugar to prevent burning. Let ribs rest before cutting. Double up on glaze for serving.
Nutrition
- Serving Size: 4-5 ribs
- Calories: 520580
- Sugar: 2528
- Sodium: 600700
- Fat: 3540
- Saturated Fat: 1215
- Carbohydrates: 2832
- Protein: 3238
Keywords: sticky brown sugar bourbon ribs, labor day ribs, grilled ribs, bourbon glaze ribs, baby back ribs


