An older woman at the community garden watched me fumbling with a butternut squash, trying to figure out if it was ripe. She didn’t say anything at first, just kept weeding her plot a few feet away. Then she stood up, dusted off her knees, and walked over. “You’re overthinking it,” she said, tapping the squash with her finger. “The color tells you everything. And if you’re in a hurry, just use the canned stuff. Nobody’s judging your pie for being practical.” I laughed, embarrassed, and she smiled back. That conversation turned into an afternoon of swapping stories about Thanksgiving disasters and shortcuts, and somewhere in there, she mentioned her pumpkin pie recipe—the one she’d been making for forty years, streamlined for real life. I adapted it over time, and honestly, it’s become my go-to for those weeknights when I need a slice of comfort without spending hours in the kitchen. You know the feeling when you just want something homemade but the clock is against you? This pie is for those nights.
This quick classic pumpkin pie with maple whipped cream is the dessert that saves me every fall. It’s not complicated, it doesn’t require a shopping list that sends you to three different stores, and it comes together in under an hour. I mean, who has time for fussy pastry crusts and complicated custards on a Tuesday night? Not me, and probably not you either. The filling is rich and spiced just right, and the maple whipped cream on top adds this little touch of something special without any extra work. It’s the kind of dessert that makes you feel like you’ve got it all together, even when you’re barely holding on. Let me tell you, I’ve served this to dinner guests who had no idea it came from a can of pumpkin and a store-bought crust. It’s our little secret.
Why You’ll Love This Recipe
Let’s be real for a second. You’re busy, you’re tired, and you still want something that tastes like you actually tried. This quick classic pumpkin pie with maple whipped cream delivers on every level without the drama. I’ve tested this recipe at least a dozen times, tweaking the spice blend and the baking time until it was just right. It’s been approved by my picky family, my skeptical neighbors, and even a friend who swears she doesn’t like pumpkin pie. That last one was a win I’m still proud of.
- Quick & Easy: From start to finish, this pie is ready in about 50 minutes. Most of that is hands-off baking time, so you can get dinner on the table or finally sit down for five minutes.
- Simple Ingredients: You probably already have the spices in your cabinet. The pumpkin is canned, the crust is store-bought, and the heavy cream is a staple. No fancy grocery runs required.
- Perfect for Weeknights: Whether it’s a random Tuesday in October or you’re hosting a last-minute Friendsgiving, this pie fits right in. It feels special but doesn’t demand your whole evening.
- Crowd-Pleaser: Kids love the creamy texture, adults appreciate the warm spices, and everyone goes crazy for that maple whipped cream. I’ve never had leftovers, and that’s saying something.
- Unbelievably Delicious: The texture is silky, the flavor is perfectly balanced between sweet and spiced, and the maple whipped cream adds a subtle richness that takes it over the top. This isn’t just another pumpkin pie—it’s the one you’ll make again and again.
What makes this recipe different is the technique. I blend the filling thoroughly to get that ultra-smooth texture, and I pre-bake the crust just enough to keep it from getting soggy. It’s a small step that makes a huge difference. And honestly, this pie is the kind that makes you close your eyes after the first bite. It’s comfort food reimagined—faster, simpler, but with the same soul-soothing satisfaction. Perfect for impressing guests without stress, or turning a simple meal into something memorable.
What Ingredients You Will Need
This recipe uses simple, wholesome ingredients to deliver bold flavor and satisfying texture without the fuss. Most of these are pantry staples, so you can whip this up on a whim without a special trip to the store. I’ve tested a few brand variations, and I’ll share what works best.
For the Pumpkin Pie Filling
- 1 (15-ounce) can pumpkin puree (not pumpkin pie filling—I prefer Libby’s for consistent texture)
- 3/4 cup granulated sugar
- 1 teaspoon ground cinnamon (I like McCormick for its warm, consistent flavor)
- 1/2 teaspoon ground ginger
- 1/4 teaspoon ground cloves
- 1/4 teaspoon ground nutmeg (freshly grated if you have it, but pre-ground works fine)
- 1/2 teaspoon salt
- 2 large eggs, room temperature (this helps the filling blend smoothly)
- 1 (12-ounce) can evaporated milk (not sweetened condensed milk—evaporated gives the right creamy texture)
- 1 teaspoon vanilla extract
For the Maple Whipped Cream
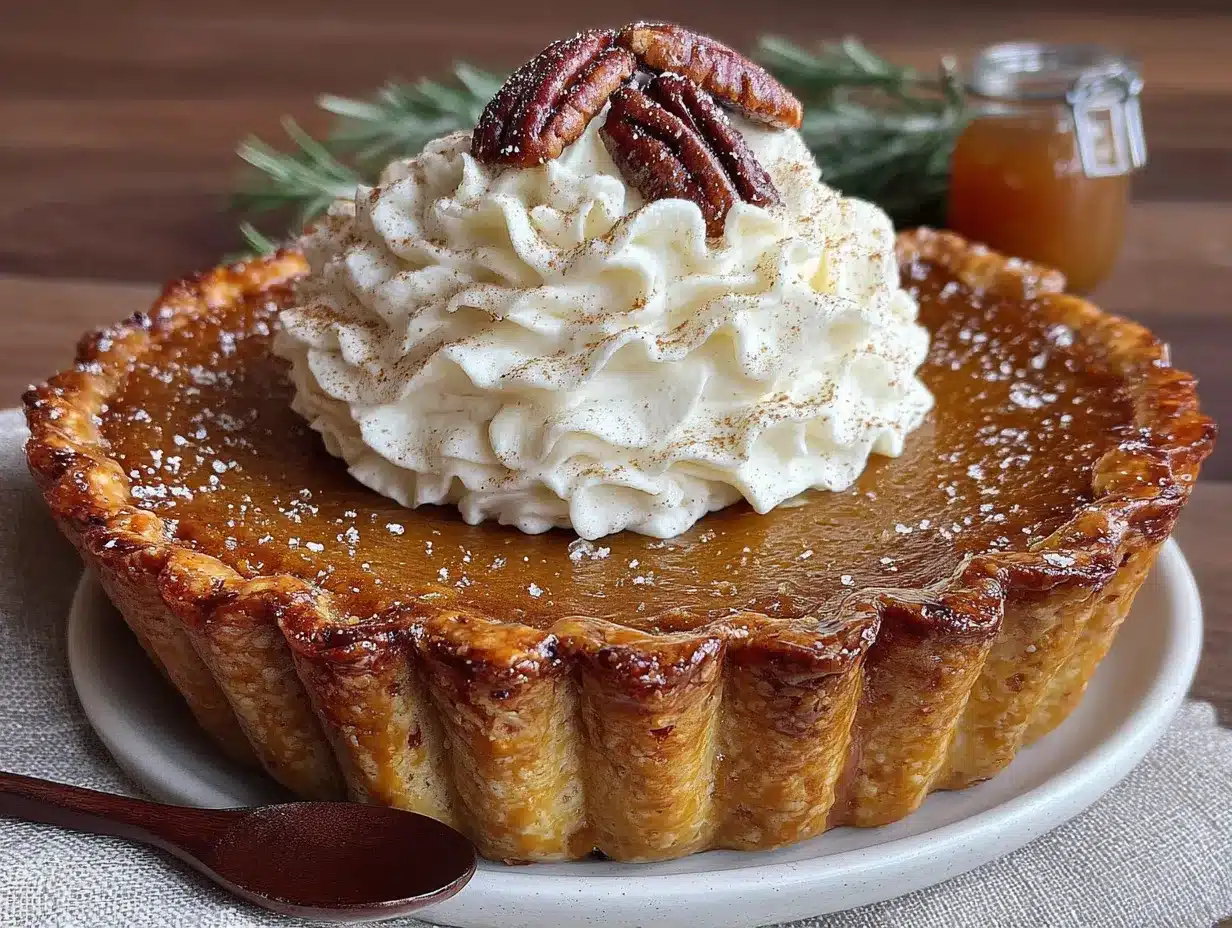
- 1 cup heavy whipping cream, cold (I use Organic Valley for the best consistency)
- 2 tablespoons pure maple syrup (not pancake syrup—the real stuff makes a difference)
- 1/2 teaspoon vanilla extract
For the Crust
- 1 (9-inch) deep-dish pie crust, unbaked (store-bought is fine—I’m partial to Pillsbury refrigerated crusts, or you can use a frozen one like Marie Callender’s)
A few notes: If you want a gluten-free option, use a gluten-free pie crust from the freezer aisle. For a dairy-free whipped cream, substitute full-fat coconut cream (chilled) and whip it the same way with maple syrup. The texture will be slightly different but still delicious. I’ve also tried using pumpkin pie spice instead of individual spices—use 2 teaspoons if you go that route. It’s a time-saver, but I find the individual spices give a more nuanced flavor.
Equipment Needed
- 9-inch deep-dish pie plate (glass or ceramic works best for even baking)
- Large mixing bowl
- Whisk
- Measuring cups and spoons
- Electric hand mixer or stand mixer (for the whipped cream—you can also whisk by hand if you’re up for an arm workout)
- Baking sheet (to catch any drips and help the crust brown evenly)
- Cooling rack
- Sharp knife or pie server
If you don’t have a deep-dish pie plate, a standard one will work—just keep an eye on the filling level and reduce the baking time by a few minutes. I’ve used a ceramic dish for years and it gives a nice, even golden crust. For the mixer, any brand will do, but I recommend chilling the bowl and beaters for the whipped cream—it helps it whip up faster and fluffier. Budget-friendly tip: a simple whisk and a sturdy bowl work perfectly if you don’t own a mixer. It takes a few extra minutes, but it’s totally doable.
Preparation Method
Preheat your oven to 425°F (220°C). Place the unbaked pie crust in the pie plate, crimp the edges if you’re feeling fancy, and set it on a baking sheet. This helps catch any filling that might bubble over and ensures the crust bakes evenly.
- Make the filling: In a large mixing bowl, whisk together the pumpkin puree, sugar, cinnamon, ginger, cloves, nutmeg, and salt until smooth. The mixture will be thick and fragrant—this is where the magic starts. Add the eggs one at a time, whisking well after each addition. Slowly pour in the evaporated milk and vanilla extract, whisking continuously until the filling is completely smooth and uniform in color. Scrape down the sides of the bowl to make sure everything is incorporated.
- Fill the crust: Pour the filling into the unbaked pie crust, spreading it evenly with a spatula if needed. The filling should come almost to the rim of the crust. Don’t overfill—leave about 1/4 inch of space to prevent spilling over during baking.
- Bake the pie: Place the baking sheet with the pie on the middle rack of the oven. Bake at 425°F (220°C) for 15 minutes. This high heat helps set the crust and gives the filling a head start. Then, reduce the oven temperature to 350°F (175°C) and continue baking for 40-50 minutes. The pie is done when the edges are set and the center is just slightly jiggly—like firm Jell-O. A knife inserted 2 inches from the edge should come out clean. The center will continue to set as it cools.
- Cool completely: Transfer the pie to a cooling rack and let it cool at room temperature for at least 2 hours. This is crucial—cutting into it too early will result in a runny mess. I know it’s tempting, but trust me on this one. The filling needs time to firm up and develop its creamy texture.
- Make the maple whipped cream: While the pie cools, chill your mixing bowl and beaters in the freezer for about 10 minutes. Pour the cold heavy cream, maple syrup, and vanilla extract into the chilled bowl. Beat on medium-high speed until soft peaks form—this takes about 2-3 minutes with an electric mixer. Be careful not to overbeat, or you’ll end up with butter. The whipped cream should be light and fluffy, with the maple flavor subtly coming through. Store in the refrigerator until ready to serve.
- Serve: Once the pie is completely cool, slice it with a sharp knife, wiping the blade clean between cuts for neat slices. Top each slice with a generous dollop of maple whipped cream. A sprinkle of cinnamon on top looks pretty and adds a little extra warmth.
Troubleshooting tip: If the edges of your crust are browning too quickly, cover them with strips of aluminum foil or a pie shield halfway through baking. I’ve forgotten this step more than once, and a slightly dark crust still tastes fine—it’s just not as pretty.
Cooking Tips & Techniques
Let me share a few things I’ve learned the hard way so you don’t have to. First, always use room temperature eggs. I know it’s a pain to remember, but cold eggs can make the filling lumpy and prevent it from blending smoothly. If you’re in a hurry, place the eggs in a bowl of warm water for 5 minutes—that does the trick.
Second, don’t skip the pre-bake at high temperature. That initial blast of heat helps the crust set and prevents the dreaded soggy bottom. I’ve tried skipping it when I was short on time, and the result was a crust that fell apart. Not worth the shortcut.
Third, when you’re making the whipped cream, make sure your cream is very cold. I keep it in the coldest part of the fridge until the last minute. If it’s even slightly warm, it won’t whip properly. And don’t add the maple syrup too early—add it after the cream starts to thicken, or it can deflate the mixture.
One more thing: if your pie cracks on the surface, don’t panic. It happens when the oven temperature is slightly off or the pie bakes a few minutes too long. Just cover the crack with whipped cream and nobody will ever know. I’ve served cracked pies to dinner guests who raved about them. The flavor is still perfect, and the whipped cream hides a multitude of sins.
Variations & Adaptations
This quick classic pumpkin pie with maple whipped cream is wonderfully adaptable. Here are a few ways to switch it up:
- Dairy-Free Version: Use a dairy-free pie crust and substitute the evaporated milk with full-fat coconut milk (canned, not carton). The filling will be slightly richer, but it’s still delicious. For the whipped cream, use chilled full-fat coconut cream and whip it with the maple syrup. The texture is a bit different but still light and creamy.
- Gluten-Free Option: Simply use a gluten-free pie crust. I’ve tried a few brands, and Wholly Gluten Free works well. You can also make your own with almond flour and butter, but that adds time—defeats the quick aspect.
- Spice It Up: Add 1/4 teaspoon of cardamom or allspice for a more complex flavor profile. I tried this once when I ran out of cloves, and honestly, I liked it even better. The cardamom adds a subtle floral note that pairs beautifully with the maple whipped cream.
- Bourbon Maple Whipped Cream: Replace 1 tablespoon of the maple syrup with bourbon for an adult twist. It adds a warm, smoky depth that’s perfect for holiday gatherings. Just be careful not to add too much, or the cream won’t whip properly.
- Mini Pies: Use a muffin tin lined with small pie crusts (store-bought or homemade) and fill them with the same mixture. Bake at 350°F (175°C) for about 20-25 minutes. These are perfect for parties or portion control—though I’ve never met a mini pie I didn’t eat two of.
I’ve tried the cardamom variation myself, and it’s become my secret weapon for fall baking. It’s subtle enough that most people can’t pinpoint what’s different, but they always ask what makes it taste so good.
Serving & Storage Suggestions
This quick classic pumpkin pie with maple whipped cream is best served at room temperature or slightly chilled. I prefer room temperature because the flavors are more pronounced and the texture is creamier. If you’re serving it straight from the fridge, let it sit out for about 15-20 minutes first.
For presentation, I like to add a light dusting of cinnamon or nutmeg over the whipped cream. Sometimes I’ll add a few candied pecans or a drizzle of extra maple syrup for a more decadent look. It pairs beautifully with a cup of hot coffee or spiced chai—the warmth balances the cool, creamy pie.
Storage: Cover the pie loosely with plastic wrap or foil and store it in the refrigerator for up to 4 days. The whipped cream is best made fresh, but you can store it in an airtight container in the fridge for up to 24 hours. Just give it a quick whisk before serving to fluff it back up. The pie itself freezes beautifully—wrap it tightly in plastic wrap and then foil, and freeze for up to 3 months. Thaw overnight in the refrigerator before serving. The maple whipped cream does not freeze well, so make that fresh.
One thing I love about this pie is that the flavors actually improve after a day in the fridge. The spices meld together and the texture becomes even silkier. So if you can resist eating it the same day, you’ll be rewarded with an even better pie tomorrow.
Nutritional Information & Benefits
Per slice (based on 8 servings, with whipped cream): approximately 380 calories, 22g fat, 44g carbohydrates, 6g protein, 2g fiber, 28g sugar. These values are estimates and will vary based on specific ingredients and brands used.
Pumpkin is packed with vitamin A (over 200% of your daily needs per serving), which supports eye health and immune function. It’s also a good source of fiber and potassium. The cinnamon and ginger in this recipe have anti-inflammatory properties, and the eggs provide high-quality protein. The maple syrup in the whipped cream adds antioxidants and minerals like zinc and manganese—a little sweetness with some actual benefits.
This recipe is naturally vegetarian and can easily be made gluten-free or dairy-free with the substitutions mentioned above. It contains dairy and gluten in its standard form, and eggs are unavoidable (they’re essential for the custard texture). If you have nut allergies, the basic recipe is nut-free, but check your pie crust label to be sure.
I love that this dessert feels indulgent but has some nutritional value. It’s not health food by any means, but it’s a far cry from empty calories. A slice of this pie with a dollop of maple whipped cream feels like a treat you can actually feel good about.
Conclusion
This quick classic pumpkin pie with maple whipped cream is the dessert you’ll turn to again and again. It’s fast enough for a weeknight, impressive enough for company, and delicious enough to make you forget you took any shortcuts. The creamy, spiced filling paired with that light, maple-sweetened cream is a combination that never gets old.
I hope you make this recipe your own—add a little extra cinnamon if that’s your thing, or skip the whipped cream if you’re keeping it simple. The beauty of this pie is that it works with whatever you’ve got going on. Whether you’re baking for a holiday table or just because it’s Tuesday and you need a little comfort, this pie delivers.
I’d love to hear how it turns out for you. Drop a comment below and let me know if you tried any variations, or tag me in your photos on social media. There’s nothing better than seeing your kitchen creations come to life. Now go preheat that oven—you’ve got a pie to make!
Frequently Asked Questions
Can I use fresh pumpkin instead of canned?
Yes, you can. Roast a small sugar pumpkin (about 2 pounds) at 400°F (200°C) for 45 minutes until tender, then scoop out the flesh and puree it in a food processor. You’ll need about 1.5 cups of puree for this recipe. Just be aware that fresh pumpkin has more moisture than canned, so you may need to drain it in a cheesecloth-lined strainer for 30 minutes to prevent a runny filling.
How do I know when the pie is done?
The pie is done when the edges are set and the center is slightly jiggly—like firm Jell-O. A knife inserted 2 inches from the edge should come out clean. The center will continue to set as it cools. Don’t wait for the entire surface to be firm, or you’ll overbake it and risk cracks.
Can I make this pie ahead of time?
Absolutely. The pie can be baked up to 2 days in advance and stored in the refrigerator. The flavors actually improve after a day. Make the maple whipped cream fresh on the day you serve it for the best texture. You can also freeze the baked pie for up to 3 months—just wrap it tightly and thaw overnight in the fridge before serving.
Why did my pie crack on top?
Cracks happen when the pie is overbaked or the oven temperature is too high. To prevent this, check the pie a few minutes before the recommended baking time is up. If the edges are set and the center is just slightly jiggly, it’s done. If cracks do appear, don’t worry—the maple whipped cream will cover them beautifully, and the flavor is still perfect.
Can I use a different type of milk for the filling?
Evaporated milk is traditional because it has a higher fat content and lower water content than regular milk, which gives the filling its creamy texture. You can substitute half-and-half or full-fat coconut milk (canned) for a similar result. Regular milk will work in a pinch, but the filling will be less rich and may take longer to set. Avoid sweetened condensed milk—it’s too sweet and will change the texture completely.
Pin This Recipe!
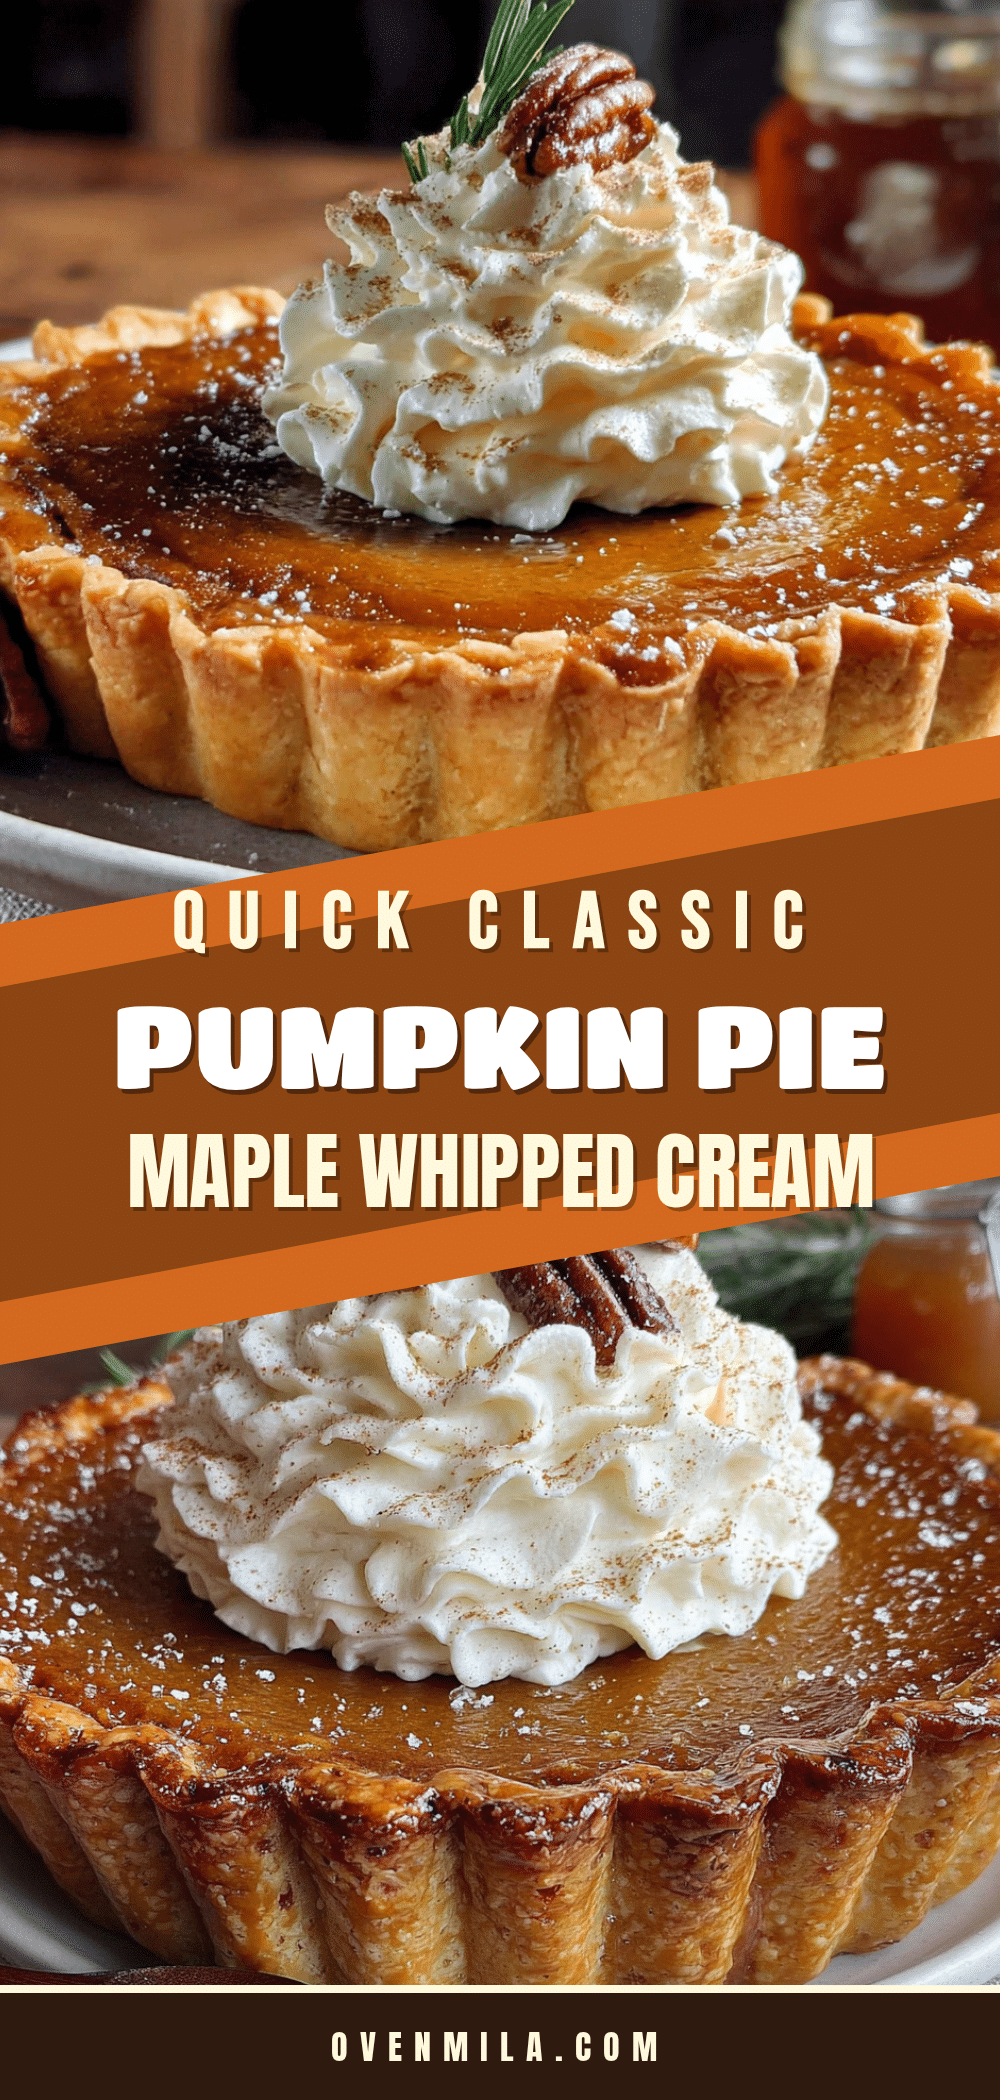
Quick Classic Pumpkin Pie with Maple Whipped Cream

This quick classic pumpkin pie with maple whipped cream is the dessert that saves me every fall. It’s not complicated, it doesn’t require a shopping list that sends you to three different stores, and it comes together in under an hour.
- Prep Time: 15 minutes
- Cook Time: 55 minutes
- Total Time: 1 hour 10 minutes
- Yield: 8 servings 1x
- Category: Dessert
- Cuisine: American
Ingredients
- 1 (15-ounce) can pumpkin puree (not pumpkin pie filling)
- 3/4 cup granulated sugar
- 1 teaspoon ground cinnamon
- 1/2 teaspoon ground ginger
- 1/4 teaspoon ground cloves
- 1/4 teaspoon ground nutmeg
- 1/2 teaspoon salt
- 2 large eggs, room temperature
- 1 (12-ounce) can evaporated milk
- 1 teaspoon vanilla extract
- 1 cup heavy whipping cream, cold
- 2 tablespoons pure maple syrup
- 1/2 teaspoon vanilla extract
- 1 (9-inch) deep-dish pie crust, unbaked
Instructions
- Preheat your oven to 425°F (220°C). Place the unbaked pie crust in the pie plate, crimp the edges if desired, and set it on a baking sheet.
- Make the filling: In a large mixing bowl, whisk together the pumpkin puree, sugar, cinnamon, ginger, cloves, nutmeg, and salt until smooth. Add the eggs one at a time, whisking well after each addition. Slowly pour in the evaporated milk and vanilla extract, whisking continuously until the filling is completely smooth and uniform in color. Scrape down the sides of the bowl to make sure everything is incorporated.
- Fill the crust: Pour the filling into the unbaked pie crust, spreading it evenly with a spatula if needed. Leave about 1/4 inch of space to prevent spilling over during baking.
- Bake the pie: Place the baking sheet with the pie on the middle rack of the oven. Bake at 425°F (220°C) for 15 minutes. Then, reduce the oven temperature to 350°F (175°C) and continue baking for 40-50 minutes. The pie is done when the edges are set and the center is just slightly jiggly—like firm Jell-O. A knife inserted 2 inches from the edge should come out clean.
- Cool completely: Transfer the pie to a cooling rack and let it cool at room temperature for at least 2 hours.
- Make the maple whipped cream: While the pie cools, chill your mixing bowl and beaters in the freezer for about 10 minutes. Pour the cold heavy cream, maple syrup, and vanilla extract into the chilled bowl. Beat on medium-high speed until soft peaks form—this takes about 2-3 minutes with an electric mixer. Be careful not to overbeat.
- Serve: Once the pie is completely cool, slice it with a sharp knife, wiping the blade clean between cuts for neat slices. Top each slice with a generous dollop of maple whipped cream. A sprinkle of cinnamon on top looks pretty and adds a little extra warmth.
Notes
If the edges of your crust are browning too quickly, cover them with strips of aluminum foil or a pie shield halfway through baking. Always use room temperature eggs to prevent lumps. Don’t skip the pre-bake at high temperature to avoid a soggy bottom. If your pie cracks, cover with whipped cream. The flavors improve after a day in the fridge.
Nutrition
- Serving Size: 1 slice
- Calories: 380
- Sugar: 28
- Sodium: 350
- Fat: 22
- Saturated Fat: 13
- Carbohydrates: 44
- Fiber: 2
- Protein: 6
Keywords: pumpkin pie, classic pumpkin pie, quick pumpkin pie, maple whipped cream, fall dessert, Thanksgiving dessert, easy pumpkin pie


