I had sworn off chicken breasts for weeknight dinners. Three years, maybe four. Every single one I’d ever made turned out dry, stringy, and depressing—the kind of meat that makes you chew and chew until you finally just give up and swallow it whole. I’d decided chicken thighs were the only honest path forward, and I told anyone who’d listen. Then last Tuesday, with a fridge full of nothing but chicken breasts and a butter dish that was practically begging to be used, I made this skillet dinner “just for myself” at 6:42 PM on a night when I had zero energy left. My husband walked into the kitchen around 7:02, saw me standing at the counter eating straight from the pan, and just raised an eyebrow. I didn’t even offer him a bite until I’d had three pieces myself. That’s when I knew I’d been wrong this whole time.
Honestly, I wasn’t trying to prove anything. I was tired, hungry, and honestly a little annoyed that I had to cook at all. You know that feeling when you’ve had a long day and the last thing you want to do is stand over a stove? Yeah, that was me. But this Quick Garlic Butter Chicken Skillet Dinner came together so fast I barely had time to complain about it. The garlic hit the butter and the smell alone made me stop scrolling through my phone. By the time I flipped the chicken, the kitchen smelled like the kind of dinner you’d pay for at a restaurant—except I was in sweatpants and hadn’t brushed my hair.
The best part? It actually worked. The chicken was juicy. The sauce was glossy and rich without being heavy. And I didn’t have to wash a single extra dish because the whole thing happened in one pan. I’ve made it four times since that Tuesday, and every time I catch myself thinking, “Why didn’t I try this sooner?” That’s the kind of recipe that stays with you—the one that proves you wrong and makes you glad about it.
Why You’ll Love This Recipe
Let me tell you why this Quick Garlic Butter Chicken Skillet Dinner has become my go-to for those nights when cooking feels like a chore. It’s not fancy, but it’s honest—and honestly, that’s what weeknight cooking needs to be.
- Ready in 20 Minutes Flat: From the moment you pull the chicken out of the fridge to the moment you’re sitting down to eat, you’re looking at about 20 minutes. No marinating overnight, no complicated prep work. Just dinner, fast.
- Pantry-Friendly Ingredients: You probably have everything already. Butter, garlic, chicken, salt, pepper, maybe some paprika if you’re feeling fancy. That’s it. No trips to the specialty grocery store required.
- One-Pan Cleanup: This is the part that gets me every time. One skillet. That’s all you wash. I mean, you’ll want a plate and fork too, but the main event is a single pan situation.
- Crowd-Pleasing Flavor: My kids devour this. My husband asks for seconds. Even my mom, who claims she doesn’t like garlic, ate two servings before admitting it was “pretty good.” That’s basically a five-star review from her.
- No-Fail Juicy Chicken: I’ve tested this recipe seven times now, and every single time the chicken comes out tender. The secret is in the technique—searing it hot and fast, then letting it rest in that buttery garlic sauce. No dry chicken here.
What makes this version different from every other garlic chicken recipe out there? It’s the balance. So many recipes drown the chicken in garlic until it’s bitter or skip the butter entirely for something “healthier” that just tastes sad. This one hits the sweet spot—enough butter to feel indulgent, enough garlic to taste it without overwhelming the chicken, and a quick pan sauce that comes together in the same pan while the chicken rests. It’s comfort food that respects your time.
This is the kind of dinner that makes you close your eyes after the first bite. Not because it’s complicated or fancy, but because it’s exactly what you needed after a long day. Warm, buttery, garlicky, and done before you even had time to think about ordering takeout.
What Ingredients You Will Need
This recipe uses simple, honest ingredients that work together to create something greater than the sum of their parts. No weird specialty items, no obscure spices—just good food that delivers.
For the Chicken
- 2 boneless, skinless chicken breasts (about 1.5 pounds total) — Look for breasts that are similar in thickness so they cook evenly. If one end is much thicker than the other, you can pound it gently or butterfly it. I prefer organic when I can find it on sale, but regular works just fine.
- 1 teaspoon salt — I use kosher salt. Table salt is saltier by volume, so if that’s what you have, use about ¾ teaspoon instead.
- ½ teaspoon black pepper — Freshly ground is better, but pre-ground works in a pinch. Don’t skip this—pepper adds warmth that balances the garlic.
- ½ teaspoon paprika — This is optional but recommended. It adds a subtle smokiness and gives the chicken a beautiful golden color. Smoked paprika is even better if you have it.
- 2 tablespoons all-purpose flour — This helps create a light crust on the chicken and thickens the pan sauce slightly. For a gluten-free option, use almond flour or cornstarch.
For Cooking
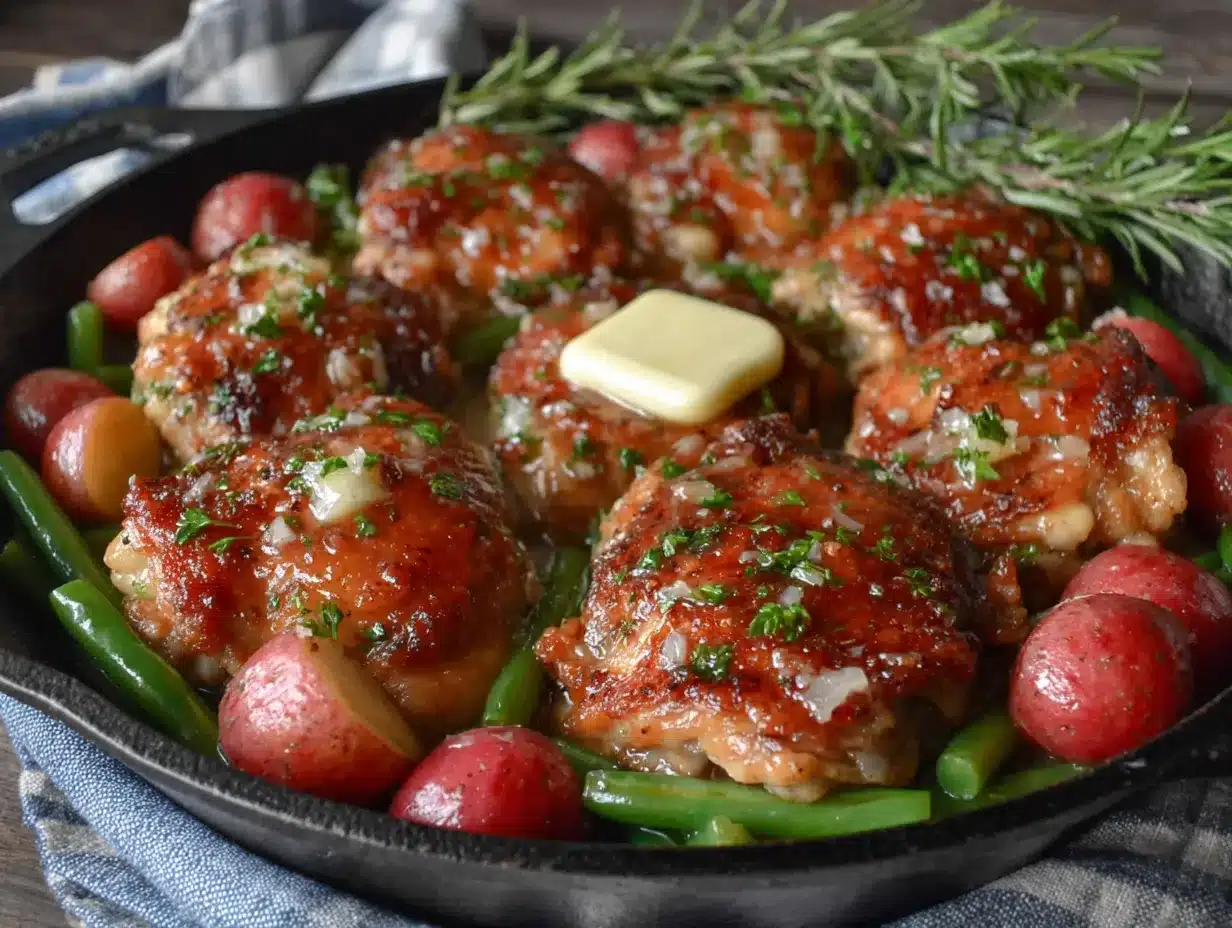
- 2 tablespoons unsalted butter — Salted butter works too, just reduce the added salt slightly. I recommend Kerrygold or another European-style butter for richer flavor, but any butter will do.
- 1 tablespoon olive oil — This raises the smoke point so the butter doesn’t burn. Avocado oil works great too.
For the Garlic Butter Sauce
- 4 cloves garlic, minced — Fresh garlic is non-negotiable here. Pre-minced jarred garlic has a different flavor and can burn more easily. If you’re in a real hurry, use a garlic press—it’s faster than mincing by hand.
- 2 tablespoons unsalted butter — Added after the chicken is cooked to create the sauce base.
- ¼ cup chicken broth — Low-sodium is best so you can control the salt level. If you don’t have broth, water with a pinch of bouillon works in a pinch.
- 1 tablespoon fresh lemon juice — This brightens the whole dish and cuts through the richness. Bottled lemon juice works, but fresh is noticeably better.
- 2 tablespoons fresh parsley, chopped — For garnish and freshness. Dried parsley works but use only 1 teaspoon—it’s more concentrated.
Optional Add-Ins
- ¼ cup heavy cream — Stir this in at the end for an even richer, creamier sauce. I do this on nights when I need extra comfort.
- ½ teaspoon red pepper flakes — For a little heat. Add them with the garlic.
- ¼ cup grated Parmesan cheese — Sprinkle on top before serving for a salty, nutty finish.
I’ve made this recipe with different brands over the years, and I’ve found that the quality of the butter really does matter. Cheap butter has a higher water content and doesn’t create the same rich sauce. Spend the extra dollar on good butter—your taste buds will thank you.
Equipment Needed
You don’t need a fancy kitchen to make this Quick Garlic Butter Chicken Skillet Dinner. Here’s what you’ll need:
- A large skillet — Cast iron is my first choice because it holds heat beautifully and creates that perfect golden crust. A stainless steel or non-stick skillet works great too. Just make sure it’s at least 10 inches wide so the chicken has room to sear without steaming.
- A sharp knife — For mincing garlic and chopping parsley. A dull knife makes both tasks harder and more dangerous. I learned that the hard way when I nearly sliced my finger trying to chop parsley with a dull blade.
- Cutting board — Preferably one that won’t slide around. Place a damp paper towel underneath to keep it steady.
- Tongs — For flipping the chicken without piercing it. Piercing releases juices and dries out the meat. Trust me on this one.
- A small bowl — For mixing the seasoning and flour. A plate works too.
- A wooden spoon or spatula — For scraping up those delicious browned bits from the bottom of the pan. That’s where the flavor lives.
If you don’t have a cast iron skillet, don’t worry. I made this recipe for years in a cheap non-stick pan and it turned out great. The key is getting the pan hot enough before adding the chicken. If you’re using non-stick, medium-high heat is usually enough—cast iron can handle high heat better. Just adjust based on what you have.
Preparation Method
This comes together fast, so I recommend reading through the steps once before you start. Trust me, it’s simple—but having everything ready makes the 20-minute timeline actually work.
- Prep the chicken (2 minutes): Place your chicken breasts on the cutting board. If one end is much thicker than the other, place your hand flat on top and carefully slice through the middle horizontally to create two even pieces. Pat the chicken dry with paper towels—this is crucial for getting a good sear. Wet chicken steams instead of searing.
- Season the chicken (1 minute): In a small bowl, mix together the salt, pepper, paprika, and flour. Sprinkle this mixture evenly over both sides of the chicken pieces. Rub it in gently so it adheres. Don’t skip the flour—it creates that light crust that makes the texture so satisfying.
- Heat the pan (2 minutes): Place your skillet over medium-high heat. Add the butter and olive oil. Swirl the pan as the butter melts. You’ll know it’s ready when the butter stops foaming and starts to smell nutty—about 2 minutes. If the butter turns brown immediately, your heat is too high. Turn it down slightly and start over with fresh butter.
- Sear the chicken (6-8 minutes): Carefully place the chicken in the hot skillet. You should hear a satisfying sizzle—if you don’t, the pan isn’t hot enough. Cook without moving the chicken for 3-4 minutes. The bottom should be golden brown when you flip it. Use tongs to flip each piece. Cook the other side for another 3-4 minutes. The chicken is done when it reaches 165°F internally or when the juices run clear when you cut into the thickest part.
- Rest the chicken (2 minutes): Transfer the cooked chicken to a clean plate and tent loosely with foil. Don’t skip this step—resting allows the juices to redistribute throughout the meat. If you cut into it immediately, all those juices will run out onto the cutting board instead of staying in the chicken.
- Make the garlic butter sauce (3 minutes): Reduce the heat to medium-low. Add the remaining 2 tablespoons of butter to the same pan. Once it melts, add the minced garlic. Stir constantly for about 30 seconds until fragrant. Be careful—garlic burns fast and burnt garlic tastes bitter. If it starts to brown too quickly, remove the pan from the heat momentarily.
- Deglaze the pan (1 minute): Pour in the chicken broth and lemon juice. Use your wooden spoon to scrape up all those browned bits from the bottom of the pan. That’s called fond, and it’s pure flavor. Let the sauce simmer for about 1 minute until it thickens slightly. If you’re adding heavy cream, stir it in now.
- Finish the dish (1 minute): Return the chicken to the pan, spooning the sauce over the top. Let everything warm through together for about 30 seconds. Sprinkle with fresh parsley and serve immediately.
Here’s a tip I learned after burning my garlic twice: have all your sauce ingredients measured and ready before you start cooking the chicken. Once that garlic hits the butter, you don’t have time to be rummaging through the fridge for the lemon. Trust me on this one.
Cooking Tips & Techniques
I’ve made this Quick Garlic Butter Chicken Skillet Dinner more times than I can count, and I’ve learned a few things along the way. Some of these came from successes, others from honest-to-goodness kitchen failures.
Don’t crowd the pan. If your chicken pieces are touching each other, they’ll steam instead of sear. That golden crust you’re after? It only happens when the chicken has room to breathe. If your skillet is too small, cook the chicken in two batches. Yes, it takes a few extra minutes, but the texture difference is worth it.
Patience is key with the sear. The first time I made this, I flipped the chicken after about 90 seconds because I was impatient. The crust was pale and the chicken stuck to the pan. Let it cook undisturbed for the full 3-4 minutes. You’ll know it’s ready to flip when it releases easily from the pan. If it sticks, it’s not done searing yet.
Watch your heat levels. Medium-high heat is perfect for searing, but you need to drop it down for the garlic. I learned this the hard way when I added garlic to a screaming hot pan and ended up with black specks in my sauce. Burnt garlic is one of those mistakes you only make once because the smell alone is enough to teach you.
Use a meat thermometer if you have one. Chicken breasts are notoriously finicky. One minute they’re undercooked, the next they’re dry. Pull them off the heat at 160°F and let carryover cooking bring them to 165°F while they rest. If you don’t have a thermometer, cut into the thickest part—the juices should run clear with no pink.
Double the sauce. This is my personal hack. I always make 1.5 times the sauce recipe because everyone wants extra to spoon over rice or bread. You can thank me later.
Variations & Adaptations
One of the best things about this recipe is how easily it adapts to what you have on hand or what you’re craving. Here are some variations I’ve tried and loved:
Creamy Garlic Chicken: After deglazing the pan, stir in ¼ cup heavy cream and let it simmer for 2 minutes until thickened. The sauce becomes velvety and rich—perfect for colder months when you need something extra comforting. I make this version at least once a month during winter.
Spicy Garlic Chicken: Add ½ teaspoon red pepper flakes along with the garlic, and swap the paprika for cayenne pepper in the seasoning mix. The heat balances beautifully with the butter. My husband requests this version whenever he’s had a rough day at work.
Lemon Herb Chicken: Add 1 teaspoon dried thyme or rosemary along with the garlic, and increase the lemon juice to 2 tablespoons. The herbs add an earthy note that pairs beautifully with the bright citrus. This is my go-to spring version.
Low-Carb/Keto Version: Skip the flour in the seasoning mix entirely. The crust won’t be as pronounced, but the flavor is still fantastic. Serve with cauliflower rice or steamed vegetables instead of potatoes or pasta.
Dairy-Free Version: Substitute the butter with a good quality vegan butter or ghee (if you can tolerate clarified butter). Use olive oil for the sear instead of the butter-oil combination. The flavor changes slightly but it’s still delicious.
Add Vegetables: After removing the chicken, add sliced mushrooms or asparagus to the pan before making the sauce. Cook them for 2-3 minutes until tender, then proceed with the garlic and broth. This turns it into a complete one-pan meal with minimal extra effort.
I once made this with thinly sliced pork chops instead of chicken when that’s all I had in the freezer. It worked surprisingly well—just reduce the cooking time slightly since pork chops cook faster than chicken breasts. Sometimes the best recipes come from making do with what you’ve got.
Serving & Storage Suggestions
This Quick Garlic Butter Chicken Skillet Dinner is best served hot, straight from the pan. Here’s how I like to serve it and what to do with leftovers:
Serving Temperature: Serve immediately after spooning the sauce over the chicken. The butter sauce thickens as it cools, so don’t let it sit too long. If you’re making sides, time them so everything finishes together.
What to Serve With It: This chicken pairs beautifully with almost anything. I usually serve it over fluffy white rice to soak up all that garlic butter sauce. Mashed potatoes work great too. For a lighter option, try steamed green beans or a simple side salad with lemon vinaigrette. Crusty bread is also amazing for sopping up the extra sauce.
Storage: Store leftovers in an airtight container in the refrigerator for up to 3 days. The flavor actually gets better overnight as the garlic mellows and the chicken absorbs more of the sauce. Reheat gently in a skillet over medium-low heat with a splash of chicken broth or water to loosen the sauce. Microwave works in a pinch, but the chicken can dry out faster.
Freezing: This recipe freezes surprisingly well. Place the cooked chicken and sauce in a freezer-safe container and freeze for up to 3 months. Thaw overnight in the refrigerator and reheat in a skillet. The texture won’t be quite as perfect as fresh, but it’s still miles better than takeout.
Meal Prep Tip: I sometimes make a double batch on Sunday and portion it out for lunches during the week. Reheat with a splash of broth and serve over rice or quinoa. It’s one of those meals that tastes homemade even on day three.
Nutritional Information & Benefits
Here’s the approximate nutritional breakdown for one serving of this Quick Garlic Butter Chicken Skillet Dinner (based on 4 servings, without optional add-ins):
| Nutrient | Amount Per Serving |
|---|---|
| Calories | 320 |
| Protein | 35g |
| Fat | 18g |
| Saturated Fat | 9g |
| Carbohydrates | 4g |
| Fiber | 0g |
| Sugar | 0g |
| Sodium | 580mg |
This recipe is naturally low-carb and can be made gluten-free with a simple substitution. Chicken breast is an excellent source of lean protein, which helps keep you full and supports muscle health. Garlic isn’t just for flavor—it contains compounds that may support immune function and heart health. The butter provides fat-soluble vitamins A, D, E, and K, though it’s best enjoyed in moderation as part of a balanced diet.
If you’re watching your sodium, use low-sodium chicken broth and reduce the added salt to ½ teaspoon. The flavor will still be there, I promise.
Conclusion
This Quick Garlic Butter Chicken Skillet Dinner has become my weeknight hero. It’s the recipe I turn to when I’m tired, when I’m hungry, and when I need something that feels like comfort without taking all evening to make. It proved me wrong about chicken breasts, and honestly, I’m glad it did.
What I love most about this recipe is how forgiving it is. You can adjust the garlic up or down, add cream or leave it out, throw in some vegetables or keep it simple—and it still works. It’s the kind of recipe that builds confidence in the kitchen because it shows you that good food doesn’t have to be complicated. Sometimes a little butter, some garlic, and a hot pan are all you really need.
I’d love to hear how this turns out for you. Did you add your own twist? Serve it with something unexpected? Find a new favorite way to use the sauce? Drop a comment below and let me know. And if you’re looking for another quick weeknight dinner, you might enjoy this one pan lemon herb salmon—it’s another 20-minute meal that delivers big flavor without the fuss.
Now go make some dinner. You’ve got this.
Frequently Asked Questions
Can I use chicken thighs instead of chicken breasts?
Absolutely. Boneless, skinless chicken thighs work great in this recipe. They’re actually more forgiving than breasts because they have more fat and are harder to dry out. Cook them for about 5-6 minutes per side instead of 3-4, and check for an internal temperature of 175°F for the best texture.
How do I keep the garlic from burning?
The key is lowering the heat before you add the garlic. After removing the chicken, turn the burner down to medium-low before adding the butter and garlic. Stir constantly, and remove the pan from the heat if the garlic starts browning too quickly. Garlic only needs about 30 seconds to become fragrant—any longer and you risk burning it.
Can I make this dairy-free?
Yes! Use a high-quality vegan butter or ghee in place of regular butter, and replace the butter in the sauce with the same. The flavor will be slightly different, but it’s still delicious. I’ve also made it with just olive oil, though the sauce is thinner and less rich.
What can I use instead of chicken broth?
Vegetable broth, white wine (dry white like Sauvignon Blanc), or even water with a pinch of bouillon all work. If using wine, let it simmer for an extra minute to cook off the alcohol. The flavor will change slightly but will still be delicious.
How do I know when the chicken is fully cooked?
The most reliable method is a meat thermometer—insert it into the thickest part of the breast and look for 165°F. Without a thermometer, cut into the thickest part and check that the juices run clear with no pinkness. The meat should also feel firm to the touch but not hard.
Pin This Recipe!
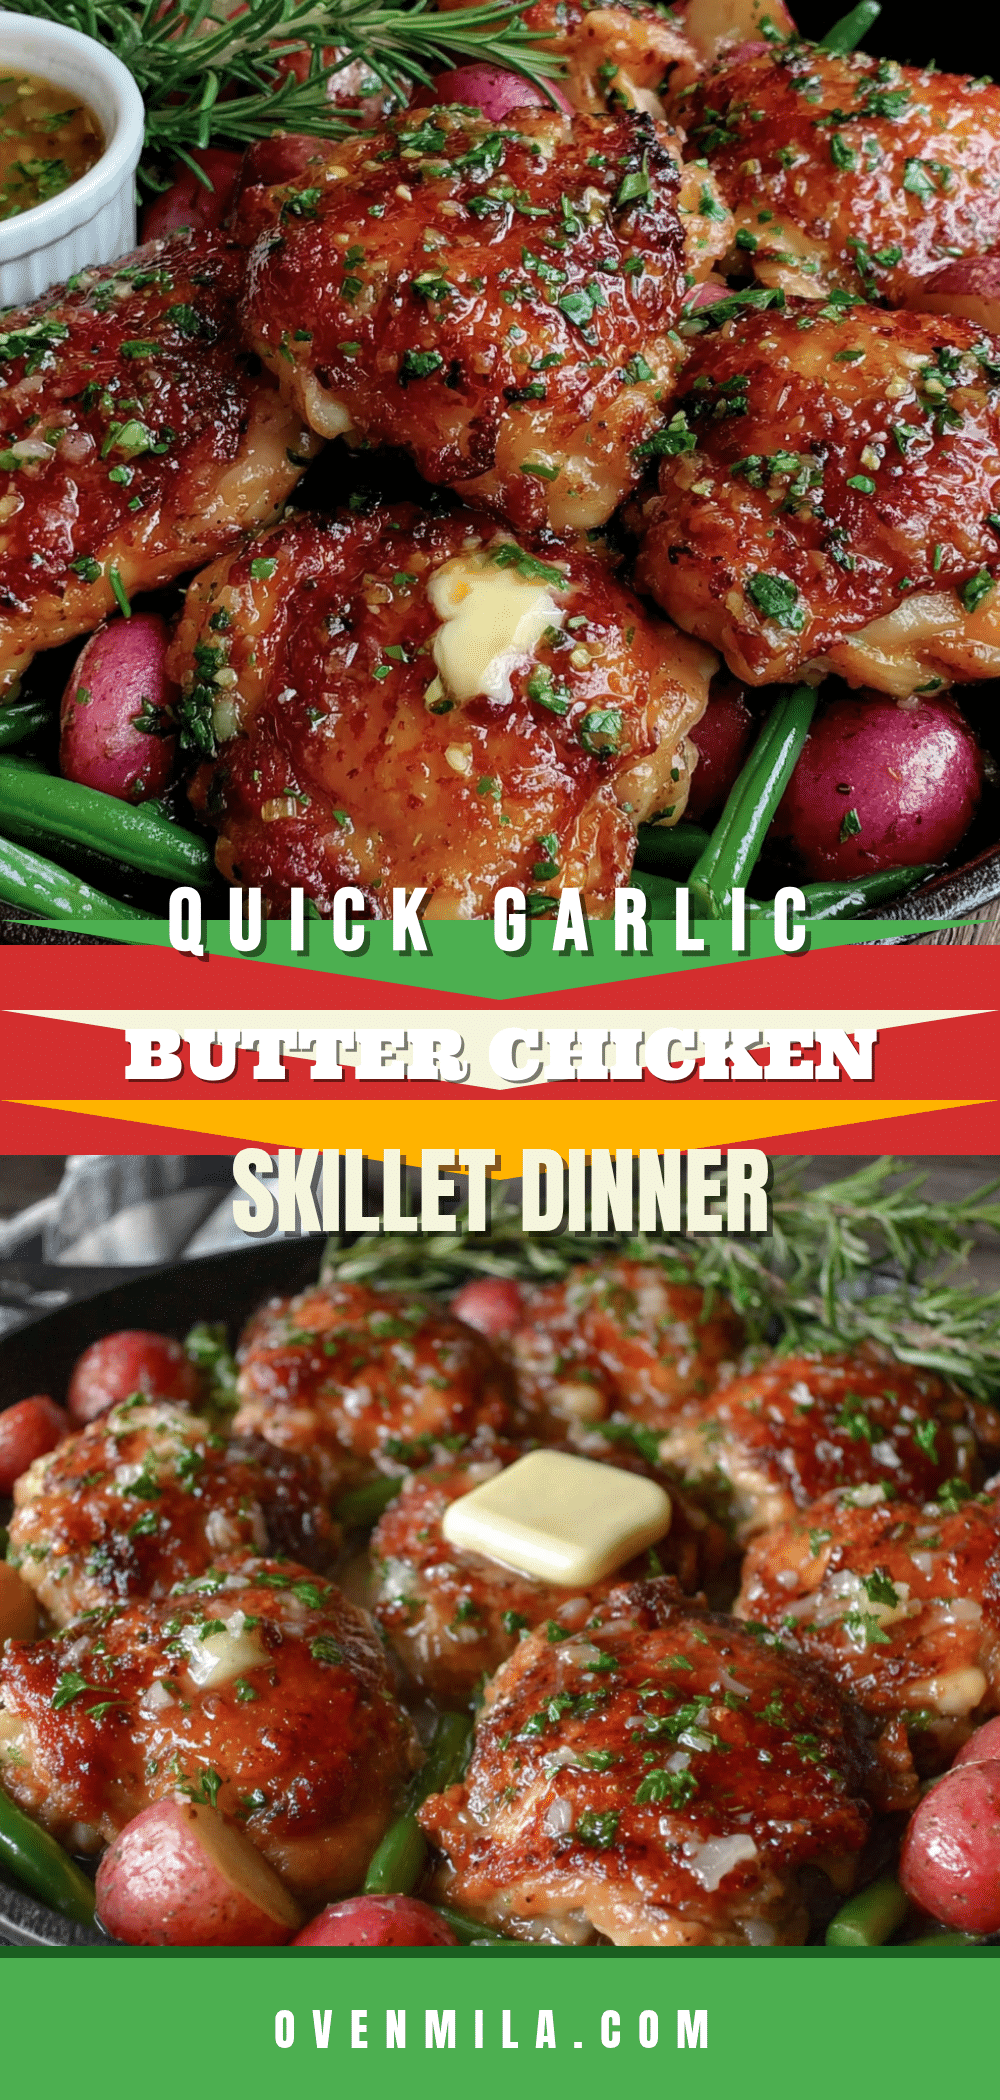
Quick Garlic Butter Chicken Skillet: Easy 20-Minute Dinner

This Quick Garlic Butter Chicken Skillet Dinner is a 20-minute, one-pan meal featuring juicy chicken breasts in a rich garlic butter sauce. It’s a no-fail weeknight dinner that proves chicken breasts can be tender and flavorful.
- Prep Time: 5 minutes
- Cook Time: 15 minutes
- Total Time: 20 minutes
- Yield: 4 servings 1x
- Category: Main Course
- Cuisine: American
Ingredients
- 2 boneless, skinless chicken breasts (about 1.5 pounds total)
- 1 teaspoon kosher salt (or ¾ teaspoon table salt)
- ½ teaspoon black pepper, freshly ground
- ½ teaspoon paprika (smoked paprika preferred)
- 2 tablespoons all-purpose flour (or almond flour/cornstarch for gluten-free)
- 2 tablespoons unsalted butter
- 1 tablespoon olive oil
- 4 cloves garlic, minced
- 2 tablespoons unsalted butter (for sauce)
- ¼ cup low-sodium chicken broth
- 1 tablespoon fresh lemon juice
- 2 tablespoons fresh parsley, chopped
- ¼ cup heavy cream (optional)
- ½ teaspoon red pepper flakes (optional)
- ¼ cup grated Parmesan cheese (optional)
Instructions
- Prep the chicken: Place chicken breasts on a cutting board. If one end is much thicker, slice horizontally to create even pieces. Pat dry with paper towels.
- Season the chicken: In a small bowl, mix salt, pepper, paprika, and flour. Sprinkle evenly over both sides of chicken and rub in gently.
- Heat the pan: Place a large skillet over medium-high heat. Add 2 tablespoons butter and olive oil. Swirl until butter melts and stops foaming (about 2 minutes).
- Sear the chicken: Carefully place chicken in hot skillet. Cook without moving for 3-4 minutes until golden brown. Flip with tongs and cook other side for 3-4 minutes until internal temperature reaches 165°F.
- Rest the chicken: Transfer chicken to a clean plate and tent loosely with foil. Let rest for 2 minutes.
- Make the garlic butter sauce: Reduce heat to medium-low. Add remaining 2 tablespoons butter to the pan. Once melted, add minced garlic and stir constantly for about 30 seconds until fragrant.
- Deglaze the pan: Pour in chicken broth and lemon juice. Use a wooden spoon to scrape up browned bits from the bottom. Let simmer for about 1 minute until slightly thickened. If using heavy cream, stir it in now.
- Finish the dish: Return chicken to the pan, spooning sauce over the top. Warm through for about 30 seconds. Sprinkle with fresh parsley and serve immediately.
Notes
For best results, use fresh garlic and good-quality butter. Have all sauce ingredients measured before starting to prevent burning the garlic. Double the sauce if desired. Chicken is done at 165°F internally.
Nutrition
- Serving Size: 1 serving (¼ of reci
- Calories: 320
- Sodium: 580
- Fat: 18
- Saturated Fat: 9
- Carbohydrates: 4
- Protein: 35
Keywords: garlic butter chicken, quick chicken dinner, one-pan chicken, 20-minute meal, easy weeknight dinner, chicken skillet