I burned the garlic in my first few attempts at making these spicy garlic dill refrigerator pickles, and honestly, it put me off for a while. I thought pickles had to sit for weeks to taste good, and the idea of rushing them in just 24 hours seemed like a recipe for disappointment. But after a few experiments—and some singed fingers from peeling hot jars—I finally nailed the balance of heat, garlic punch, and dill freshness. It’s not just a quick pickle; it’s a kind of pickling magic that wakes up your taste buds in a way store-bought jars never do.
The crunch is still there, the garlic isn’t overpowering or bitter (a misstep I made more than once), and the spicy kick sneaks up just right without burning your mouth off. What really caught me off guard was how these pickles transformed a simple sandwich or snack into something unexpectedly exciting. Now, I keep a jar in my fridge almost all the time because they’re ready faster than I can think up something to pair them with.
One quiet realization from all those trials: sometimes the best things come from a little impatience and a willingness to get your hands a bit messy. These spicy garlic dill refrigerator pickles stuck with me because they’re bold, simple, and just the kind of flavor jolt I needed in a world that often feels bland. If you like things with a little kick and a lot of character, you might find yourself reaching for these more than once a week.
Why You’ll Love This Recipe
Making these spicy garlic dill refrigerator pickles isn’t just about having a tangy snack on hand—it’s about a quick, satisfying kitchen win that anyone can pull off. Here’s why I keep coming back to this recipe, and why you will too:
- Quick & Easy: Ready in just 24 hours, no weeks of waiting. Perfect for last-minute cravings or when you want that fresh pickle zing fast.
- Simple Ingredients: No need to hunt down fancy spices. You probably have most of these pantry staples already, which makes it super convenient.
- Perfect for Any Occasion: Whether you’re throwing together a casual lunch or want to impress with a homemade touch at a barbecue, these pickles fit the bill.
- Crowd-Pleaser: Kids, adults, picky eaters—they all seem to love these. The balance of spicy garlic and dill is just right, not overwhelming.
- Unbelievably Delicious: The crisp cucumbers soak up the flavors in the brine, delivering a texture and flavor combo that feels like comfort food with an edge.
- What Sets This Apart: The secret is in the layering of fresh garlic slices and the perfect blend of dill and spicy peppers. Unlike other quick pickles, this recipe keeps the garlic mellow and the heat balanced, thanks to a quick but careful simmer of the brine before cooling.
This recipe isn’t just about making pickles faster—it’s about making them with confidence and flavor that beats your grocery store jar. Honestly, it’s a little kitchen secret I love sharing, and it’s become a staple alongside other favorites like my crispy garlic dill refrigerator pickles and the fresh zing of a creamy dill cucumber salad. If you want pickles that make you close your eyes after the first bite, this recipe is where you start.
What Ingredients You Will Need
This recipe keeps things straightforward with wholesome ingredients that pack bold flavor and a satisfying crunch. These items are mostly pantry staples and fresh basics, making this an easy fridge pickle you can whip up anytime.
- Cucumbers: 4-5 medium Kirby cucumbers, sliced into spears or rounds (Kirby cucumbers are ideal for their firm texture and crunch)
- Fresh Dill: About 4-5 sprigs of fresh dill (if you can’t find fresh, use 2 teaspoons dried dill, but fresh is best for that bright flavor)
- Garlic Cloves: 4-5 large cloves, thinly sliced (avoiding crushed garlic prevents bitterness)
- White Vinegar: 1 cup (240 ml) – pick a good quality white vinegar for a clean tang (I usually use Heinz or Bragg’s)
- Water: 1 cup (240 ml) – to balance the acidity and keep the cucumbers crisp
- Granulated Sugar: 1 tablespoon (adds just a touch of sweetness to balance the heat)
- Salt: 1 tablespoon kosher salt or pickling salt (no iodine, as it can discolor the brine)
- Spices for Heat: 1-2 teaspoons red chili flakes or 1 fresh jalapeño sliced (depending on how spicy you want your pickles)
- Black Peppercorns: 1 teaspoon (adds subtle depth)
- Mustard Seeds (optional): 1 teaspoon (gives a slight tangy pop)
- Bay Leaf: 1 small leaf (optional, but adds a lovely herbal note)
For the best results, I recommend using fresh, firm cucumbers and fresh dill from your local farmers market or grocery store. If you want to switch things up, swapping out the red chili flakes for smoked paprika or adding a few peppercorns can add new dimensions.
Equipment Needed
- Glass Mason Jars: Two quart-sized (1 liter) jars with lids work perfectly for this recipe. I like using wide-mouth jars because they make packing the cucumbers easier.
- Medium Saucepan: For heating the brine. A non-reactive pan (stainless steel or enamel) works best to avoid any metallic taste.
- Cutting Board and Sharp Knife: For slicing cucumbers and garlic evenly. A good knife makes a world of difference here.
- Measuring Cups and Spoons: For precise brine measurements. Accuracy really matters to keep the balance of flavors right.
- Tongs or Chopsticks: Handy for pressing down cucumbers into the jars without bruising them.
If you don’t have mason jars, any clean glass container with a tight-fitting lid works fine, but jars made specifically for pickling help maintain freshness longer. Also, I learned the hard way that using a dull knife can crush garlic unevenly and make the flavor harsh, so don’t skimp there!
Preparation Method
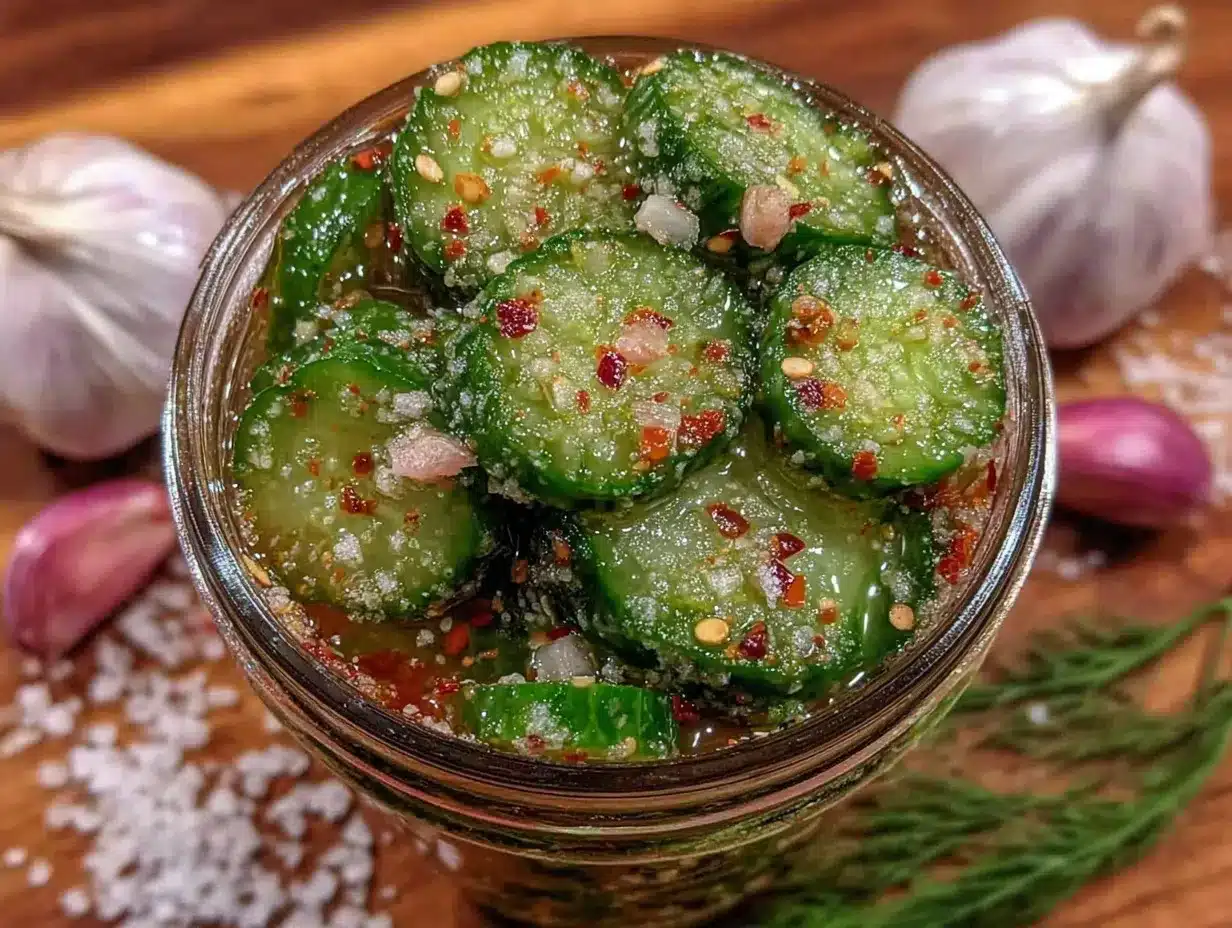
- Prepare the Cucumbers: Wash your cucumbers thoroughly and slice them into spears about 3 to 4 inches (7.5 to 10 cm) long or into ¼ inch (6 mm) thick rounds, depending on your preference. The key is uniformity for even pickling. This step takes about 10 minutes.
- Pack the Jars: Place the fresh dill sprigs, sliced garlic, red chili flakes (or jalapeño slices), peppercorns, mustard seeds, and bay leaf at the bottom of each clean quart jar. Then, pack the cucumber slices in tightly but without crushing them. Use tongs or chopsticks to help press them down. This takes about 5 minutes and sets the flavor foundation.
- Make the Brine: In a medium saucepan, combine the white vinegar, water, sugar, and salt. Bring the mixture to a boil over medium-high heat, stirring until the sugar and salt dissolve completely. Once it boils, remove from heat and let it cool for 5 minutes. Heating the brine helps meld the flavors and ensures the sugar and salt dissolve properly.
- Pour the Brine: Carefully pour the hot brine over the packed cucumbers in the jars, leaving about ½ inch (1.3 cm) of headspace. Make sure the cucumbers are fully submerged. If not, add a bit more water and vinegar in equal parts. This step should be done carefully—hot liquid can burn if spilled.
- Seal and Refrigerate: Screw on the lids tightly and let the jars cool to room temperature. Once cooled, place them in the refrigerator. The pickles will be ready to eat in just 24 hours, though they taste even better after 48 hours. Always keep them refrigerated and consume within 3 weeks for best flavor and crunch.
Pro tip: When packing the cucumbers, don’t overcrowd the jar. You want the brine to circulate well around each piece for even pickling. Also, the smell of garlic and vinegar while pouring the brine is a good sign—it means you’re on the right track. If the garlic aroma turns bitter or burnt, it’s usually a sign the garlic was crushed or cooked too long.
Cooking Tips & Techniques
Pickling can seem straightforward, but getting the right balance of crunch, spice, and flavor depth takes a few tricks I learned along the way:
- Use Fresh, Firm Cucumbers: Soft or overripe cucumbers won’t hold up well during pickling and lead to mushy results. Kirby cucumbers or pickling cucumbers are your best bet.
- Slice Garlic Thinly, Don’t Crush: Crushing garlic releases harsh oils that can make the brine bitter. Thin slices mellow during pickling and infuse flavor without bitterness.
- Heat the Brine, But Don’t Boil Garlic: Add garlic to the jar raw and pour hot brine over it. This softens garlic gently, avoiding bitterness from overcooking.
- Don’t Skip the Sugar: Even a tablespoon balances the acidity and heat, making the pickles more complex and less harsh.
- Adjust the Heat to Taste: Start with less chili flakes or jalapeño if you’re unsure, then add more next time. Pickling mellows spice, so a little extra heat upfront is often needed.
- Let Pickles Chill at Least 24 Hours: They’re technically ready then, but if you can hold off, 48 hours deepens flavor and crunch.
I once tried to save time by skipping the hot brine step, pouring cold vinegar and water over the cucumbers. The result was a disappointing, bland pickle that needed weeks to develop any flavor. Lesson learned: that quick simmer of brine makes a big difference. Also, multitasking is key—while the brine heats, prep the cucumbers and spices so everything comes together smoothly.
Variations & Adaptations
These spicy garlic dill refrigerator pickles are a fantastic base that invites customization. Here are some ways I’ve played around with the recipe:
- Mild Version: Omit the chili flakes or jalapeño and add a teaspoon of whole coriander seeds for a fragrant twist that’s kid-friendly.
- Extra Spicy: Add a sliced habanero pepper or a dash of cayenne powder to the brine for a serious heat boost. Just be cautious—these heat levels aren’t for the faint of heart.
- Herbal Twist: Mix in fresh tarragon or thyme sprigs alongside dill for a different herbal profile.
- Vinegar Swap: Use apple cider vinegar instead of white vinegar for a softer, fruitier tang. Just keep the same ratio of vinegar to water.
- Low-Sodium: Cut the salt by half and add a splash of lemon juice for brightness. The flavor will be less salty but still punchy.
For a fun twist, I often pair these pickles with dishes like the black bean cowboy caviar or alongside a fresh orzo salad to add a spicy crunch. If you want to experiment with fermentation instead of quick pickling, some of the flavor profiles here can inspire your process.
Serving & Storage Suggestions
These spicy garlic dill refrigerator pickles are best served cold straight from the fridge. Their crisp bite is perfect as a snack, alongside sandwiches, or as a tangy side to grilled meats and burgers. I love pairing them with creamy dishes or smoky flavors to cut through richness.
- Serving Ideas: Add them to a charcuterie board, top a burger with a few slices, or include them in a sandwich for a punch of flavor.
- Storage: Keep pickles refrigerated in their sealed jars. They’ll stay fresh and crunchy for up to 3 weeks. Avoid leaving them out at room temperature for extended periods to maintain safety and texture.
- Reheating: Not recommended—these are best enjoyed cold or at room temperature.
- Flavor Development: The spice and dill flavors deepen over time, so if you can wait beyond 24 hours, the pickles become even more complex and delicious.
Pro tip: When serving to guests, let the jars sit out for about 10 minutes to lose some chill, which helps release the aroma of garlic and dill. Also, these pickles are fantastic alongside dishes where you want a bright, spicy contrast—like smoky brisket sliders or creamy gnocchi dishes.
Nutritional Information & Benefits
These spicy garlic dill refrigerator pickles are low in calories—about 10-15 calories per spear—making them a guilt-free snack. The cucumbers provide hydration and fiber, while garlic adds immune-boosting compounds. The vinegar in the brine can aid digestion and blood sugar control.
Because this recipe uses simple ingredients with no added preservatives, it’s a healthier choice than many commercial pickles loaded with excess sugar and artificial flavors. Plus, it’s naturally gluten-free and low-carb, fitting well into many dietary plans.
Do note that the sodium content is moderate due to the salt used for pickling, so those watching their salt intake should enjoy these in moderation or try the low-sodium adaptation mentioned earlier.
Conclusion
If you want a quick, bold pickle that’s bursting with spicy garlic and fresh dill flavor, this recipe is your new best friend. It’s straightforward, uses everyday ingredients, and comes together in just 24 hours—no need to wait weeks for that satisfying crunch and tang. I love this recipe because it’s dependable, packs a punch, and fits seamlessly into any meal or snack occasion.
Feel free to tweak the spice level or herbs to suit your taste. I encourage you to treat these pickles as a canvas for your own flavor adventures. When you make your batch, drop a comment below sharing your favorite twists or how you’re enjoying your pickles—I’m always curious what you come up with!
Happy pickling, and may your fridge always have a jar of spicy garlic dill goodness ready to brighten up your day.
Frequently Asked Questions
How long do these refrigerator pickles last?
Stored properly in the fridge, they’ll keep fresh and crunchy for up to 3 weeks. Always use clean utensils to avoid contamination.
Can I use regular cucumbers instead of Kirby cucumbers?
You can, but Kirby cucumbers hold their crunch better in pickling. Regular slicing cucumbers tend to get softer and less crisp.
Is it possible to make these pickles less spicy?
Yes! Simply reduce or omit the chili flakes and jalapeño. You can also substitute with milder peppers or leave them out entirely.
Do I need to boil the cucumbers before pickling?
Nope. The cucumbers stay raw and crisp. Only the brine is heated to dissolve the salt and sugar and to help infuse the flavors.
Can I use these pickles in recipes?
Absolutely! They’re fantastic chopped into salads, served with sandwiches, or even incorporated into dishes like smoky chipotle beef brisket sliders for a spicy crunch.
Pin This Recipe!
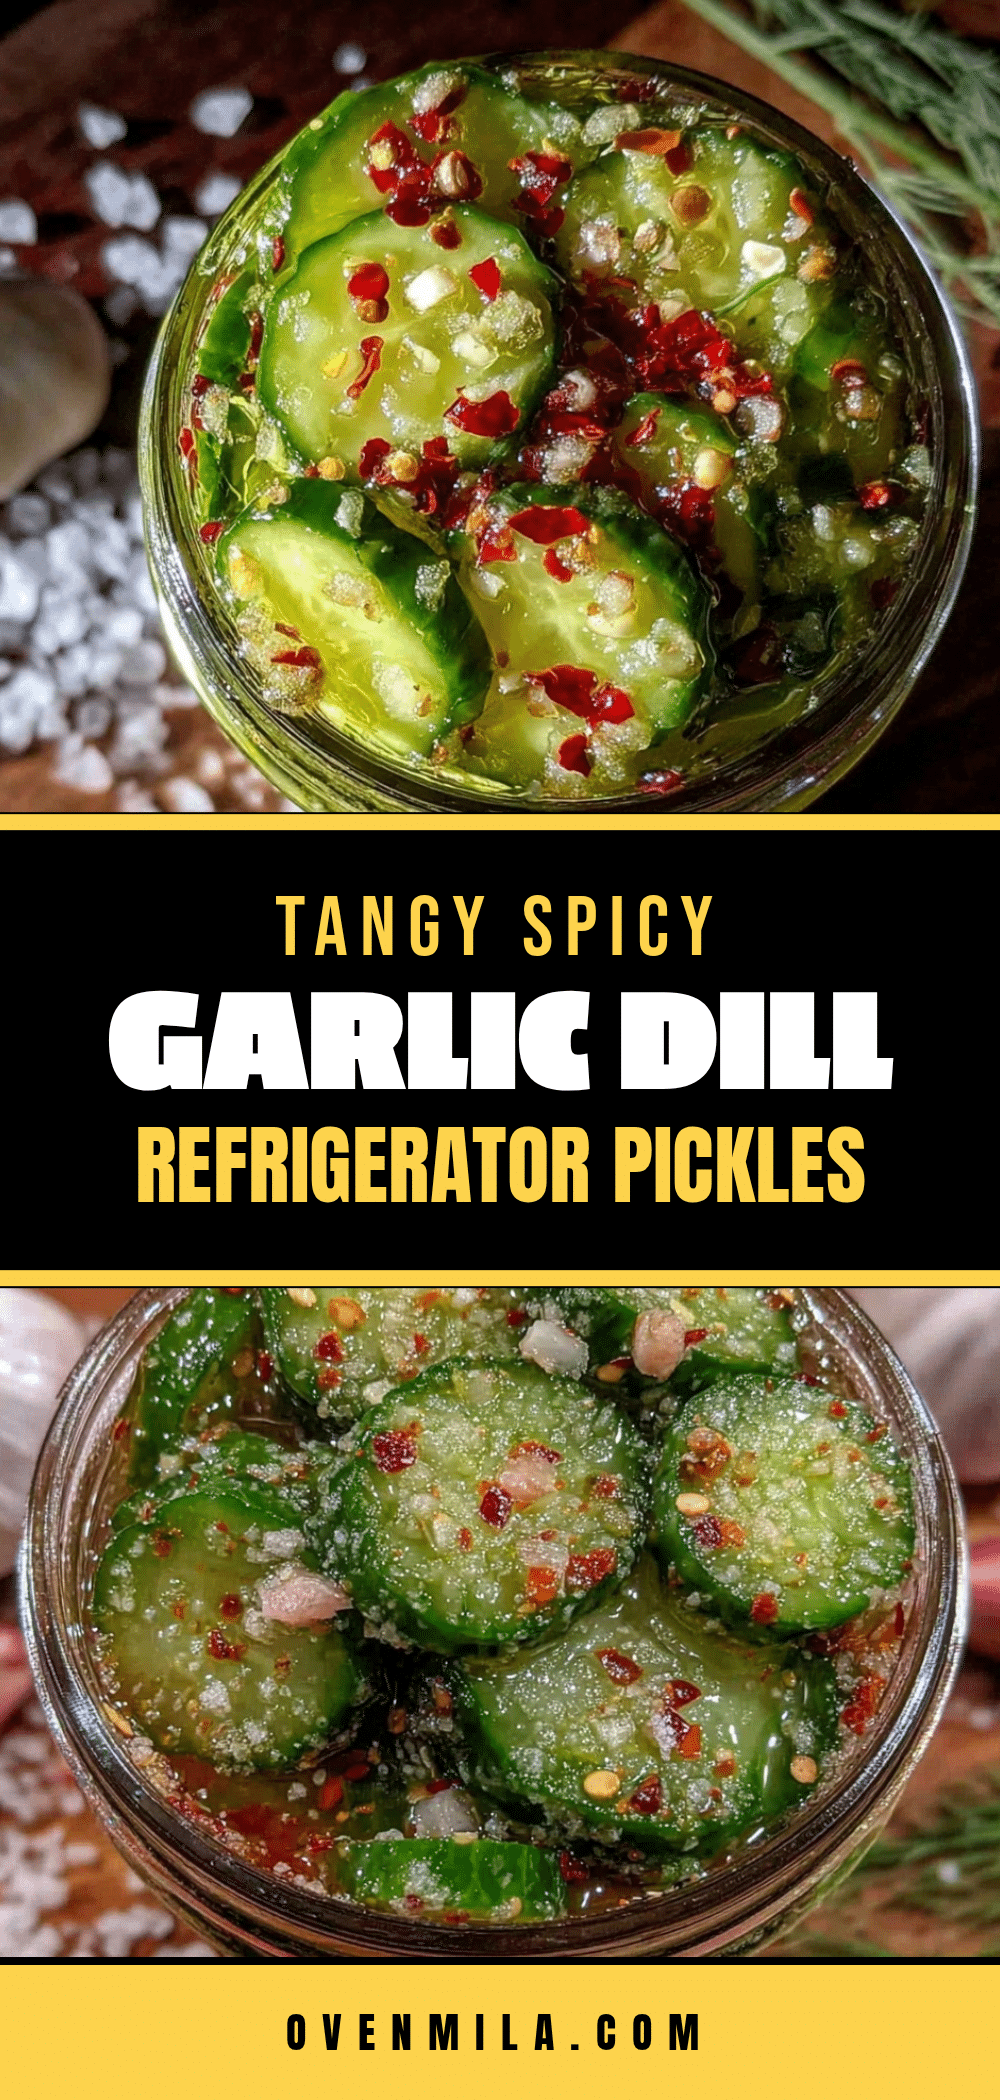
Spicy Garlic Dill Refrigerator Pickles
A quick and flavorful refrigerator pickle recipe ready in just 24 hours, featuring a perfect balance of spicy garlic and fresh dill for a crunchy, tangy snack.
- Prep Time: 15 minutes
- Cook Time: 10 minutes
- Total Time: 24 hours 25 minutes
- Yield: 2 quart jars (about 8 servings) 1x
- Category: Condiment
- Cuisine: American
Ingredients
- 4–5 medium Kirby cucumbers, sliced into spears or rounds
- 4–5 sprigs fresh dill (or 2 teaspoons dried dill)
- 4–5 large garlic cloves, thinly sliced
- 1 cup (240 ml) white vinegar
- 1 cup (240 ml) water
- 1 tablespoon granulated sugar
- 1 tablespoon kosher salt or pickling salt
- 1–2 teaspoons red chili flakes or 1 fresh jalapeño, sliced
- 1 teaspoon black peppercorns
- 1 teaspoon mustard seeds (optional)
- 1 small bay leaf (optional)
Instructions
- Wash cucumbers thoroughly and slice into 3 to 4 inch spears or 1/4 inch thick rounds, ensuring uniformity.
- Place fresh dill sprigs, sliced garlic, red chili flakes or jalapeño slices, peppercorns, mustard seeds, and bay leaf at the bottom of each clean quart jar.
- Pack cucumber slices tightly into jars without crushing, using tongs or chopsticks to press down gently.
- In a medium saucepan, combine white vinegar, water, sugar, and salt. Bring to a boil over medium-high heat, stirring until sugar and salt dissolve. Remove from heat and let cool for 5 minutes.
- Carefully pour hot brine over cucumbers in jars, leaving about 1/2 inch headspace. Ensure cucumbers are fully submerged; add more water and vinegar if needed.
- Seal jars tightly and let cool to room temperature, then refrigerate.
- Pickles are ready to eat after 24 hours, but flavor improves after 48 hours. Keep refrigerated and consume within 3 weeks.
Notes
[‘Use fresh, firm Kirby cucumbers for best crunch.’, ‘Slice garlic thinly instead of crushing to avoid bitterness.’, ‘Heat the brine but do not boil the garlic to keep flavor mellow.’, ‘Do not overcrowd jars to allow brine circulation.’, ‘Adjust chili flakes or jalapeño to control spice level.’, ‘Pickles taste better after 48 hours but are ready after 24 hours.’, ‘Store refrigerated and consume within 3 weeks.’, ‘Avoid reheating; serve cold or at room temperature.’]
Nutrition
- Serving Size: About 1/4 cup (1-2 s
- Calories: 1015
- Sugar: 1
- Sodium: 300
- Carbohydrates: 2
- Fiber: 0.5
Keywords: spicy pickles, garlic dill pickles, refrigerator pickles, quick pickles, easy pickles, homemade pickles, spicy garlic pickles


