My niece, who is seven and has strong opinions about everything, asked why I couldn’t just dip the pretzel rods and let the chocolate drip naturally to make them look creepy. I started to explain why that wouldn’t work—that you needed a controlled coating for a clean look. Then I stopped. She was holding a bag of pretzel rods with this look of pure certainty, and honestly, I had nothing better to do on a rainy Tuesday afternoon.
So I handed her a bowl of melted white chocolate and told her to go for it. She dipped one rod, held it up, and let the excess drip back into the bowl. The uneven coating looked exactly like gnarled, witchy fingers. I mean, I was standing right there ready to “fix” it, and she had already nailed it. My carefully planned method of using a piping bag and meticulously layering chocolate suddenly felt like overkill. She was right, and I was humbled by a seven-year-old with a bag of pretzels and zero fear of messing up.
That afternoon turned into a full-on Halloween baking session. We ended up with a baking sheet full of spooky witch finger pretzel rods, and I learned that sometimes the best ideas come from the person who hasn’t learned to overthink things yet. These treats are now a staple in our house every October, and I make them exactly the way she showed me. Maybe you’ve been there—stuck in your own head about how a recipe “should” be done, only to have someone with fresh eyes show you a better way. That’s the story behind these pretzel rods, and why I keep making them even now.
Why You’ll Love This Recipe
Let me tell you why these spooky witch finger pretzel rods with white chocolate have become my go-to Halloween treat. First off, they are ridiculously easy. You don’t need any fancy baking skills or equipment. If you can melt chocolate and dip a pretzel, you can make these. Honestly, that’s the whole skill set required.
- Quick & Easy: From start to finish, these come together in under 30 minutes. Perfect for last-minute Halloween parties or when the kids suddenly announce they need treats for school tomorrow.
- Simple Ingredients: You only need three main ingredients: pretzel rods, white chocolate, and green food coloring. No hunting down specialty stores or expensive decorations.
- Perfect for Halloween: These are the star of any spooky spread. Kids love them, adults get a kick out of them, and they photograph beautifully for social media.
- Crowd-Pleaser: I’ve brought these to three different Halloween gatherings now, and they always disappear first. People can’t resist the creepy-cute factor.
- Unbelievably Delicious: The combination of salty pretzels and sweet white chocolate is classic for a reason. Add a little almond sliver for the fingernail, and you’ve got a treat that tastes as good as it looks.
What makes this recipe different from all the other witch finger recipes out there? It’s the technique my niece taught me—letting the chocolate drip naturally. Most recipes tell you to pipe the chocolate on carefully for a smooth finish. But the uneven, drippy coating is what makes these look authentically creepy. It’s the imperfection that sells the illusion. This isn’t just another version of a Halloween treat; it’s the one that actually looks like real witch fingers because you’re not trying to be perfect.
These spooky witch finger pretzel rods with white chocolate are comfort food reimagined for the spooky season. They’re the kind of treat that makes you smile, then shiver, then reach for another one. Perfect for impressing guests without any stress, or turning a simple snack into something memorable.
What Ingredients You Will Need
This recipe uses simple, pantry-friendly ingredients to deliver maximum Halloween fun with minimum fuss. Here’s what you’ll need to gather before you start.
- Pretzel rods (1 standard 12-ounce bag, about 20 rods) — Look for thick, sturdy rods that won’t break easily when dipped. I prefer the Snyder’s of Hanover brand because they hold up well to the chocolate coating.
- White chocolate melting wafers (12 ounces) — These melt more smoothly than white chocolate chips, which can seize up. Ghirardelli makes excellent melting wafers. If you can only find white chocolate chips, add a teaspoon of coconut oil to help them melt smoothly.
- Green food coloring (gel or liquid, about 10-15 drops) — Gel coloring gives a more vibrant, witchy green without thinning the chocolate. I use Americolor gel for the best color payoff.
- Sliced almonds (about 20 pieces) — These become the fingernails. Look for whole sliced almonds, not slivered, because you want that wide, nail-like shape.
- Optional: Red food coloring or raspberry jam — A tiny dab at the base of the almond creates a bloody cuticle effect. Completely optional but very effective for extra creepiness.
- Parchment paper or silicone baking mat — For setting the finished pretzels. Wax paper can work in a pinch but parchment is more reliable.
Substitution Guidance: If you need a dairy-free option, use dairy-free white chocolate chips or melting wafers. Enjoy Life makes a good one. For a naturally colored version, you can use spinach powder mixed with a little water to color the chocolate, though the color won’t be as vibrant. If you don’t have sliced almonds, you can use small pieces of white chocolate shaped into fingernails, or even candy corn for a fun alternative.
Ingredient Selection Tip: When buying pretzel rods, gently squeeze the bag to check for broken pieces. You want mostly intact rods because broken ones are harder to dip evenly. I learned this the hard way after opening a bag that was half crumbs.
Equipment Needed
You don’t need a fully stocked kitchen for these spooky witch finger pretzel rods with white chocolate. Here’s what you’ll want to have on hand.
- Microwave-safe bowl (medium size) — For melting the white chocolate. Glass or ceramic works best.
- Baking sheet — Large enough to hold all your pretzel rods in a single layer. A half-sheet pan is perfect.
- Parchment paper or silicone baking mat — To line the baking sheet and prevent sticking.
- Small spatula or spoon — For stirring the chocolate and helping with dipping.
- Small piping bag or zip-top bag — Optional, for adding extra chocolate details like knuckles or wrinkles.
- Toothpicks — Helpful for positioning the almond fingernails without getting chocolate all over your fingers.
If you don’t have a microwave, you can melt the white chocolate using a double boiler on the stovetop. Just be careful not to let any water get into the chocolate, or it will seize up and become grainy. I’ve ruined more than one batch of white chocolate this way, and let me tell you, it’s frustrating. Keep everything bone dry.
Preparation Method
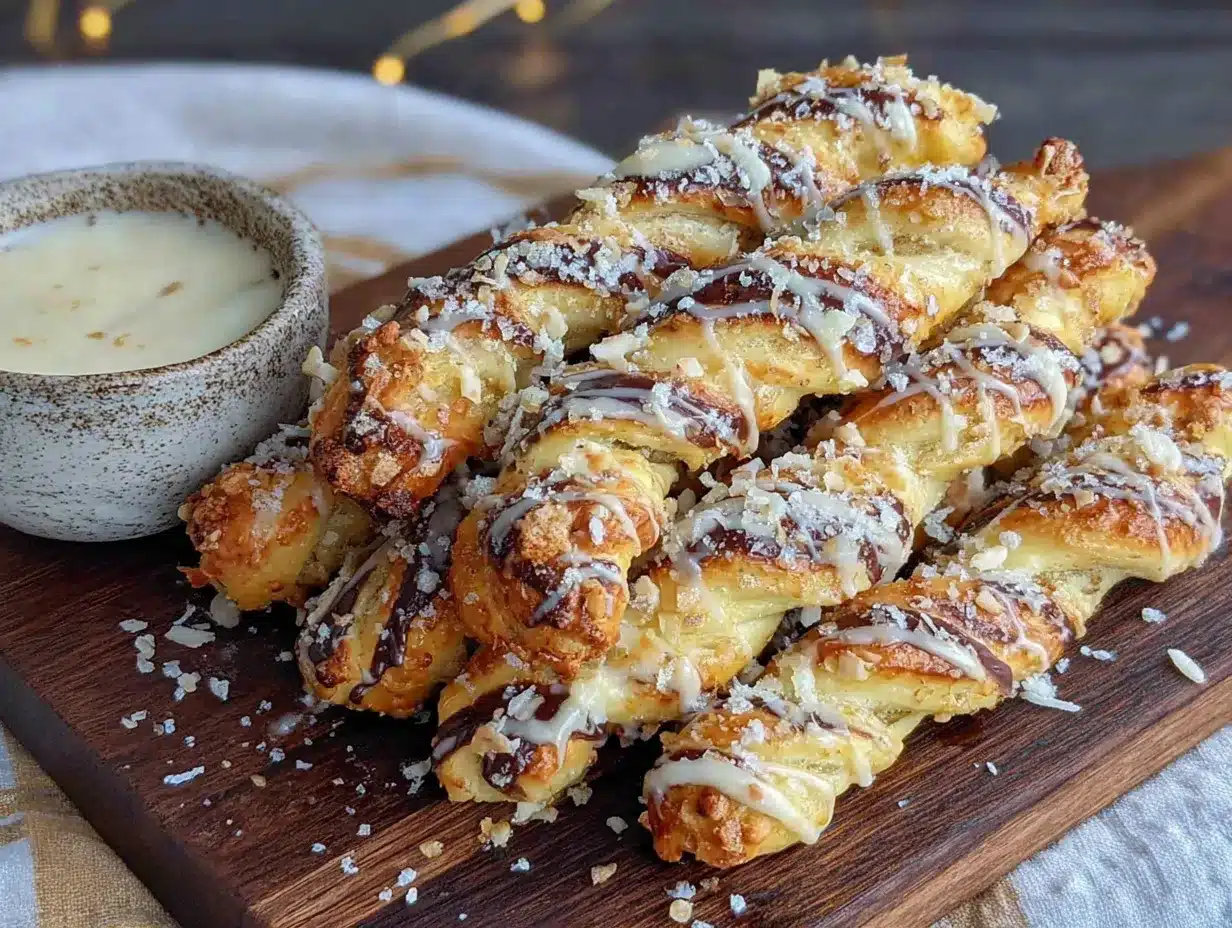
Follow these steps carefully, and you’ll have a batch of spooky witch finger pretzel rods with white chocolate that would make any witch proud.
- Prep your workspace. Line your baking sheet with parchment paper or a silicone mat. Set it aside where it can sit undisturbed for at least 30 minutes. Make sure your pretzel rods are arranged nearby and your sliced almonds are ready to go. This is one of those recipes where having everything within arm’s reach makes the process much smoother.
- Melt the white chocolate. Place your white chocolate melting wafers in a microwave-safe bowl. Microwave in 30-second intervals at 50% power, stirring thoroughly between each interval. This usually takes about 2 to 3 minutes total. The chocolate should be completely smooth and liquid when you’re done. Don’t overheat it, or it will become thick and clumpy. If it starts to look grainy, you’ve gone too far and need to start over.
- Add the green color. Stir in your green food coloring one drop at a time until you achieve a pale, witchy green. You want it to look like a classic cartoon witch’s skin—not too dark, not too bright. About 8 to 10 drops of liquid coloring usually does it. If you’re using gel, start with just a tiny dab on a toothpick and stir it in. You can always add more, but you can’t take it away.
- Dip the pretzel rods. Hold one pretzel rod by the end and dip it into the melted green chocolate. Submerge it about three-quarters of the way, leaving the top end bare. Lift it out and let the excess chocolate drip back into the bowl. This is where my niece’s method comes in—let it drip naturally. Don’t try to scrape off the excess or make it even. The uneven coating is what gives these their creepy, gnarled appearance.
- Add the fingernail. While the chocolate is still wet, place a sliced almond at the tip of the pretzel rod, pressing gently so it sticks. Position it so the pointed end of the almond faces outward, like a real fingernail. Use a toothpick to adjust it if needed. The almond should sit slightly angled, not perfectly straight, because real fingernails aren’t perfectly aligned either.
- Create the knuckle wrinkles (optional but recommended). Use a toothpick to drag small lines across the chocolate coating to create knuckle wrinkles. Draw three or four horizontal lines near the top, just below the fingernail. Then add a couple more lines further down to suggest finger joints. These small details make a huge difference in the final look.
- Set the pretzels. Place each finished pretzel rod on your prepared baking sheet. Make sure they aren’t touching each other. Let them sit at room temperature for about 20 to 30 minutes, or until the chocolate is completely set. If you’re in a hurry, you can pop the baking sheet in the refrigerator for 10 minutes, but let them come to room temperature before serving to avoid condensation.
- Add the bloody cuticle (optional). Once the chocolate is set, use a tiny dab of red food coloring or raspberry jam at the base of each almond fingernail. This creates a gruesome “bloody cuticle” effect that takes the creepiness to the next level. I usually do this right before serving so it stays fresh-looking.
Cooking Tips & Techniques
After making these spooky witch finger pretzel rods with white chocolate more times than I care to count, I’ve picked up a few tricks that make the process easier and the results better.
Temperature matters. White chocolate is finicky about temperature. If your kitchen is too hot and humid, the chocolate may not set properly. Aim for a cool, dry room. If your chocolate starts to thicken while you’re working, give it a quick 10-second zap in the microwave to loosen it up again.
Don’t overcrowd your baking sheet. Give each pretzel rod enough space so they aren’t touching. If they touch while the chocolate is still wet, you’ll end up with a sticky mess when you try to separate them. Trust me, I learned this one the hard way. I once had a whole batch fuse together into one massive pretzel blob.
Work in batches. Don’t try to dip all the pretzels at once. Dip four or five at a time, add the almonds and knuckle wrinkles, then move on to the next batch. This keeps the chocolate from setting before you’ve added the details. I usually work in batches of five, which gives me enough time to add details without rushing.
Use a fork for dipping. If you find the chocolate coating is too thick, try using a fork to dip the pretzels instead of holding them by the end. This gives you more control over the coating thickness and helps avoid clumps. Just be gentle so the pretzel doesn’t break.
Store them properly. These pretzels are best eaten within 24 hours, but they’ll keep for up to 3 days in an airtight container at room temperature. Don’t refrigerate them, as the chocolate may develop condensation and lose its shine. If you need to make them ahead, store them in a cool, dry place away from direct sunlight.
Variations & Adaptations
One of the best things about this recipe is how easy it is to customize. Here are some variations I’ve tried and loved.
Vampire Fang Pretzels: Instead of green coloring, leave the white chocolate white and use two small white candy melts or white chocolate chips as fangs on one end. Add a drop of red food coloring at the base for a bloody effect. These are perfect for a vampire-themed party.
Zombie Finger Pretzels: Use a mix of green and a tiny bit of brown food coloring to create a more decayed, zombie-like skin tone. Add a few drops of red gel coloring to simulate bloody wounds. I made these for a zombie walk last year, and they were a hit.
Gluten-Free Version: Use gluten-free pretzel rods. Many brands now offer gluten-free options that work perfectly for this recipe. Just check the label to make sure they’re certified gluten-free if that’s a concern.
Dark Chocolate Witch Fingers: Swap the white chocolate for dark or milk chocolate. You won’t get the green witchy color, but you can add orange or purple sprinkles for a different Halloween vibe. The dark chocolate version is less sweet and pairs beautifully with the saltiness of the pretzels.
Extra Spooky Details: Add edible glitter or luster dust to the chocolate for a magical, glittering effect. You can also use black food coloring to create spiderweb patterns on the chocolate once it’s set. I tried a spiderweb design last Halloween, and it looked incredible.
Serving & Storage Suggestions
These spooky witch finger pretzel rods with white chocolate are best served at room temperature. Arrange them on a platter with the “fingernail” ends pointing outward for maximum creepiness. I like to serve them on a black or dark-colored plate to make the green color pop.
Presentation ideas: Place them in a glass jar or vase with the chocolate ends sticking out, like a bouquet of witch fingers. Or arrange them on a wooden board with some fake spiderwebs and plastic spiders for a truly spooky display. For parties, I’ve also stood them upright in a block of floral foam covered with black tissue paper—it looks like a hand reaching up from the grave.
Complementary treats: These pair wonderfully with other Halloween goodies. Serve them alongside pumpkin spice cookies, caramel apples, or a bowl of candy corn. For drinks, a warm mug of apple cider or a glass of cold milk balances the sweetness perfectly.
Storage: Store any leftover pretzels in an airtight container at room temperature for up to 3 days. Do not refrigerate, as the chocolate may develop condensation. If you need to stack them in the container, separate layers with parchment paper to prevent sticking. I’ve found that they actually taste best on the first day, when the pretzel is still crunchy and the chocolate is perfectly set.
Freezer instructions: You can freeze these for up to 2 months. Place them in a single layer on a baking sheet and freeze until solid, then transfer to a freezer-safe container with parchment between layers. Thaw at room temperature for about 30 minutes before serving.
Nutritional Information & Benefits
While these spooky witch finger pretzel rods with white chocolate are definitely a treat, here’s what you can expect nutritionally per serving (one pretzel rod).
| Nutrient | Amount per serving |
|---|---|
| Calories | 180 |
| Total Fat | 9g |
| Saturated Fat | 5g |
| Carbohydrates | 22g |
| Sugar | 14g |
| Protein | 3g |
| Sodium | 180mg |
Health Benefits: While this is an indulgent treat, the pretzel rods do provide a small amount of iron and B vitamins from the enriched flour. The almonds add healthy fats, vitamin E, and magnesium. White chocolate contains calcium from the milk solids. Of course, these benefits come with sugar and fat, so enjoy them in moderation.
Dietary Considerations: This recipe contains dairy (white chocolate) and gluten (pretzel rods). It is nut-free if you omit the almond fingernails or use a different fingernail alternative. For a vegan version, use dairy-free white chocolate and skip the almond fingernails or use a vegan alternative.
Conclusion
These spooky witch finger pretzel rods with white chocolate have become a Halloween tradition in my house, all because a seven-year-old had a better idea than I did. They’re easy, fun to make, and absolutely perfect for any Halloween gathering. Whether you’re hosting a party, sending treats to school, or just want something creepy to snack on while watching scary movies, these pretzels deliver.
I love that this recipe is forgiving—you don’t need to be a perfectionist to get great results. In fact, the imperfections are what make them look so authentically witchy. So go ahead and give them a try. Let the chocolate drip where it wants, make the knuckle wrinkles as crooked as you like, and don’t stress about making them look “perfect.” The best witch fingers are the ones that look like they were made by a witch, not a machine.
I’d love to hear how yours turn out! Drop a comment below with your own variations or tips, and share your photos on social media. Tag me so I can see your spooky creations. Happy Halloween, and happy snacking!
Frequently Asked Questions
Can I use white chocolate chips instead of melting wafers?
Yes, but white chocolate chips can be harder to melt smoothly because they contain stabilizers. Add a teaspoon of coconut oil or vegetable shortening to help them melt more evenly. Melt them slowly at 50% power in the microwave, stirring every 30 seconds.
How far in advance can I make these?
You can make these up to 3 days in advance. Store them in an airtight container at room temperature. If you’re adding the bloody cuticle detail, wait until the day you serve them so the red color stays fresh and doesn’t bleed into the chocolate.
My white chocolate seized up and became grainy. What went wrong?
White chocolate seizes when it comes into contact with even a tiny amount of water, or if it’s overheated. Make sure all your bowls and utensils are completely dry. If it does seize, you can try adding a tablespoon of coconut oil or heavy cream and stirring vigorously, but sometimes it’s best to just start over with fresh chocolate.
Can I use a different type of pretzel?
Absolutely! While pretzel rods give the best “finger” shape, you can use thick pretzel sticks or even pretzel twists. Just adjust your dipping technique accordingly. For pretzel twists, you can dip one end and add the almond nail to create a different kind of spooky shape.
How do I get the green color to be more vibrant?
Use gel food coloring instead of liquid. Gel coloring is more concentrated and won’t thin out the chocolate. Start with a tiny amount on a toothpick and stir it in, adding more until you reach your desired shade. For a neon green effect, use a neon green gel color.
Pin This Recipe!
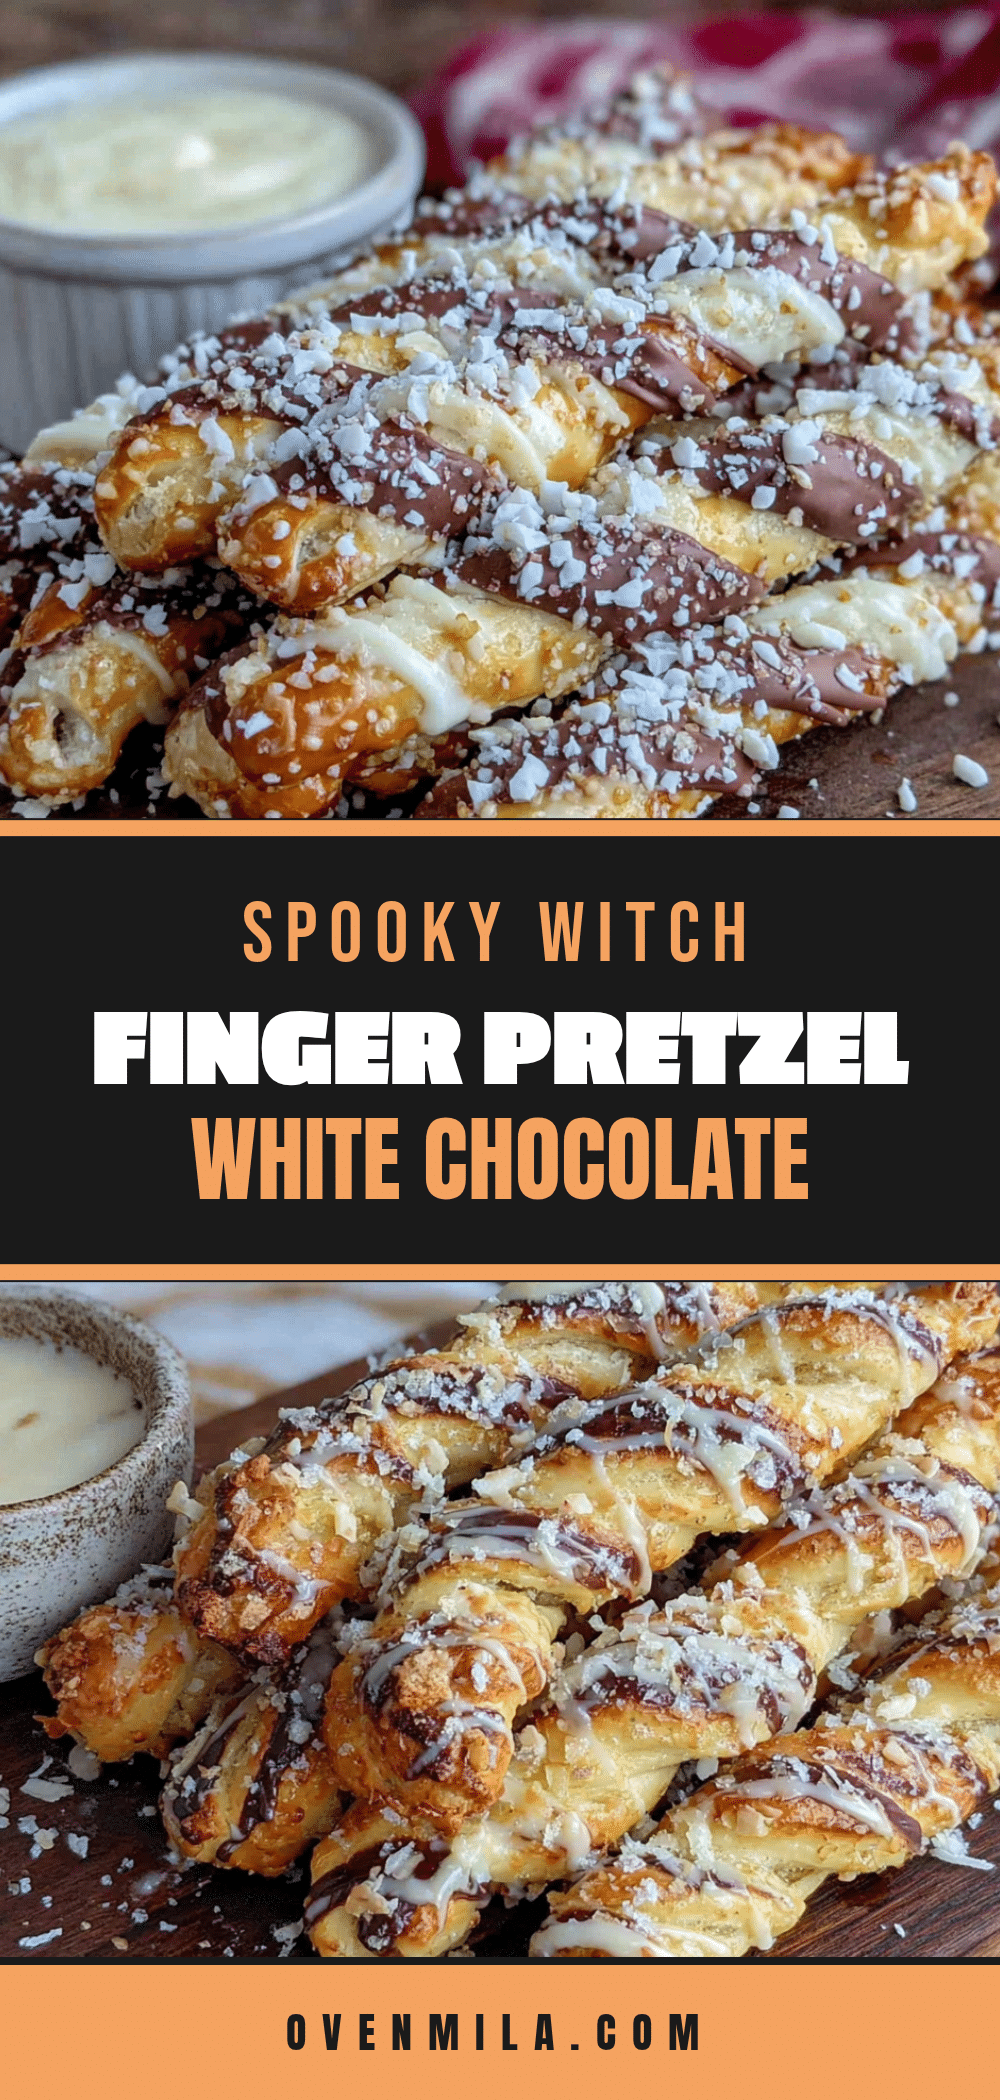
Spooky Witch Finger Pretzel Rods with White Chocolate

These spooky witch finger pretzel rods with white chocolate are ridiculously easy to make and perfect for Halloween. The uneven, drippy coating gives them an authentically creepy look, and they come together in under 30 minutes.
- Prep Time: 10 minutes
- Cook Time: 20 minutes
- Total Time: 30 minutes
- Yield: 20 servings 1x
- Category: Dessert
- Cuisine: American
Ingredients
- 1 standard 12-ounce bag pretzel rods (about 20 rods)
- 12 ounces white chocolate melting wafers
- 10–15 drops green food coloring (gel or liquid)
- 20 sliced almonds
- Optional: red food coloring or raspberry jam for bloody cuticle effect
Instructions
- Prep your workspace. Line your baking sheet with parchment paper or a silicone mat. Set it aside where it can sit undisturbed for at least 30 minutes. Make sure your pretzel rods are arranged nearby and your sliced almonds are ready to go.
- Melt the white chocolate. Place your white chocolate melting wafers in a microwave-safe bowl. Microwave in 30-second intervals at 50% power, stirring thoroughly between each interval. This usually takes about 2 to 3 minutes total. The chocolate should be completely smooth and liquid when you’re done.
- Add the green color. Stir in your green food coloring one drop at a time until you achieve a pale, witchy green. About 8 to 10 drops of liquid coloring usually does it.
- Dip the pretzel rods. Hold one pretzel rod by the end and dip it into the melted green chocolate. Submerge it about three-quarters of the way, leaving the top end bare. Lift it out and let the excess chocolate drip back into the bowl. Let it drip naturally for a creepy, gnarled appearance.
- Add the fingernail. While the chocolate is still wet, place a sliced almond at the tip of the pretzel rod, pressing gently so it sticks. Position it so the pointed end of the almond faces outward, like a real fingernail. Use a toothpick to adjust it if needed.
- Create the knuckle wrinkles (optional but recommended). Use a toothpick to drag small lines across the chocolate coating to create knuckle wrinkles. Draw three or four horizontal lines near the top, just below the fingernail. Then add a couple more lines further down to suggest finger joints.
- Set the pretzels. Place each finished pretzel rod on your prepared baking sheet. Make sure they aren’t touching each other. Let them sit at room temperature for about 20 to 30 minutes, or until the chocolate is completely set.
- Add the bloody cuticle (optional). Once the chocolate is set, use a tiny dab of red food coloring or raspberry jam at the base of each almond fingernail. This creates a gruesome ‘bloody cuticle’ effect.
Notes
White chocolate is finicky about temperature. If your kitchen is too hot and humid, the chocolate may not set properly. Aim for a cool, dry room. If your chocolate starts to thicken while you’re working, give it a quick 10-second zap in the microwave to loosen it up again. Don’t overcrowd your baking sheet. Work in batches of four or five to keep the chocolate from setting before you’ve added the details. Store in an airtight container at room temperature for up to 3 days. Do not refrigerate.
Nutrition
- Serving Size: 1 pretzel rod
- Calories: 180
- Sugar: 14
- Sodium: 180
- Fat: 9
- Saturated Fat: 5
- Carbohydrates: 22
- Protein: 3
Keywords: Halloween, witch fingers, pretzel rods, white chocolate, spooky treats, easy Halloween recipe


