My sister-in-law, Claire, had claimed to hate bread for about a decade. “It’s just a vehicle for butter,” she’d sniff at every family dinner, pushing the store-bought roll to the side of her plate. “I’d rather save the calories for pie.” Then, two Thanksgivings ago, I made this no-knead sourdough focaccia just for myself—a little project to keep my hands busy while the turkey rested. I pulled it from the oven, golden and blistered, the whole kitchen smelling like olive oil and rosemary. I turned around to grab a cooling rack, and when I looked back, Claire was standing there, one hand hovering over the loaf, fingers already reaching for the corner. She didn’t even ask. She just tore off a piece, took a bite, and closed her eyes. “Okay,” she whispered through a mouthful of crispy, airy bread. “This is different.” Honestly, I think that was the proudest moment of my cooking life. And that’s the thing about this focaccia—it has a quiet way of changing minds without you even trying. Maybe you’ve had a similar moment with a picky eater at your table. This recipe is for that moment.
Why You’ll Love This Recipe
Let’s be real—Thanksgiving is a marathon, not a sprint. The last thing you need is a fussy bread recipe that demands constant attention. This no-knead sourdough focaccia is the opposite of fussy. It’s the kind of recipe that works with your schedule, not against it.
- Completely Hands-Off: No kneading, no stand mixer, no sore arms. Just a few stirs and some patience while the dough does the work.
- Uses Your Sourdough Discard: Perfect for using up that extra starter you’ve been feeding all week. No waste, just flavor.
- Make-Ahead Magic: You can start the dough two days before Thanksgiving. The longer it sits in the fridge, the better it tastes.
- Impossible to Mess Up: I’ve forgotten this dough on the counter for an extra three hours. It was still perfect. It forgives you.
- Steals the Show: Every time I bring this to a gathering, people ignore the turkey for the bread. I’m not even kidding.
What makes this different from every other focaccia recipe out there? It’s the sourdough. The natural fermentation gives it this tangy, complex flavor that commercial yeast just can’t replicate. Plus, the long, cold fermentation in the fridge creates an airy, open crumb that soaks up olive oil like a dream. This isn’t just bread—it’s the bread that makes your guests ask for the recipe before they’ve finished their first piece.
And honestly? It’s the kind of recipe that makes you feel like a hero. You pull this golden, crackling loaf out of the oven while everyone is hovering in the kitchen, and suddenly you’re the person who made the best thing on the table. That’s a good feeling, especially on a day as stressful as Thanksgiving.
What Ingredients You Will Need
This recipe uses simple, pantry-friendly ingredients to deliver that signature sourdough tang and pillowy, olive-oil-crusted texture. Most of these are things you probably already have on hand—which is exactly what you want when you’re already juggling a turkey and three sides.
- Bread flour, 500g (about 4 cups) – I prefer King Arthur for the protein content, but any good bread flour works. All-purpose is fine in a pinch, but the crumb won’t be quite as chewy.
- Sourdough starter, 200g (about 1 cup), active or discard – This is where the magic lives. I use my unfed discard straight from the fridge. It’s a great way to use it up before the holiday baking frenzy.
- Warm water, 375g (about 1½ cups) – Aim for around 80°F. Too hot and you’ll kill the fermentation; too cold and it’ll take forever to rise.
- Olive oil, 60g (about ¼ cup), plus more for the pan and topping – Use a good quality extra virgin here. You’re going to taste it. I like California Olive Ranch for a fruity, peppery finish.
- Salt, 10g (about 1½ teaspoons) – Fine sea salt dissolves more evenly than kosher. If you only have kosher, use a little more.
- Honey or maple syrup, 15g (about 1 tablespoon) – Just a touch to help the yeast get going and add a subtle sweetness. Totally optional, but I like the balance it brings.
- Fresh rosemary, 2 tablespoons, chopped – A classic pairing with sourdough. Thyme or sage also work beautifully for a more autumnal vibe.
- Flaky sea salt, for finishing – Maldon is my go-to. That crunch on top is non-negotiable.
- Optional toppings: Thinly sliced garlic, cherry tomatoes, black olives, or caramelized onions. Go wild, but don’t overload it—you want the bread to shine.
One thing I learned the hard way: don’t skip the olive oil soak. The bottom of the pan should have a generous layer of oil before you add the dough. That’s what gives you that crispy, almost fried bottom crust. It’s the best part, honestly.
Equipment Needed
You don’t need a lot of fancy gear for this recipe, which is part of its charm. Here’s what you’ll want:
- A large mixing bowl – Glass or ceramic is ideal. Plastic can retain smells, and metal can react with the dough over long ferments.
- A 9×13-inch baking pan – Metal is best for even heat distribution. Glass works, but you might need to bake it a few minutes longer.
- A bench scraper or flexible spatula – For folding the dough without tearing it. I use a plastic dough scraper that cost me three dollars.
- Plastic wrap or a reusable bowl cover – To keep the dough from drying out during the long rise.
- A kitchen scale – I know, I know, but measuring by volume is inconsistent with bread. A $15 scale will change your baking life. I promise.
- A spray bottle with water – For creating steam in the oven. You can also just toss a few ice cubes on the bottom rack.
If you don’t have a 9×13 pan, you can use a cast iron skillet or a round cake pan. Just adjust the baking time slightly—thicker dough takes longer to cook through.
Preparation Method
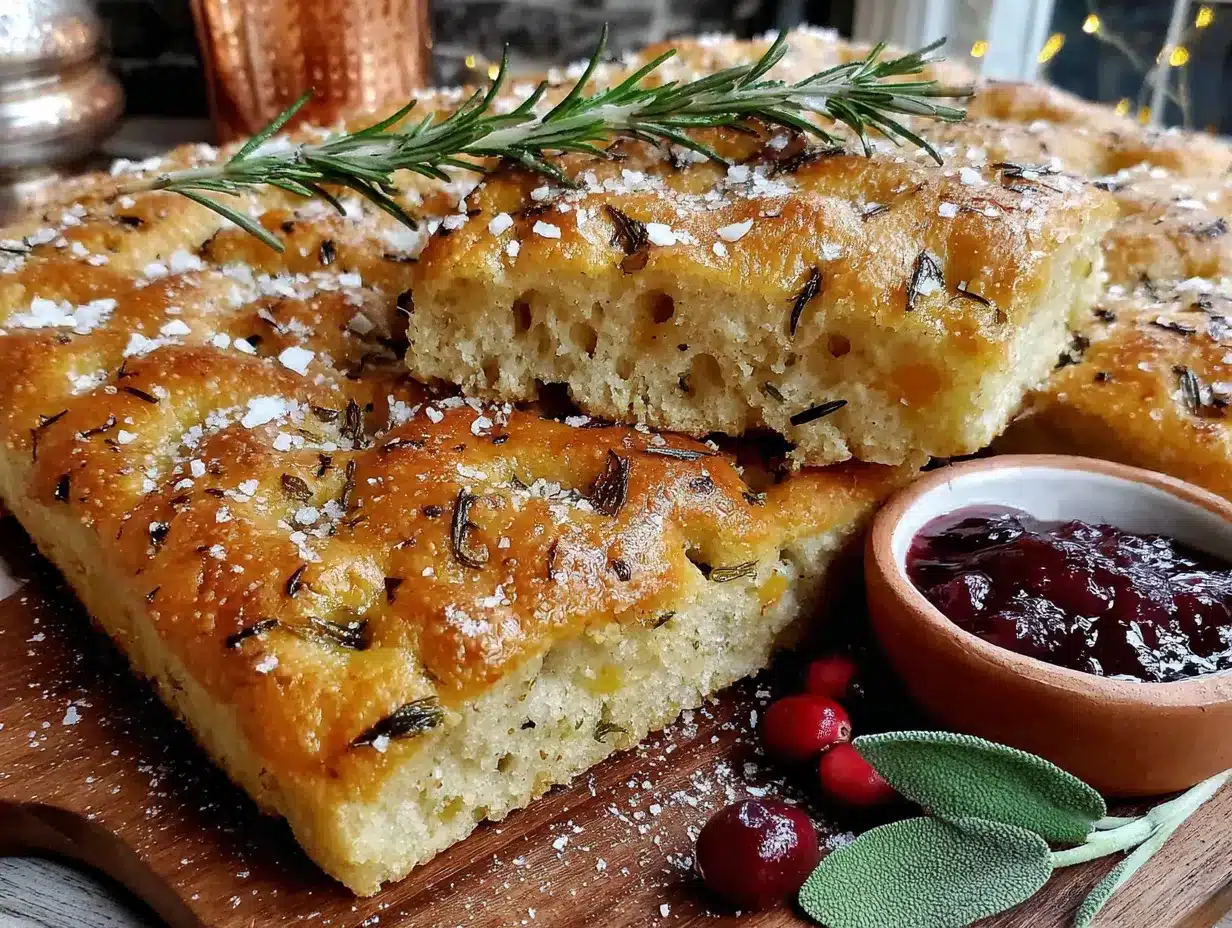
This recipe spans about 24 to 48 hours from start to finish, but don’t let that scare you. Almost all of that time is hands-off. The actual active work is maybe 15 minutes total.
- Mix the dough (Day 1, morning): In your large bowl, combine the warm water and the sourdough starter. Stir until the starter is mostly dissolved—it doesn’t need to be perfect. Add the honey or maple syrup and stir again. Then add the bread flour and salt. Use your hand or a sturdy spatula to mix until no dry flour remains. The dough will be shaggy and sticky. That’s exactly what you want. Cover the bowl with plastic wrap and let it rest for 30 minutes.
- First fold (30 minutes later): Wet your hand slightly (sticky dough is easier to handle with wet fingers). Grab one corner of the dough, stretch it up, and fold it over the center. Repeat this on all four sides. This is called a coil fold, and it builds strength without kneading. Cover and let it rest for another 30 minutes.
- Second and third folds: Repeat the folding process two more times, each 30 minutes apart. After the third fold, you’ll notice the dough is smoother and more elastic. It should feel alive and bouncy.
- Bulk fermentation (4-6 hours at room temperature): Cover the bowl tightly and let it sit at room temperature (around 70°F is ideal). The dough should nearly double in size. If your kitchen is cold, it might take longer. If it’s warm, check it at the 4-hour mark. You’re looking for a domed top with small bubbles visible on the surface.
- Cold fermentation (Day 1, evening to Day 2 or 3): Once the dough has doubled, cover the bowl tightly and move it to the refrigerator. Let it chill for at least 12 hours, and up to 48 hours. The longer it sits, the more complex the flavor. I usually start this on a Tuesday for a Thursday Thanksgiving.
- Pan the dough (Day 2 or 3, about 3 hours before baking): Pour a generous 2-3 tablespoons of olive oil into your 9×13 pan. Spread it all over the bottom and sides. Turn the cold dough out into the pan. Don’t force it—let it relax for a few minutes. Then, using oiled fingertips, gently stretch the dough to fill the pan. If it resists, let it rest for 10 minutes and try again. Don’t tear it. Cover loosely with plastic wrap.
- Final proof (2-3 hours at room temperature): Let the dough rise until it’s puffy and jiggly. It should look like a marshmallow. When you poke it gently, the indentation should spring back slowly. This usually takes 2-3 hours, depending on your kitchen temperature.
- Preheat the oven (30 minutes before baking): Place a rack in the middle of the oven and preheat to 425°F. If you have a pizza stone or baking steel, put it on the rack below—it helps create a crispy bottom.
- Dimple and top the dough: Drizzle another tablespoon of olive oil over the top of the dough. Then, using oiled fingers, press deep dimples all over the surface. Go all the way to the bottom of the pan. This isn’t just for looks—those dimples trap the oil and create the signature focaccia texture. Sprinkle the chopped rosemary and flaky salt evenly over the top. Add any other toppings now.
- Bake (25-30 minutes): Place the pan in the oven. If you have a spray bottle, mist the inside of the oven with water to create steam. Close the door quickly. Bake for 25-30 minutes, rotating the pan halfway through. The focaccia is done when it’s deep golden brown on top and sounds hollow when you tap the bottom. If the top is browning too fast, tent it loosely with foil for the last 5 minutes.
- Cool (the hardest part): Let the focaccia cool in the pan for 5 minutes, then transfer it to a wire rack. Don’t skip this step—if you leave it in the pan, the bottom will get soggy. Let it cool for at least 20 minutes before cutting. I know you want to tear into it immediately. Resist. It’s worth the wait.
Cooking Tips & Techniques
I’ve made this focaccia about twenty times, and I’ve made every mistake you can imagine. Let me save you the trouble.
Don’t skip the cold ferment. I know it’s tempting to rush it, especially when you’re already planning a massive meal. But that overnight rest in the fridge is what gives sourdough its signature tang and chewy texture. One time, I forgot to put it in the fridge and left it on the counter overnight. The next morning, it had over-proofed and collapsed. It still tasted okay, but the texture was flat and dense. Learn from my laziness.
Water is your friend. Sourdough dough is wetter than regular bread dough. Don’t be tempted to add more flour to make it easier to handle. That wetness is what creates the open, airy crumb. Trust the process. Wet your hands instead of flouring them—it works way better.
The dimple test is real. If you poke the dough before baking and it springs back immediately, it needs more time. If the indentation stays, it’s ready. If it collapses when you poke it, you’ve over-proofed it. That’s okay—it’ll still be edible, just a little flatter.
Steam is crucial. That burst of steam in the first few minutes of baking keeps the crust from setting too quickly, allowing the bread to rise fully. If you don’t have a spray bottle, toss a handful of ice cubes onto the bottom of the oven when you put the focaccia in. Just be careful of the steam when you open the door.
Let it cool completely. I know, I know. But cutting into hot bread compresses the crumb and makes it gummy. Give it at least 20 minutes. Use that time to finish your gravy or pour yourself a glass of wine.
Variations & Adaptations
This recipe is incredibly flexible. Here are a few ways to make it your own:
- Herb & Garlic: After dimpling, press thinly sliced garlic cloves into the dough and sprinkle with fresh thyme and oregano. This is my go-to for Thanksgiving—it pairs perfectly with turkey and gravy.
- Everything Bagel: Skip the rosemary and top with everything bagel seasoning (sesame seeds, poppy seeds, dried garlic, dried onion, and salt). It’s a crowd-pleaser, especially for brunch.
- Tomato & Olive: Press halved cherry tomatoes and sliced kalamata olives into the dimples before baking. The tomatoes roast into sweet, jammy pockets. This is gorgeous on a holiday table.
- Gluten-Free Adaptation: Substitute the bread flour with a good gluten-free bread flour blend (I like Cup4Cup). Add 1 teaspoon of xanthan gum if your blend doesn’t include it. The texture will be slightly different—less chewy, more tender—but still delicious.
- Dairy-Free: This recipe is already dairy-free. Just make sure your starter isn’t fed with milk (which is unusual, but worth checking).
One variation I tried last year that surprised me: I added a handful of chopped fresh sage and some caramelized onions on top. It was so good that my uncle asked for the recipe twice. Sage and Thanksgiving are a natural pair.
Serving & Storage Suggestions
This focaccia is best served warm, but it’s also fantastic at room temperature. Here’s how to make it shine on your Thanksgiving table:
Serving temperature: If you’re serving it alongside the main meal, reheat it in a 350°F oven for 5-7 minutes. That brings back the crispy crust and warm, fluffy interior. Don’t microwave it—that makes the crust tough and chewy.
Presentation: I like to serve it on a large wooden board or a slate platter. Drizzle a little more olive oil over the top and sprinkle with extra flaky salt right before serving. It looks rustic and impressive with almost no effort.
What to serve with it: This focaccia is perfect for sopping up gravy, soaking up the juices from a cranberry sauce, or just eating plain. It also pairs beautifully with a charcuterie board before dinner. I’ve even used it for leftover turkey sandwiches the next day—it’s life-changing.
Storage: Store leftover focaccia in an airtight container at room temperature for up to 3 days. Do not refrigerate it—the fridge dries out bread faster than anything. If you have a bread box, that’s even better.
Freezing: This focaccia freezes beautifully. Wrap it tightly in plastic wrap, then in foil, and freeze for up to 3 months. To reheat, unwrap it and pop it in a 350°F oven for 10-15 minutes straight from frozen. It tastes almost as good as fresh.
One thing I love about this recipe: the flavors actually develop over time. Day-old focaccia has a more pronounced sourdough tang and a chewier texture. If you can resist eating it all on Thanksgiving, the leftovers are a gift.
Nutritional Information & Benefits
Let’s be honest—focaccia isn’t health food. But it does have some redeeming qualities, especially when made with sourdough.
Estimated per serving (1/12 of the recipe): Calories: 210, Fat: 8g, Carbohydrates: 30g, Protein: 5g, Fiber: 1g, Sodium: 290mg. These are rough estimates—actual values depend on your specific ingredients and toppings.
The sourdough advantage: The long fermentation process breaks down phytic acid in the flour, making the nutrients more bioavailable. It also produces lactic acid, which gives sourdough its tang and may help stabilize blood sugar levels compared to regular bread. Plus, the fermentation creates prebiotics that feed your gut bacteria.
Dietary considerations: This recipe is dairy-free and vegetarian. It contains gluten, so it’s not suitable for celiacs unless you use the gluten-free adaptation. It’s also relatively low in sugar—just a touch of honey to feed the yeast.
I’m not a nutritionist, and I don’t pretend to be one. But I do believe that food made with care and shared with people you love is good for you in ways that can’t be measured. A slice of this focaccia with your Thanksgiving meal? That’s a win in my book.
Conclusion
This no-knead sourdough focaccia has earned a permanent spot on my Thanksgiving table. It’s the bread that converted my sister-in-law, the one that makes guests hover around the kitchen island asking what that amazing smell is, and the one that somehow always disappears before the turkey is carved. It’s forgiving, flexible, and deeply satisfying to make.
I hope you give it a try—maybe even start it today for your own gathering. Play with the toppings, make it your own, and don’t stress about perfection. The beauty of this recipe is that it’s hard to mess up, and even the “mistakes” taste amazing. If you make it, I’d love to hear how it goes. Drop a comment below, share a photo, or tell me about the look on your own picky eater’s face when they take that first bite. Happy Thanksgiving, and happy baking!
Frequently Asked Questions
Can I use all-purpose flour instead of bread flour?
Yes, you can. The focaccia will still be delicious, but it will be slightly less chewy and have a more tender crumb. Bread flour’s higher protein content gives it that signature structure. If you only have all-purpose, add an extra tablespoon of water to compensate for the lower absorption.
My dough isn’t rising. What went wrong?
This usually means your starter isn’t active enough. Make sure your starter is bubbly and at least doubled before you use it. Also, check your water temperature—if it was too hot (above 110°F), it could have killed the yeast. If your kitchen is cold, try placing the bowl in a slightly warm spot, like near the oven or on top of the fridge.
Can I make this without a sourdough starter?
You can, but it won’t have the same tangy flavor. Substitute the starter with 100g of all-purpose flour and 100g of water, and add 1 teaspoon of instant yeast to the dry ingredients. Reduce the water in the recipe by 50g. The fermentation time will be shorter—about 2-3 hours at room temperature instead of overnight.
How do I get those big, Instagram-worthy bubbles?
High hydration is the secret. Don’t be afraid of a wet, sticky dough. Also, be gentle when you transfer it to the pan—don’t deflate it. The cold fermentation also helps develop those big, irregular bubbles. Finally, don’t skip the steam in the oven. It gives the bubbles room to expand before the crust sets.
Can I double this recipe for a crowd?
Absolutely. Double all the ingredients and bake it in a half-sheet pan (18×13 inches). You might need to add 5-10 minutes to the baking time. Just keep an eye on the color—you want it deep golden brown all over. If the top is browning too fast, tent it with foil for the last 10 minutes.
Pin This Recipe!
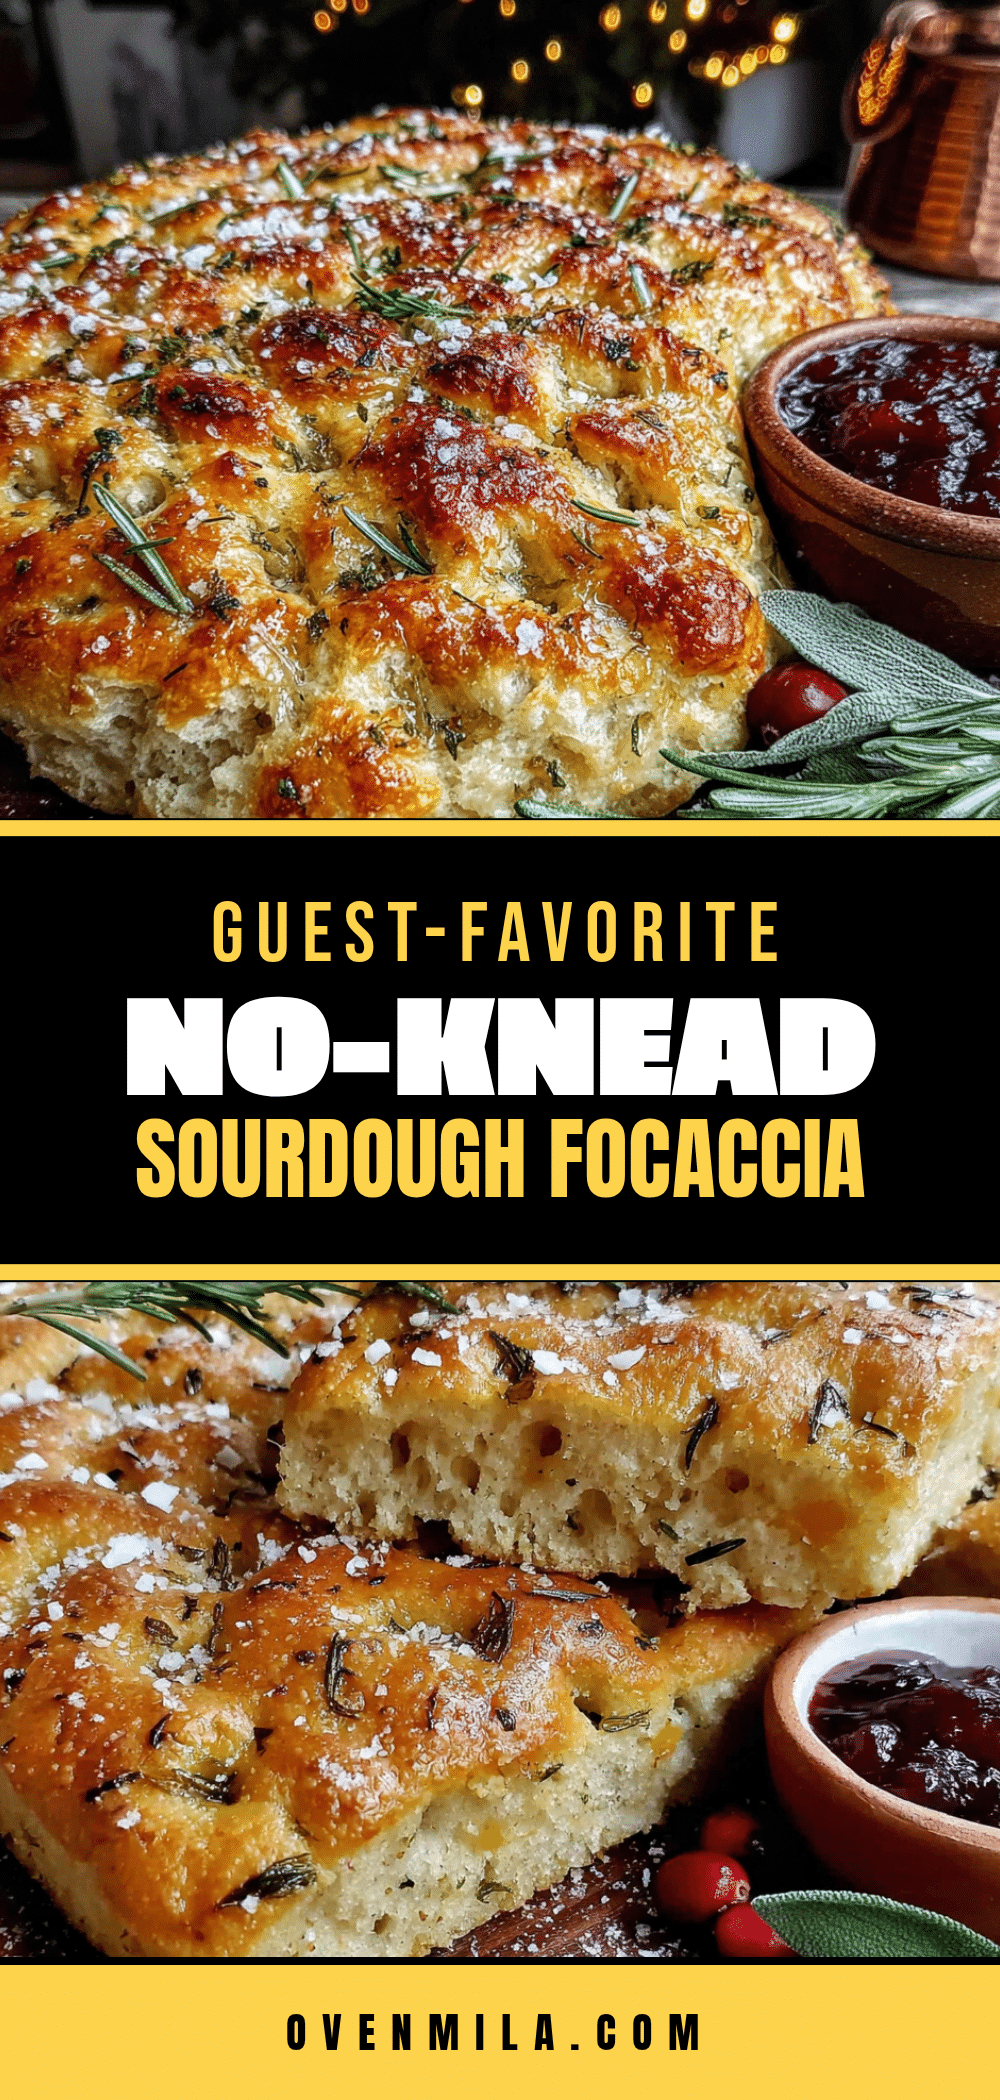
The Best No-Knead Sourdough Focaccia for Thanksgiving

This no-knead sourdough focaccia is the perfect make-ahead bread for Thanksgiving. With a tangy, complex flavor from a long cold fermentation and a crispy, olive oil-crusted exterior, it’s the bread that converts even the most adamant bread skeptics.
- Prep Time: 15 minutes
- Cook Time: 25-30 minutes
- Total Time: 24-48 hours (mostly hands-off)
- Yield: 12 servings 1x
- Category: Bread
- Cuisine: Italian-American
Ingredients
- 500g bread flour (about 4 cups)
- 200g sourdough starter (about 1 cup), active or discard
- 375g warm water (about 1½ cups), around 80°F
- 60g olive oil (about ¼ cup), plus more for the pan and topping
- 10g fine sea salt (about 1½ teaspoons)
- 15g honey or maple syrup (about 1 tablespoon)
- 2 tablespoons fresh rosemary, chopped
- Flaky sea salt, for finishing (e.g., Maldon)
- Optional toppings: thinly sliced garlic, cherry tomatoes, black olives, or caramelized onions
Instructions
- Mix the dough (Day 1, morning): In your large bowl, combine the warm water and the sourdough starter. Stir until the starter is mostly dissolved. Add the honey or maple syrup and stir again. Then add the bread flour and salt. Use your hand or a sturdy spatula to mix until no dry flour remains. The dough will be shaggy and sticky. Cover the bowl with plastic wrap and let it rest for 30 minutes.
- First fold (30 minutes later): Wet your hand slightly. Grab one corner of the dough, stretch it up, and fold it over the center. Repeat this on all four sides. Cover and let it rest for another 30 minutes.
- Second and third folds: Repeat the folding process two more times, each 30 minutes apart. After the third fold, the dough should be smoother and more elastic.
- Bulk fermentation (4-6 hours at room temperature): Cover the bowl tightly and let it sit at room temperature (around 70°F). The dough should nearly double in size, with a domed top and small bubbles visible on the surface.
- Cold fermentation (Day 1, evening to Day 2 or 3): Once the dough has doubled, cover the bowl tightly and move it to the refrigerator. Let it chill for at least 12 hours, and up to 48 hours.
- Pan the dough (Day 2 or 3, about 3 hours before baking): Pour a generous 2-3 tablespoons of olive oil into a 9×13-inch pan. Spread it all over the bottom and sides. Turn the cold dough out into the pan. Let it relax for a few minutes. Then, using oiled fingertips, gently stretch the dough to fill the pan. If it resists, let it rest for 10 minutes and try again. Cover loosely with plastic wrap.
- Final proof (2-3 hours at room temperature): Let the dough rise until it’s puffy and jiggly, like a marshmallow. When you poke it gently, the indentation should spring back slowly.
- Preheat the oven (30 minutes before baking): Place a rack in the middle of the oven and preheat to 425°F.
- Dimple and top the dough: Drizzle another tablespoon of olive oil over the top of the dough. Then, using oiled fingers, press deep dimples all over the surface, going all the way to the bottom of the pan. Sprinkle the chopped rosemary and flaky salt evenly over the top. Add any other toppings now.
- Bake (25-30 minutes): Place the pan in the oven. If you have a spray bottle, mist the inside of the oven with water to create steam. Close the door quickly. Bake for 25-30 minutes, rotating the pan halfway through. The focaccia is done when it’s deep golden brown on top and sounds hollow when you tap the bottom. If the top is browning too fast, tent it loosely with foil for the last 5 minutes.
- Cool: Let the focaccia cool in the pan for 5 minutes, then transfer it to a wire rack. Let it cool for at least 20 minutes before cutting.
Notes
Don’t skip the cold ferment; it gives the sourdough its signature tang and chewy texture. The dough is meant to be wet and sticky—don’t add extra flour. Steam in the oven is crucial for a good rise. Let the focaccia cool completely before cutting to avoid a gummy texture. Store leftovers in an airtight container at room temperature for up to 3 days, or freeze for up to 3 months.
Nutrition
- Serving Size: 1/12 of the recipe
- Calories: 210
- Sugar: 1
- Sodium: 290
- Fat: 8
- Saturated Fat: 1
- Carbohydrates: 30
- Fiber: 1
- Protein: 5
Keywords: sourdough focaccia, no-knead bread, Thanksgiving bread, sourdough discard recipe, make-ahead bread, holiday bread, focaccia recipe


