It was 11:47 PM on a random Tuesday—one of those nights where sleep just wasn’t happening—and I had this ridiculous, overwhelming craving for something soft, salty, and sweet. I didn’t have the energy for a complicated baking project, but I had a half-empty jar of peanut butter and a bag of Hershey’s Kisses I’d picked up for a holiday baking spree that never quite happened. And then the idea arrived: peanut butter blossom cookies. But not just any batch—I needed enough to bring to a friend’s potluck the next day, and I needed them to be the kind that disappears before you even set the plate down.
Honestly, I’d made peanut butter blossoms before, but they always felt like a lot of work for a single batch. Rolling each ball, pressing in each kiss—it’s a labor of love, sure, but when you’re feeding a crowd, you need efficiency without sacrificing that homemade magic. So there I was, standing in my kitchen at nearly midnight, covered in flour and sugar, determined to crack the code on a batch that would serve a crowd without taking all day. I spilled half the sugar on the counter and had to start over, but let me tell you—that late-night experimentation was totally worth it.
What I landed on was a slightly tweaked version of the classic—bigger cookies, a smarter rolling technique, and a timing trick that keeps the chocolate perfectly glossy. These aren’t just any peanut butter blossoms. They’re the ones your guests will ask about for months. Maybe you’ve been there—that moment when you need a showstopper dessert that doesn’t make you sweat. This recipe is that. It’s the cookie that says you care, without making you spend all day in the kitchen. And honestly, that’s the kind of recipe worth keeping close.
Why You’ll Love This Recipe
Let me tell you why this version of peanut butter blossom cookies is different. I’ve tested this recipe at least a dozen times—for family gatherings, holiday cookie swaps, and casual dinner parties—and it never fails. The cookies come out perfectly soft, the peanut butter flavor is bold without being overwhelming, and the chocolate kiss on top stays beautifully intact. No cracked chocolate, no dry cookies, no stress.
- Perfect for a Crowd : This recipe scales beautifully. Need 60 cookies? Double it. Need 120? Triple it. The dough holds up well, and the process stays simple no matter the batch size.
- Simple Ingredients : You probably already have everything in your pantry. Peanut butter, butter, sugar, flour, eggs—basic staples that come together for something extraordinary.
- Make-Ahead Friendly : The dough can be refrigerated for up to 3 days or frozen for a month. Pop a few trays in the oven when guests arrive, and your house smells like a bakery.
- Crowd-Pleaser Guaranteed : Kids love them. Adults love them. Even the picky eaters at your party will grab two. They’re nostalgic but elevated—familiar enough to comfort, special enough to impress.
- Unbelievably Delicious : The texture is what gets me every time. Soft, slightly crumbly peanut butter cookie with a smooth chocolate center. It’s the kind of cookie that makes you close your eyes after the first bite.
What makes this recipe truly stand out is the technique. Most versions use a standard creaming method, but I’ve found that slightly chilling the dough before rolling gives you a thicker, softer cookie that doesn’t spread too much. Plus, I press the chocolate kiss in while the cookie is still warm—not hot—so the chocolate stays shiny and doesn’t melt into a puddle. It’s a small tweak, but it makes all the difference when you’re serving a crowd and want every cookie to look picture-perfect.
This recipe isn’t just good—it’s the kind that makes you proud to share. Whether you’re hosting a holiday party, bringing dessert to a potluck, or just want a batch of cookies that feels special, these peanut butter blossoms deliver. They’re comfort food reimagined—faster, smarter, and designed for the moments when you want to impress without the stress.
What Ingredients You Will Need
This recipe uses simple, wholesome ingredients that come together for a cookie that’s soft, flavorful, and absolutely irresistible. Most of these are pantry staples, which means you can whip up a batch anytime a craving hits or a party comes up.
For the Cookie Dough
- 1 cup (2 sticks) unsalted butter, softened to room temperature — I prefer using Land O’Lakes or Kerrygold for the richest flavor. The butter should be soft enough to leave a slight indent when pressed, but not melted.
- 1 cup creamy peanut butter — Skippy or Jif work best here. Natural peanut butter that separates can make the cookies greasy, so stick with the classic processed kind for the perfect texture.
- 1 cup granulated sugar — Plus extra for rolling. You’ll need about 1/2 cup additional sugar for coating the dough balls before baking.
- 1 cup packed light brown sugar — This adds moisture and a deeper caramel-like flavor that pairs beautifully with peanut butter.
- 2 large eggs, at room temperature — Cold eggs can seize the butter, so let them sit on the counter for 30 minutes before starting.
- 2 teaspoons vanilla extract — Pure vanilla extract is worth the splurge here. It enhances the peanut butter flavor without overpowering it.
- 3 cups all-purpose flour — Spoon and level your flour for accuracy. Scooping directly from the bag can pack in too much flour, making the cookies dense.
- 1 teaspoon baking soda — This helps the cookies spread just enough without becoming flat.
- 1/2 teaspoon salt — A little salt balances the sweetness and brings out the peanut butter’s savory notes.
For the Topping
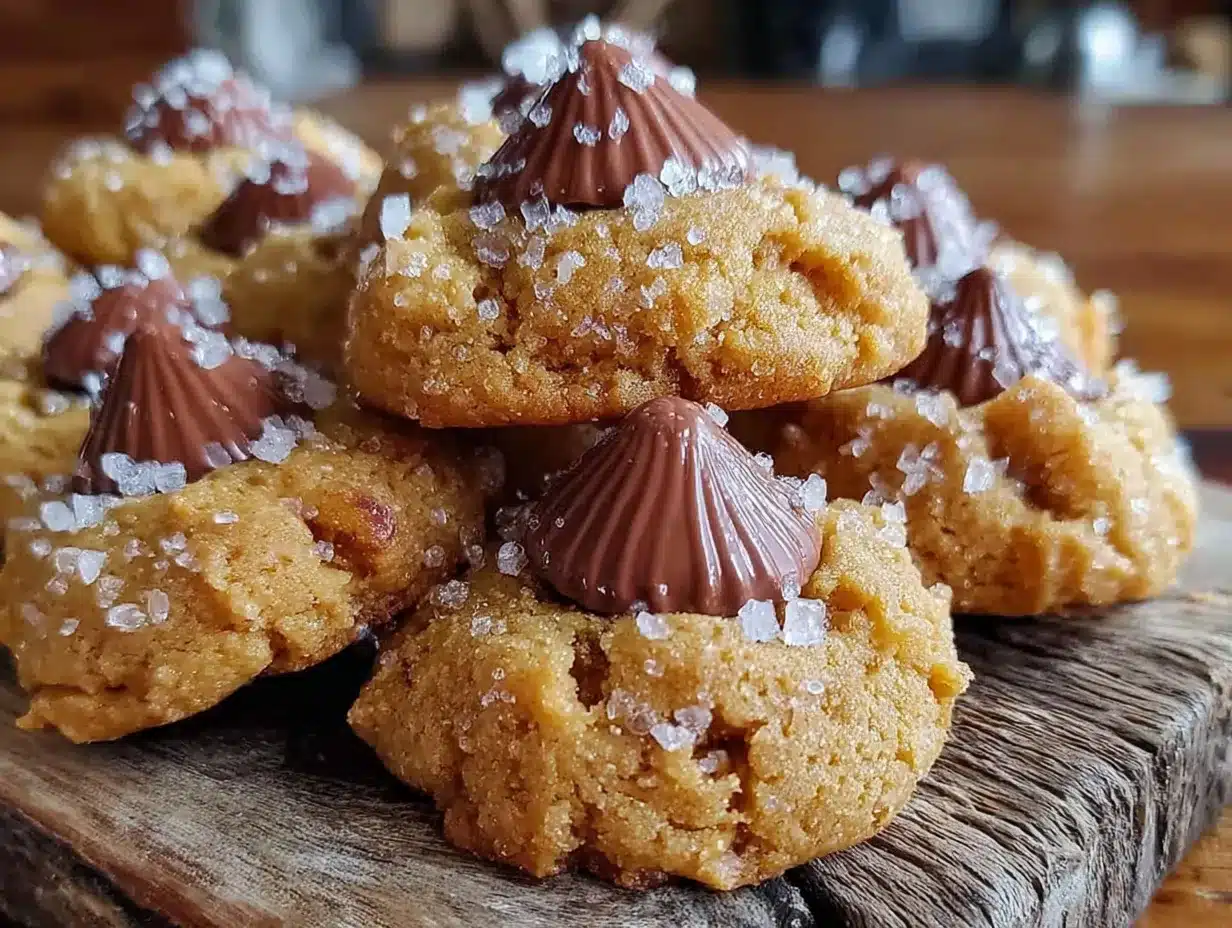
- About 48 Hershey’s Kisses, unwrapped — You’ll want to unwrap these ahead of time. I usually do this while the dough chills. For a crowd, buy the big 16-ounce bag—you’ll have extras for snacking!
Ingredient Tips and Substitutions
If you need a dairy-free option, use plant-based butter sticks (like Earth Balance) and make sure your peanut butter is dairy-free. For a gluten-free version, swap the all-purpose flour with a 1:1 gluten-free baking flour blend—I’ve had great results with King Arthur’s Measure for Measure. And if you’re not a fan of milk chocolate, try dark chocolate Kisses or even caramel-filled ones for a fun twist. Just keep in mind that different chocolate types might melt differently, so press them in gently.
I always recommend using creamy peanut butter for the smoothest dough. Chunky peanut butter can work, but the texture will be a bit different—more rustic, with little peanut bits throughout. If you’re feeling adventurous, you can also try almond butter or sunflower seed butter for a nut-free version, though the flavor and texture will shift slightly.
Equipment Needed
You don’t need a fancy kitchen to make these cookies, but having the right tools makes the process smoother—especially when you’re scaling up for a crowd.
- Stand mixer or hand mixer — A stand mixer with the paddle attachment is ideal for creaming butter and sugar efficiently. If you’re using a hand mixer, just give yourself an extra minute or two to ensure everything is well combined.
- Large mixing bowls — You’ll need one for the dry ingredients and one for the wet ingredients. I like using stainless steel bowls because they’re lightweight and easy to clean.
- Measuring cups and spoons — Accuracy matters in baking. Use dry measuring cups for flour and sugar, and liquid measuring cups for vanilla extract.
- Baking sheets — Heavy-duty, light-colored baking sheets work best. Dark sheets can cause the bottoms to brown too quickly. Line them with parchment paper or silicone baking mats for easy cleanup.
- Cooling racks — Wire racks allow air to circulate around the cookies, preventing soggy bottoms. I have three racks so I can cool multiple batches at once.
- Small cookie scoop (about 1.5 tablespoons) — This ensures uniform cookies that bake evenly. A #40 scoop is perfect for this size.
- Parchment paper or silicone baking mats — Both work well. Silicone mats are reusable and provide even heat distribution, while parchment paper is disposable and great for quick cleanup.
If you don’t have a cookie scoop, you can use two spoons to portion the dough. It’s a little messier, but it gets the job done. And if you’re baking for a huge crowd, consider borrowing an extra baking sheet from a friend—rotating pans in and out of the oven is much faster when you have more than one.
Preparation Method
Let’s walk through this step by step. I promise, once you get the rhythm down, these cookies come together quickly—even when you’re making a double batch for a party.
- Preheat your oven to 375°F (190°C) and position the racks in the upper and lower thirds of the oven. This allows you to bake two trays at once, which is a lifesaver when you’re making cookies for a crowd. Line your baking sheets with parchment paper or silicone mats.
- Cream the butter and peanut butter together in a large mixing bowl. Using a stand mixer with the paddle attachment on medium speed, beat the softened butter and peanut butter for about 2 minutes until smooth and well combined. Scrape down the sides of the bowl with a rubber spatula halfway through.
- Add the sugars — both granulated and brown — and beat on medium-high speed for 3 to 4 minutes until the mixture is light, fluffy, and slightly pale in color. This step is crucial for incorporating air, which gives the cookies their soft texture. Don’t rush it!
- Add the eggs one at a time, beating well after each addition. Then add the vanilla extract and beat until combined. The mixture should look smooth and creamy, almost like a thick frosting.
- In a separate bowl, whisk together the flour, baking soda, and salt. This ensures the leavening agent is evenly distributed throughout the dough. Gradually add the dry ingredients to the wet mixture, mixing on low speed until just combined. Overmixing at this stage can develop too much gluten, making the cookies tough. Stop as soon as you no longer see streaks of flour.
- Chill the dough for at least 30 minutes. This is a step I never skip. Chilling solidifies the fat, which prevents the cookies from spreading too much in the oven. You’ll get thicker, softer cookies with a perfect crumb. If you’re in a hurry, 20 minutes will work, but 30 is better.
- Shape the dough into 1.5-tablespoon balls. Use your cookie scoop or a spoon to portion the dough, then roll each ball between your palms until smooth. Place the balls about 2 inches apart on the prepared baking sheets. I fit 12 cookies per standard half-sheet pan.
- Roll each dough ball in granulated sugar. Pour about 1/2 cup of sugar into a shallow bowl. Roll each ball in the sugar until completely coated. This gives the cookies that beautiful sparkly exterior and a slight crunch that contrasts with the soft interior.
- Bake for 10 to 12 minutes, rotating the pans halfway through. The cookies should look puffed and lightly golden around the edges, but still soft in the center. They will continue to set as they cool, so don’t overbake. I tend to pull them at the 10-minute mark for a softer cookie.
- Let the cookies cool on the baking sheet for exactly 2 minutes. This is the perfect window for pressing in the chocolate kisses. While the cookies are still warm, gently press one Hershey’s Kiss into the center of each cookie. Don’t press too hard—you want the chocolate to sit on top, not sink into the dough. The warmth will soften the chocolate just enough to hold it in place.
- Transfer the cookies to a wire rack to cool completely. This usually takes about 15 to 20 minutes. The chocolate will harden as the cookies cool, creating that classic peanut butter blossom look.
- Repeat with the remaining dough. If you’re baking multiple batches, make sure the baking sheets are completely cool before adding more dough. Warm pans cause the cookies to spread too much.
A quick note on timing: if you’re making these for a party, you can prepare the dough a day ahead and keep it refrigerated. When you’re ready to bake, just let the dough sit at room temperature for 10 minutes so it’s soft enough to scoop. This makes party prep so much smoother!
Cooking Tips & Techniques
After making these cookies more times than I can count, I’ve picked up a few tricks that make a real difference. Let me share what I’ve learned—sometimes the hard way!
Don’t skip the chill time. I know it’s tempting to rush, especially when you’re craving cookies. But chilling the dough is non-negotiable if you want thick, soft cookies. Without it, the cookies spread into thin, crispy discs. I learned this the hard way when I made a batch for a holiday party and ended up with cookies that looked more like lace than blossoms!
Use a timer for the chocolate pressing. This is probably my most important tip. If you press the Kisses in too early, the chocolate melts into a puddle and loses that signature shape. If you wait too long, the cookie cools and the chocolate won’t stick. I set a timer for 2 minutes after pulling the cookies from the oven, and it works perfectly every time.
Rotate your pans halfway through baking. Ovens have hot spots, and rotating ensures even browning. I swap the top and bottom racks and also rotate the pans front to back. This small step prevents burned bottoms and unevenly baked cookies.
Make sure your butter is truly softened. Cold butter won’t cream properly, leading to dense cookies. But melted butter is also a problem—it changes the texture entirely. I leave my butter on the counter for about an hour before starting. If I’m in a rush, I cut it into small cubes and let it sit for 20 minutes.
Invest in a good cookie scoop. Uniform size means uniform baking. When all your cookies are the same size, they finish baking at the same time, which is crucial when you’re making multiple batches for a crowd. A #40 scoop gives you about 1.5 tablespoons of dough—perfect for this recipe.
One more thing: if you’re baking for a large gathering, consider making the dough in stages. Cream the butter and sugar, then refrigerate the mixture while you prep the dry ingredients. It breaks up the work and keeps you from feeling overwhelmed. Trust me, your future self will thank you!
Variations & Adaptations
One of the best things about this recipe is how adaptable it is. I’ve tried several variations over the years, and they’ve all been hits with my friends and family.
Dark Chocolate Bliss : Swap the milk chocolate Kisses for dark chocolate ones. The bitterness of the dark chocolate balances the sweetness of the peanut butter cookie beautifully. I did this for a dinner party once, and guests kept asking where I bought them!
Holiday Sprinkle Blossoms : Before baking, roll the dough balls in colored sprinkles instead of granulated sugar. Red and green for Christmas, pastels for Easter, or orange and black for Halloween. They look festive and add a fun crunch. Just make sure the sprinkles are the tiny round kind—jimmies can fall off during baking.
Gluten-Free Version : Use a 1:1 gluten-free baking flour blend. I’ve tested this with King Arthur’s Measure for Measure and Bob’s Red Mill, and both work well. The texture is slightly more tender, but the flavor is spot on. Just make sure your peanut butter is certified gluten-free if that’s a concern.
Nut-Free Alternative : Substitute the peanut butter with sunflower seed butter. The cookies will have a slightly different flavor—more earthy and less sweet—but they’re still delicious. Keep in mind that sunflower seed butter can react with baking soda and turn greenish. Don’t worry, it’s safe to eat! Adding a splash of lemon juice can help prevent this.
Stuffed Blossoms : For an extra indulgent version, wrap the dough around a small piece of caramel or a mini marshmallow before rolling in sugar. The surprise filling melts into gooey goodness as the cookie bakes. I tried this for a Super Bowl party, and they disappeared within minutes.
Feel free to experiment! That’s half the fun of baking. Just keep notes on what you change so you can replicate your favorites later.
Serving & Storage Suggestions
These peanut butter blossom cookies are at their best when served slightly warm—the chocolate is soft and the cookie is tender. If you’re hosting a party, arrange them on a large platter or cake stand. I like to alternate them with plain peanut butter cookies for visual contrast. A sprinkle of flaky sea salt on top before serving adds a nice touch—it balances the sweetness and makes them look fancy.
For a complete dessert spread, pair these cookies with a glass of cold milk, a scoop of vanilla ice cream, or a warm mug of hot chocolate. They also go beautifully with coffee or tea—perfect for an afternoon gathering or a dessert table after dinner.
Storage Instructions : Store the cookies in an airtight container at room temperature for up to 5 days. Layer them between sheets of parchment paper to prevent the chocolate from sticking. I’ve found that a glass container with a tight lid works best—plastic containers can sometimes trap moisture and make the cookies soft.
Freezing Tips : You can freeze the baked cookies for up to 3 months. Place them in a single layer on a baking sheet and freeze until solid (about 1 hour), then transfer to a freezer-safe bag or container. To thaw, let them sit at room temperature for about 30 minutes. The chocolate might get a little condensation, but the flavor stays great.
Freezing the Dough : For ultimate convenience, freeze the dough balls before baking. Roll them into balls, coat in sugar, and place on a parchment-lined baking sheet. Freeze until solid, then transfer to a freezer bag. When you’re ready to bake, place the frozen dough balls on a baking sheet and add 2 to 3 minutes to the baking time. No need to thaw! This is my go-to trick when I’m hosting a last-minute gathering.
A quick note on flavors over time: these cookies actually taste even better the day after baking. The flavors meld together, and the texture softens slightly. If you can resist eating them all on day one, you’re in for a treat on day two!
Nutritional Information & Benefits
Let’s be real—these are cookies, not health food. But knowing what’s in them helps you enjoy them mindfully, especially when you’re sharing with a crowd.
Per cookie (based on 48 cookies): approximately 160 calories, 9g fat, 18g carbohydrates, 3g protein, 2g fiber, 10g sugar. Values will vary based on exact ingredients and portion sizes.
Peanut butter is a good source of protein and healthy monounsaturated fats. It also contains vitamin E, magnesium, and potassium. When eaten in moderation, it can be part of a balanced diet. I like to think of these cookies as a little dose of joy with a tiny nutritional boost!
Dark chocolate (if you use dark chocolate Kisses) contains antioxidants called flavonoids, which are linked to heart health. Even milk chocolate has some benefits, like calcium and iron from the milk solids. So go ahead—enjoy that chocolate kiss!
Dietary considerations : This recipe contains gluten, dairy, eggs, and peanuts. For a gluten-free version, use a 1:1 gluten-free flour blend. For a dairy-free option, use plant-based butter and check that your chocolate is dairy-free. The nut-free alternative using sunflower seed butter is also an option, though the nutritional values will shift.
From a personal perspective, I believe in balance. These cookies are a treat—something to savor and share. They’re not an everyday snack, but they’re absolutely worth making for special occasions. And when you’re serving a crowd, a little indulgence goes a long way in creating happy memories.
Conclusion
If you’re looking for a cookie that delivers on flavor, texture, and crowd appeal, these peanut butter blossom cookies are it. They’re the kind of recipe that becomes a staple—the one friends request, the one you make without even thinking, the one that feels like home.
What I love most about this recipe is how it brings people together. Whether you’re baking for a holiday party, a potluck, or just a cozy night in, these cookies have a way of making everyone smile. They’re nostalgic but fresh, simple but special. And honestly, that’s the best kind of recipe to have in your back pocket.
I’d love to hear how they turn out for you! Did you try any variations? Did your guests gobble them up? Drop a comment below and share your experience. And if you’re feeling generous, share this recipe with a friend who loves to bake—we all need more cookie magic in our lives.
Happy baking, friends. May your cookies be soft, your chocolate shiny, and your table full of happy people.
Frequently Asked Questions
Can I use natural peanut butter for these cookies?
I recommend using classic processed peanut butter like Skippy or Jif. Natural peanut butter can separate and make the cookies greasy. If you only have natural peanut butter, stir it very well before measuring, and expect a slightly different texture.
Why did my cookies spread too much?
This usually happens when the dough isn’t chilled enough or the butter was too soft. Make sure to chill the dough for at least 30 minutes, and use butter that’s softened but not melted. Also, check that your baking soda is fresh—old leavening can cause spreading.
How do I keep the chocolate kisses from melting?
The key is timing. Let the cookies cool on the baking sheet for exactly 2 minutes before pressing in the chocolate. If you press them in too early, the heat will melt the chocolate. Too late, and the chocolate won’t stick. Set a timer for best results!
Can I make these cookies ahead of time?
Absolutely! You can prepare the dough up to 3 days ahead and keep it refrigerated. You can also freeze the baked cookies for up to 3 months. For the freshest taste, I recommend baking the dough within 24 hours of making it.
How many cookies does this recipe make?
This recipe makes about 48 cookies when using a 1.5-tablespoon scoop. If you’re baking for a large crowd, you can easily double or triple the recipe. Just make sure your mixer can handle the volume, or mix in batches.
Pin This Recipe!
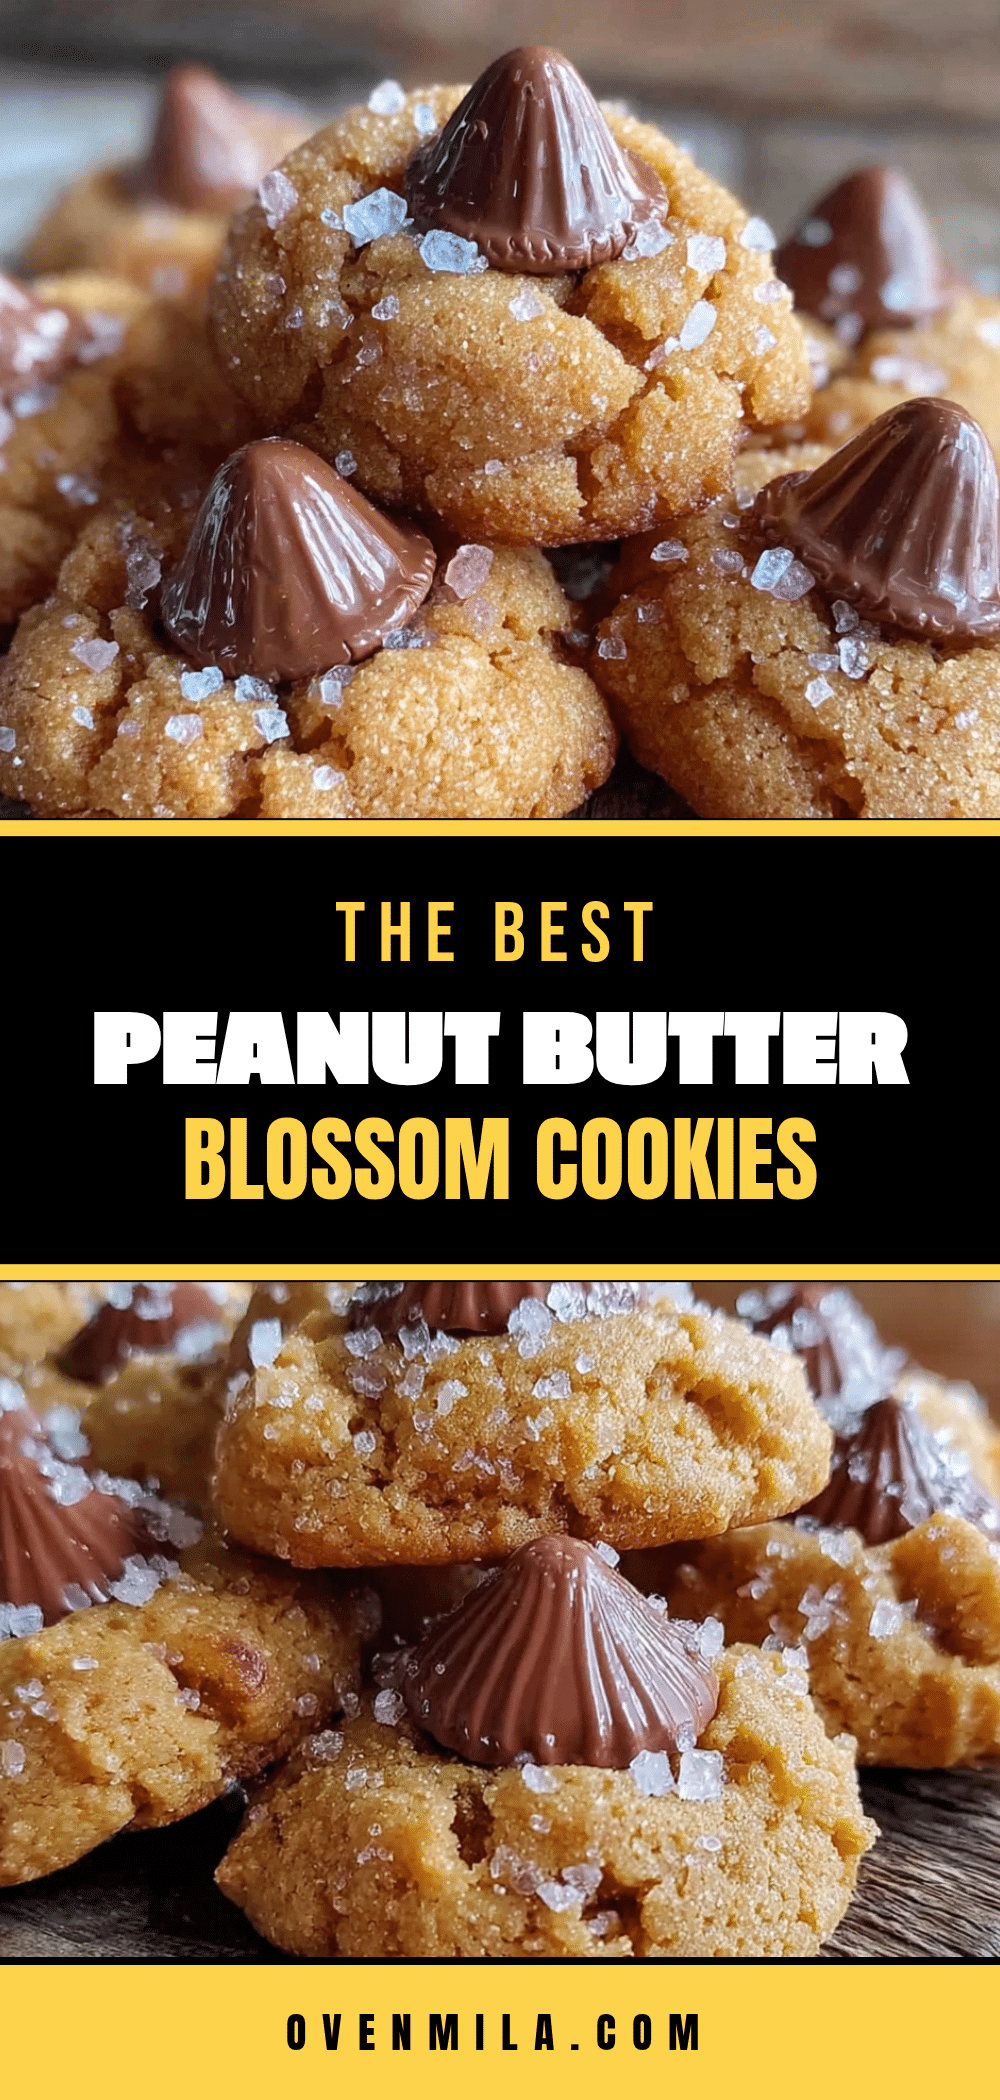
The Best Peanut Butter Blossom Cookies for a Crowd
These peanut butter blossom cookies are soft, salty, and sweet, with a perfectly glossy chocolate kiss on top. Designed for feeding a crowd, this recipe scales beautifully and uses simple pantry ingredients for a showstopper dessert that’s easy to make.
- Prep Time: 30 minutes
- Cook Time: 12 minutes
- Total Time: 1 hour 12 minutes
- Yield: 48 cookies 1x
- Category: Dessert
- Cuisine: American
Ingredients
- 1 cup (2 sticks) unsalted butter, softened to room temperature
- 1 cup creamy peanut butter (e.g., Skippy or Jif)
- 1 cup granulated sugar (plus 1/2 cup for rolling)
- 1 cup packed light brown sugar
- 2 large eggs, at room temperature
- 2 teaspoons pure vanilla extract
- 3 cups all-purpose flour, spooned and leveled
- 1 teaspoon baking soda
- 1/2 teaspoon salt
- About 48 Hershey’s Kisses, unwrapped
Instructions
- Preheat your oven to 375°F (190°C) and position the racks in the upper and lower thirds of the oven. Line baking sheets with parchment paper or silicone mats.
- In a large mixing bowl, cream the softened butter and peanut butter together with a stand mixer or hand mixer on medium speed for about 2 minutes until smooth and well combined. Scrape down the sides.
- Add the granulated sugar and brown sugar, and beat on medium-high speed for 3 to 4 minutes until light, fluffy, and slightly pale.
- Add the eggs one at a time, beating well after each addition. Then add the vanilla extract and beat until combined.
- In a separate bowl, whisk together the flour, baking soda, and salt. Gradually add the dry ingredients to the wet mixture, mixing on low speed until just combined. Do not overmix.
- Chill the dough for at least 30 minutes.
- Shape the dough into 1.5-tablespoon balls (using a #40 cookie scoop). Roll each ball between your palms until smooth. Place the balls about 2 inches apart on the prepared baking sheets.
- Roll each dough ball in granulated sugar until completely coated.
- Bake for 10 to 12 minutes, rotating the pans halfway through. The cookies should look puffed and lightly golden around the edges but still soft in the center.
- Let the cookies cool on the baking sheet for exactly 2 minutes. Gently press one Hershey’s Kiss into the center of each cookie.
- Transfer the cookies to a wire rack to cool completely (about 15 to 20 minutes).
- Repeat with the remaining dough, ensuring baking sheets are cool before adding more dough.
Notes
Chill the dough for at least 30 minutes to prevent spreading. Press the chocolate kiss in exactly 2 minutes after baking for a glossy finish. For a dairy-free version, use plant-based butter and dairy-free chocolate. For gluten-free, use a 1:1 gluten-free flour blend. Dough can be refrigerated for up to 3 days or frozen for a month.
Nutrition
- Serving Size: 1 cookie
- Calories: 160
- Sugar: 10
- Sodium: 95
- Fat: 9
- Saturated Fat: 4
- Carbohydrates: 18
- Fiber: 2
- Protein: 3
Keywords: peanut butter blossom cookies, crowd-friendly cookies, easy peanut butter cookies, Hershey's Kiss cookies, holiday cookies, potluck dessert


