That first crunch — the kind that echoes through the living room just as the pre-game show hits its peak — still takes me straight to my uncle’s basement, circa 2007. He had this ancient, grease-stained baking sheet that he swore was lucky, and every single Sunday during football season, he’d pile it high with fries, chili, and enough cheese to make a cardiologist wince.
Honestly, I didn’t appreciate the ritual back then. I was too busy grabbing a plate and disappearing before the halftime commercials ended. But somewhere between the melted cheddar and that first spoonful of homemade chili, something clicked. These weren’t just fries. They were the centerpiece of the whole gathering — the dish everyone hovered around, the one that made you forget about the score for a minute.
This recipe is my grown-up tribute to those messy, glorious afternoons. It’s got everything you want from a loaded fry situation (crispy edges, gooey cheese, that perfect chili-to-fry ratio) but with a few upgrades I’ve picked up along the way. No more soggy bottoms or lukewarm toppings. Just the kind of comfort food that makes you close your eyes after the first bite.
You’re about to make the best game day decision of your life.
Why You’ll Love This Recipe
Let’s be real — there are a million ways to make chili cheese fries. But this version? It’s the one I keep coming back to, and here’s why:
- Quick & Easy : From start to finish, you’re looking at about 45 minutes. The chili comes together while the fries bake, so you’re not stuck in the kitchen missing the kickoff.
- Simple Ingredients : No fancy grocery trips needed. Ground beef, canned tomatoes, beans, cheese, fries — you probably have most of this stuff already.
- Perfect for Game Day : This is the ultimate crowd-pleaser for any gathering, from Super Bowl parties to casual Sunday hangouts. It’s hearty, shareable, and disappears fast.
- Crowd-Pleaser : I’ve served these at tailgates, birthday parties, and random weeknight dinners. Kids love the fries. Adults love the chili. Everyone loves the cheese pull.
- Unbelievably Delicious : The texture combo is next-level. Crispy fries, thick meaty chili, melted cheese, and a cool dollop of sour cream — it’s comfort food at its finest.
What makes this recipe different? It’s the technique. Instead of dumping everything on a pile of fries and hoping for the best, I’ve tested the layering order, the cheese-to-fry ratio, and the baking time to ensure every single fry stays crispy. No sogginess. No cold spots. Just pure, unapologetic deliciousness.
This isn’t just another version — it’s your new go-to.
What Ingredients You Will Need
This recipe uses simple, hearty ingredients to build layers of flavor and texture. Most are pantry staples, and I’ve included notes on substitutions where it makes sense.
For the Chili
- 1 lb ground beef (80/20 works best — the fat adds flavor, but you can use ground turkey if you prefer leaner chili)
- 1 small yellow onion, diced (about 1 cup; adds sweetness and depth)
- 3 cloves garlic, minced (fresh is non-negotiable here — skip the jarred stuff)
- 1 can (15 oz) diced tomatoes, undrained (I prefer fire-roasted for a smoky kick)
- 1 can (15 oz) kidney beans, drained and rinsed (or pinto beans — both work great)
- 2 tablespoons tomato paste (adds richness and thickens the chili)
- 1 tablespoon chili powder (adjust based on your heat tolerance)
- 1 teaspoon ground cumin (essential for that warm, earthy flavor)
- 1/2 teaspoon smoked paprika (optional, but I think it makes a difference)
- 1/2 teaspoon salt (plus more to taste)
- 1/4 teaspoon black pepper
- 1/2 cup beef broth (or water if that’s what you’ve got)
For the Fries & Toppings
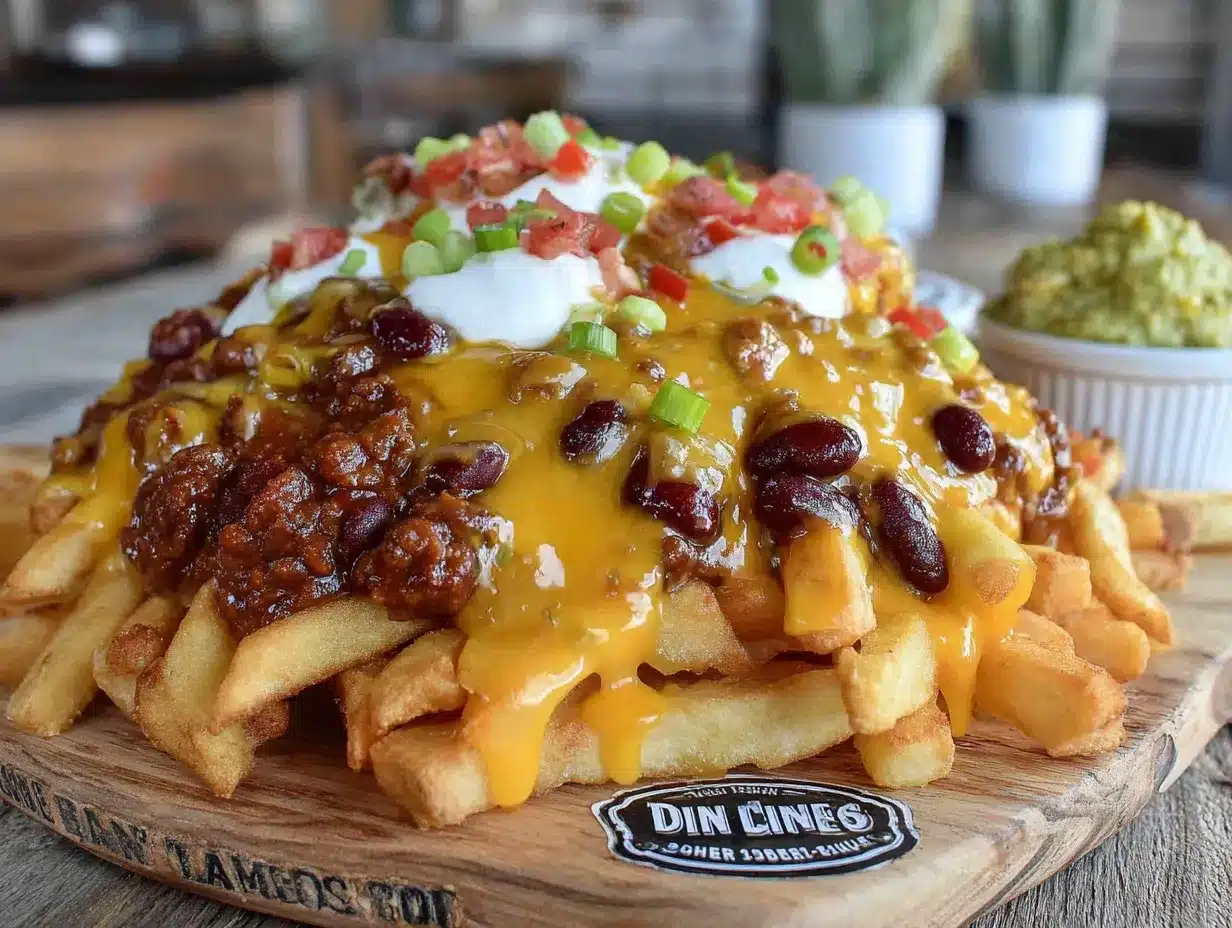
- 1 bag (28 oz) frozen french fries (I recommend Ore-Ida Extra Crispy Fast Food Fries for the best texture — they hold up really well under the toppings)
- 2 cups shredded sharp cheddar cheese (shred it yourself from a block — pre-shredded cheese has anti-caking agents that mess with melting)
- 1/2 cup sour cream (for cooling contrast)
- 1/4 cup sliced green onions (fresh pop of color and mild onion flavor)
- 1/4 cup pickled jalapeños (adds tang and heat — optional but highly recommended)
- 1/4 cup chopped fresh cilantro (if you’re a cilantro person — I always am)
Equipment Needed
You don’t need a fancy kitchen to pull this off. Here’s what you’ll need:
- Large baking sheet (half-sheet size works best — about 18×13 inches)
- Parchment paper or aluminum foil (for easy cleanup — trust me on this)
- Large skillet or Dutch oven (for the chili; a Dutch oven holds heat better and prevents scorching)
- Wooden spoon or spatula (for breaking up the ground beef)
- Chef’s knife and cutting board
- Measuring cups and spoons
- Can opener
- Colander (for rinsing the beans)
If you don’t have a Dutch oven, a deep stainless steel skillet works just fine — just keep an eye on the heat so the chili doesn’t burn. And if you’re short on baking sheets, you can use a 9×13-inch casserole dish, though the fries won’t get quite as crispy. I learned that one the hard way during a particularly chaotic Super Bowl party.
Preparation Method
Let’s get cooking. I’ve broken this down into clear steps so you can follow along without any guesswork.
Step 1: Bake the Fries
- Preheat your oven to 425°F (220°C). Line a large baking sheet with parchment paper or foil.
- Spread the frozen french fries in a single layer on the baking sheet. Don’t overcrowd them — if they’re piled on top of each other, they’ll steam instead of crisp up.
- Bake according to package directions, usually 20-25 minutes, flipping halfway through. You want them golden brown and extra crispy. (I usually add an extra 2-3 minutes because I like mine on the darker side.)
Step 2: Make the Chili
- While the fries bake, heat a large skillet or Dutch oven over medium-high heat. Add the ground beef and cook, breaking it up with a wooden spoon, until browned — about 6-8 minutes. If there’s excess grease, drain it off (leave about 1 tablespoon for flavor).
- Add the diced onion and cook for 3-4 minutes until softened and translucent. Stir in the minced garlic and cook for another 30 seconds until fragrant — you’ll know it’s ready when the smell hits you.
- Stir in the tomato paste, chili powder, cumin, smoked paprika, salt, and black pepper. Cook for 1 minute to toast the spices. This step wakes up the flavors and makes the chili taste like it’s been simmering for hours.
- Pour in the diced tomatoes (with their juices) and beef broth. Add the drained kidney beans. Stir everything together and bring to a simmer.
- Reduce the heat to low and let the chili simmer uncovered for 10-15 minutes, stirring occasionally. It should thicken slightly. Taste and adjust seasoning — I usually add another pinch of salt and a dash of hot sauce if I’m feeling bold.
Step 3: Assemble the Loaded Fries
- Once the fries are done, switch the oven to broil (high heat).
- Arrange the hot fries in an even layer on the baking sheet (or transfer them to a broiler-safe dish if you prefer).
- Spoon the chili evenly over the fries. Don’t drown them — you want a good chili-to-fry ratio in every bite, but too much liquid will make them soggy.
- Sprinkle the shredded cheddar cheese generously over the top. Make sure it covers the chili and reaches the edges of the fries.
- Broil for 2-3 minutes until the cheese is melted, bubbly, and starting to brown in spots. Watch it carefully — broilers can go from perfect to burnt in seconds.
Step 4: Add Toppings & Serve
- Remove the baking sheet from the oven. Let it cool for 2 minutes (the cheese needs a moment to set).
- Dollop sour cream over the top in small spoonfuls. Sprinkle with sliced green onions, pickled jalapeños, and fresh cilantro.
- Serve immediately — these are best eaten hot, straight off the sheet pan. Grab forks and dig in!
Cooking Tips & Techniques
I’ve made this recipe more times than I can count, and I’ve definitely had my share of failures. Here’s what I’ve learned so you don’t have to repeat my mistakes.
Don’t skip the draining step. If your ground beef releases a lot of fat, drain it before adding the onions. Too much grease in the chili will make the fries soggy and leave an oily film on everything. I learned this during a particularly greasy batch that ended up in the trash.
Toast your spices. That 1-minute step where you cook the chili powder and cumin in the tomato paste? It’s not optional. Toasting the spices releases their essential oils and deepens the flavor in a way that simmering alone can’t achieve. It’s the difference between okay chili and unforgettable chili.
Use a hot baking sheet. If you have a second baking sheet, pop it in the oven while it preheats. When you add the fries to a hot sheet, they start crisping immediately. It’s a game-changer for texture.
Broil with intention. Position your oven rack about 6 inches from the broiler element. If it’s too close, the cheese will burn before the chili heats through. Too far, and you’ll be waiting forever. Middle rack, high broil, 2-3 minutes — that’s the sweet spot.
Multitask like a pro. Start the chili while the fries are in the oven. By the time the fries are crispy, the chili will be thick and ready to go. You’ll have everything done at the same time without rushing.
Variations & Adaptations
This recipe is endlessly customizable. Here are some of my favorite tweaks:
Dietary Variations
- Vegetarian : Swap the ground beef for a plant-based crumble or an extra can of black beans. Use vegetable broth instead of beef broth. The chili will still be thick and hearty — I’ve tested this with my vegetarian sister-in-law, and she gave it two thumbs up.
- Gluten-Free : This recipe is naturally gluten-free as long as you check your chili powder and broth labels. Some brands add flour as a filler, so read the ingredients.
- Low-Carb / Keto : Replace the french fries with roasted zucchini rounds or cauliflower florets tossed in oil and salt. Bake until golden, then top with chili and cheese.
Flavor Twists
- Tex-Mex : Add a can of drained corn and a diced bell pepper to the chili. Top with avocado slices and a squeeze of lime.
- Smoky Bacon : Cook 4 strips of bacon until crispy, crumble them, and sprinkle over the fries along with the cheese. The smoky flavor pairs beautifully with the chili.
- Spicy : Add 1-2 minced chipotle peppers in adobo sauce to the chili. It adds heat and a subtle smokiness that’s incredible.
Cooking Method Adjustments
- Air Fryer : Cook the fries in an air fryer at 400°F (200°C) for 12-15 minutes, shaking halfway. Assemble the loaded fries in a small baking dish and broil as directed.
- Slow Cooker : Brown the beef and onions on the stovetop, then transfer everything to a slow cooker. Cook on low for 4-6 hours. Assemble the fries right before serving.
Serving & Storage Suggestions
These loaded fries are best served immediately, but here’s how to handle leftovers if you have them (which is rare in my house).
Serving : Serve the fries hot, straight from the oven. I like to set the baking sheet on a trivet in the middle of the table and let everyone dig in with forks. It’s casual, communal, and perfect for game day. Pair these with a cold beer or a spiced apple cider margarita for the ultimate fall gathering combo.
Storage : If you have leftovers, separate the chili and fries before storing. The chili keeps in an airtight container in the fridge for 3-4 days. The fries are best eaten fresh, but you can store them separately for up to 1 day.
Reheating : Reheat the chili in a saucepan over medium heat, adding a splash of broth if it’s too thick. For the fries, spread them on a baking sheet and reheat in a 400°F (200°C) oven for 5-7 minutes until crisp. Then reassemble and broil with cheese. The microwave will turn them into sad, soggy mush — don’t do it.
Flavor development : The chili actually tastes better the next day. The flavors meld together overnight, making it even richer and more complex. So if you’re planning ahead, make the chili a day in advance and reheat it when you’re ready to assemble.
Nutritional Information & Benefits
Let’s be honest — this isn’t a health food. But it’s comfort food made with real ingredients, and that counts for something. Here’s an approximate breakdown per serving (based on 6 servings):
- Calories: 620
- Protein: 32g
- Fat: 38g
- Carbohydrates: 42g
- Fiber: 8g
- Sugar: 6g
- Sodium: 980mg
Health highlights : The kidney beans add fiber and plant-based protein, which helps with satiety. The beef provides iron and B vitamins. And the tomatoes are rich in lycopene, an antioxidant that supports heart health. The cheese adds calcium, though it also brings saturated fat — everything in moderation, right?
Dietary considerations : This recipe is gluten-free (check labels) and can be made vegetarian or lower in fat by swapping the beef and using reduced-fat cheese. It’s not suitable for vegans as written, but you can easily adapt it with plant-based alternatives.
Conclusion
These Ultimate Loaded Game Day Chili Cheese Fries are everything you want from a comfort food recipe — crispy, cheesy, hearty, and completely satisfying. They’re the kind of dish that brings people together, whether it’s for the big game or a random Tuesday night when you just need something good.
I love this recipe because it’s forgiving. You can tweak the spice level, swap the toppings, or use whatever cheese you have in the fridge. It always works. And honestly? That’s the kind of recipe worth keeping in your back pocket.
I’d love to hear how yours turn out. Did you add extra jalapeños? Try the bacon version? Drop a comment below and let me know — and don’t forget to share this with your fellow game day enthusiasts!
Now go make some fries. Your people are waiting.
Frequently Asked Questions
Can I make the chili ahead of time?
Absolutely. The chili actually tastes better the next day. Make it up to 3 days in advance, store it in the fridge, and reheat it on the stovetop before assembling the fries.
What’s the best type of fries for this recipe?
Thick-cut or extra-crispy frozen fries work best. They hold up better under the chili and cheese compared to shoestring fries, which tend to get soggy quickly.
Can I use homemade fries instead of frozen?
Yes! Cut russet potatoes into 1/4-inch sticks, soak them in cold water for 30 minutes, pat dry, toss with oil and salt, and bake at 425°F (220°C) for 25-30 minutes until crispy.
How do I prevent the fries from getting soggy?
Don’t overload the fries with chili, and make sure the chili is thick (not watery). Also, broiling the cheese creates a barrier that helps keep the fries crispy underneath.
Can I freeze the chili?
Yes. Let the chili cool completely, then transfer it to a freezer-safe container. It will keep for up to 3 months. Thaw overnight in the fridge and reheat on the stovetop.
Pin This Recipe!
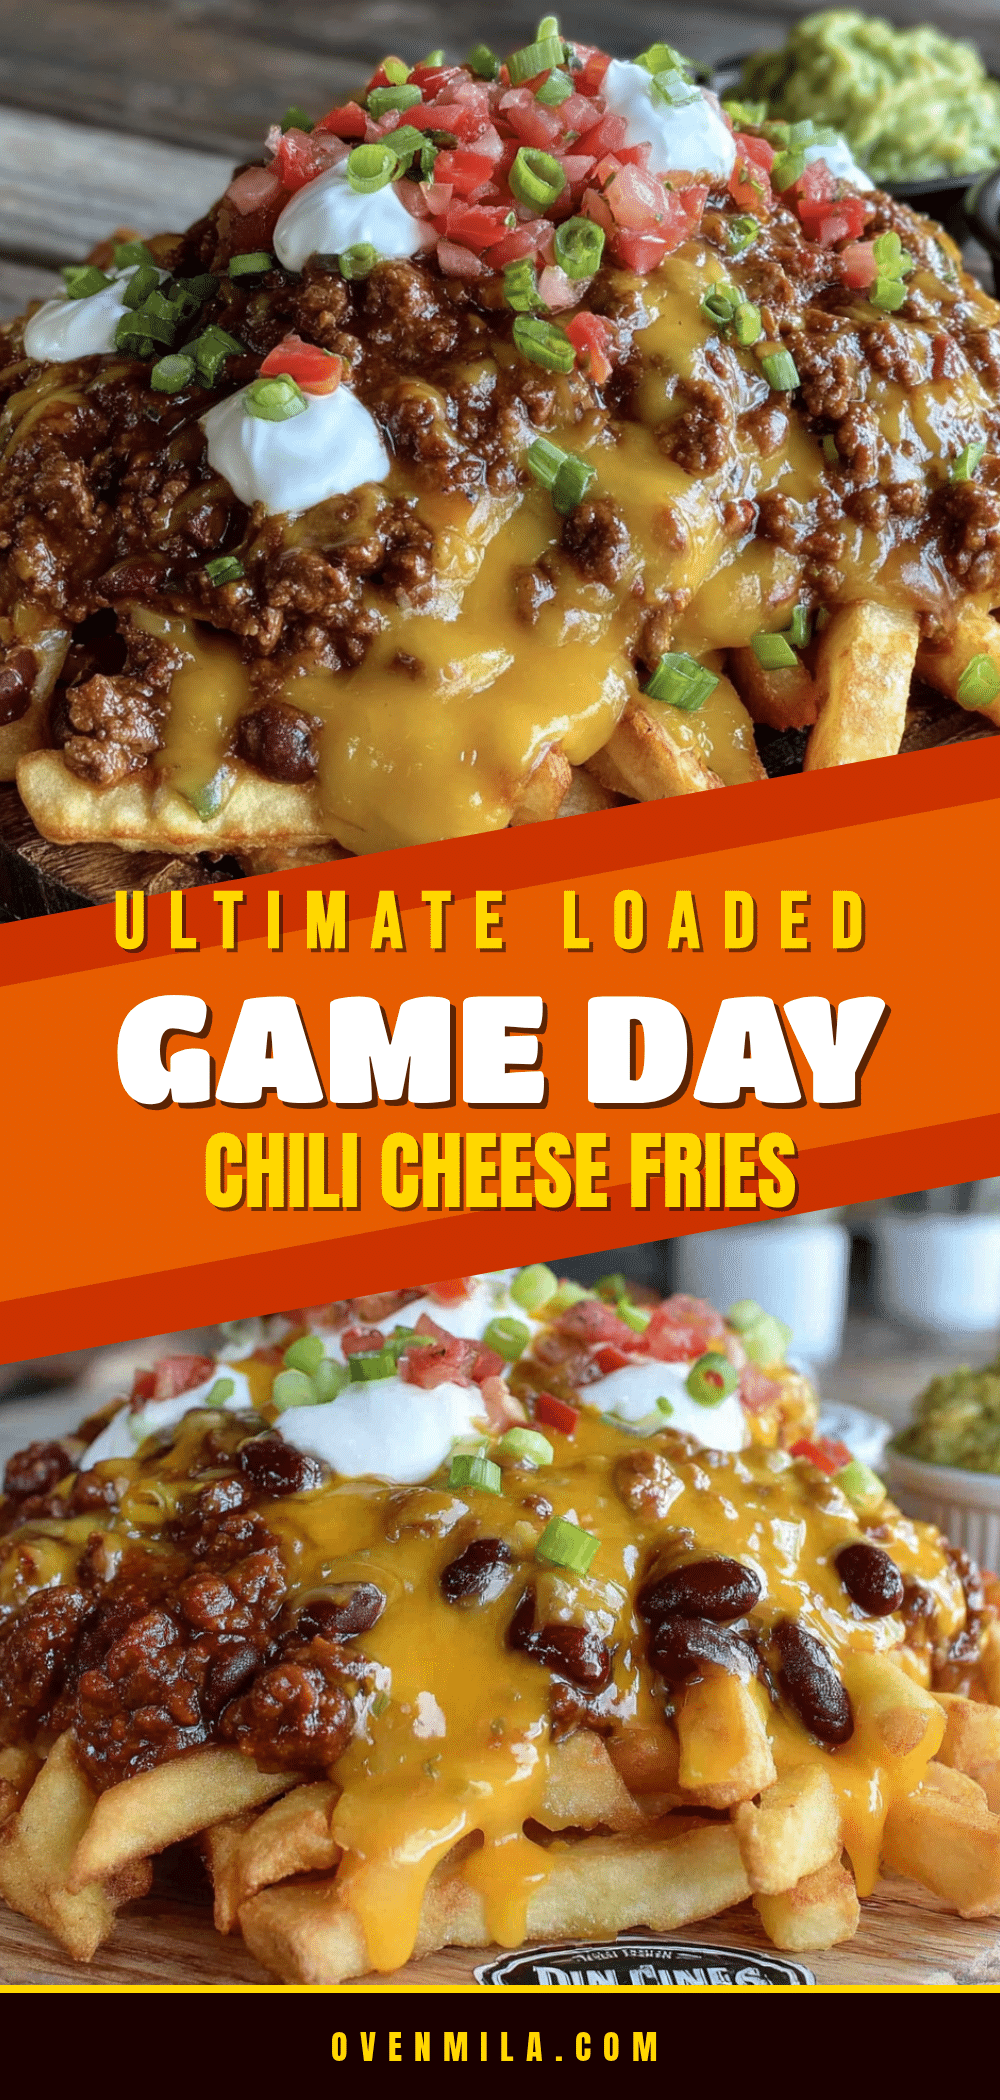
Ultimate Loaded Game Day Chili Cheese Fries
Crispy fries topped with hearty homemade chili, melted cheddar cheese, and fresh toppings. The ultimate crowd-pleasing comfort food for game day or any gathering.
- Prep Time: 15 minutes
- Cook Time: 30 minutes
- Total Time: 45 minutes
- Yield: 6 servings 1x
- Category: Main Course
- Cuisine: American
Ingredients
- 1 lb ground beef (80/20)
- 1 small yellow onion, diced
- 3 cloves garlic, minced
- 1 can (15 oz) diced tomatoes, undrained
- 1 can (15 oz) kidney beans, drained and rinsed
- 2 tablespoons tomato paste
- 1 tablespoon chili powder
- 1 teaspoon ground cumin
- 1/2 teaspoon smoked paprika
- 1/2 teaspoon salt
- 1/4 teaspoon black pepper
- 1/2 cup beef broth
- 1 bag (28 oz) frozen french fries
- 2 cups shredded sharp cheddar cheese
- 1/2 cup sour cream
- 1/4 cup sliced green onions
- 1/4 cup pickled jalapeños
- 1/4 cup chopped fresh cilantro
Instructions
- Preheat oven to 425°F (220°C). Line a large baking sheet with parchment paper or foil.
- Spread frozen french fries in a single layer on the baking sheet. Bake according to package directions (20-25 minutes), flipping halfway, until golden and extra crispy.
- While fries bake, heat a large skillet or Dutch oven over medium-high heat. Add ground beef and cook, breaking it up, until browned (6-8 minutes). Drain excess grease, leaving about 1 tablespoon.
- Add diced onion and cook 3-4 minutes until softened. Stir in minced garlic and cook 30 seconds until fragrant.
- Stir in tomato paste, chili powder, cumin, smoked paprika, salt, and black pepper. Cook 1 minute to toast spices.
- Pour in diced tomatoes (with juices) and beef broth. Add kidney beans. Stir and bring to a simmer. Reduce heat to low and simmer uncovered 10-15 minutes until thickened. Adjust seasoning to taste.
- Once fries are done, switch oven to broil (high heat). Arrange hot fries in an even layer on the baking sheet.
- Spoon chili evenly over fries. Sprinkle shredded cheddar cheese generously over the top.
- Broil 2-3 minutes until cheese is melted, bubbly, and starting to brown. Watch carefully.
- Remove from oven. Let cool 2 minutes. Dollop sour cream over top, then sprinkle with green onions, pickled jalapeños, and cilantro. Serve immediately.
Notes
For best results, shred cheese from a block (pre-shredded has anti-caking agents). Toast spices to deepen flavor. Use a hot baking sheet for crispier fries. Broil on middle rack, about 6 inches from element. Chili can be made up to 3 days ahead and actually tastes better the next day. Leftover chili freezes well for up to 3 months.
Nutrition
- Serving Size: 1 serving (about 1/6
- Calories: 620
- Sugar: 6
- Sodium: 980
- Fat: 38
- Saturated Fat: 16
- Carbohydrates: 42
- Fiber: 8
- Protein: 32
Keywords: chili cheese fries, loaded fries, game day recipe, comfort food, easy appetizer, Super Bowl food


