Lena watched me struggle with a rolling pin for a good two minutes before she said anything. I was at the community garden harvest potluck, trying to roll out a pie crust on a flimsy cutting board, and it kept sticking and tearing. She finally walked over, a basket of fresh-picked apples on her arm, and said, “You know, I stopped fighting with traditional crust years ago. Let me show you something.” She didn’t take over, which I appreciated. She just talked me through it while we both worked on our pies side by side. That conversation, more than the recipe she later scribbled on a napkin, changed how I think about holiday baking. Honestly, I had always been a bit intimidated by pie crust. The whole “keep everything ice cold” thing felt like a science experiment I was bound to fail. But Lena’s approach was different. She used pecans. And salt. And she treated the whole process like it was just a fun kitchen project, not a test of worthiness.
That napkin recipe has seen better days. It’s stained with butter and has a coffee ring in the corner. But every year, when the leaves start turning, I pull it out and make this wholesome classic pumpkin pie with salted pecan crust. It’s the pie I bring to Friendsgiving, the one I make for Thanksgiving dinner, and honestly, the one I sometimes make just because it’s Tuesday and I want a slice of something good. The filling is everything you want from a pumpkin pie—creamy, spiced just right, not too sweet. But the crust? That salted pecan situation is where the magic happens. It’s nutty, buttery, and has this little crunch that makes every bite interesting. I’ve tweaked Lena’s original over the years, swapping out some of the sugar for maple syrup and using a blend of warming spices that feel like fall in a spoonful. This version is my love letter to that conversation in the garden, and to anyone who has ever felt a little nervous about making pie from scratch. You’ve got this. Let me show you how.
Why You’ll Love This Recipe
Let’s be real for a second. There are a million pumpkin pie recipes out there. What makes this one different? Well, for starters, you don’t have to blind bake a crust that shrinks or gets soggy. The salted pecan crust is pressed right into the pan, no rolling required. That alone is worth celebrating. But it’s more than just a shortcut. This crust adds a savory, nutty depth that makes the sweet, spiced filling absolutely sing. It’s the kind of flavor combination that makes people close their eyes after the first bite. I’ve seen it happen at least a dozen times.
- No-Fuss Crust : Forget chilling, rolling, and worrying about shrinkage. This press-in crust is forgiving and foolproof.
- Perfectly Balanced Flavors : The salty, buttery pecans are the ideal counterpoint to the sweet, creamy pumpkin filling. It’s not cloying; it’s just right.
- Simple, Wholesome Ingredients : You’ll find real food here—pumpkin puree, eggs, maple syrup, cream, and pecans. Nothing weird or processed.
- Make-Ahead Friendly : This pie actually tastes better the next day. Make it a day ahead and let the flavors meld. It saves you precious oven space on the big day.
- Always a Crowd-Pleaser : I’ve brought this to gatherings where people claimed they “didn’t like pumpkin pie.” They changed their minds. The crust is the hook that reels them in.
This isn’t just another version of a classic. It’s the one that solves the soggy-bottom problem while adding a layer of texture and flavor that feels special. It’s comfort food that feels a little bit fancy, but is surprisingly easy to pull off. You get that “wow, you made that?” reaction without the stress.
What Ingredients You Will Need
This recipe uses simple, wholesome ingredients to deliver big, comforting flavor. Most of these are pantry staples, especially if you do a fair bit of fall baking. The quality of your pecans and pumpkin puree will make a noticeable difference, so don’t skimp there if you can help it.
For the Salted Pecan Crust
- 1 ½ cups pecan halves (I like using raw pecans so I can control the salt level)
- 1 ¼ cups all-purpose flour (spooned and leveled)
- ¼ cup packed light brown sugar
- ½ teaspoon fine sea salt
- 6 tablespoons cold unsalted butter, cut into small cubes
- 2-3 tablespoons ice water
For the Wholesome Pumpkin Filling
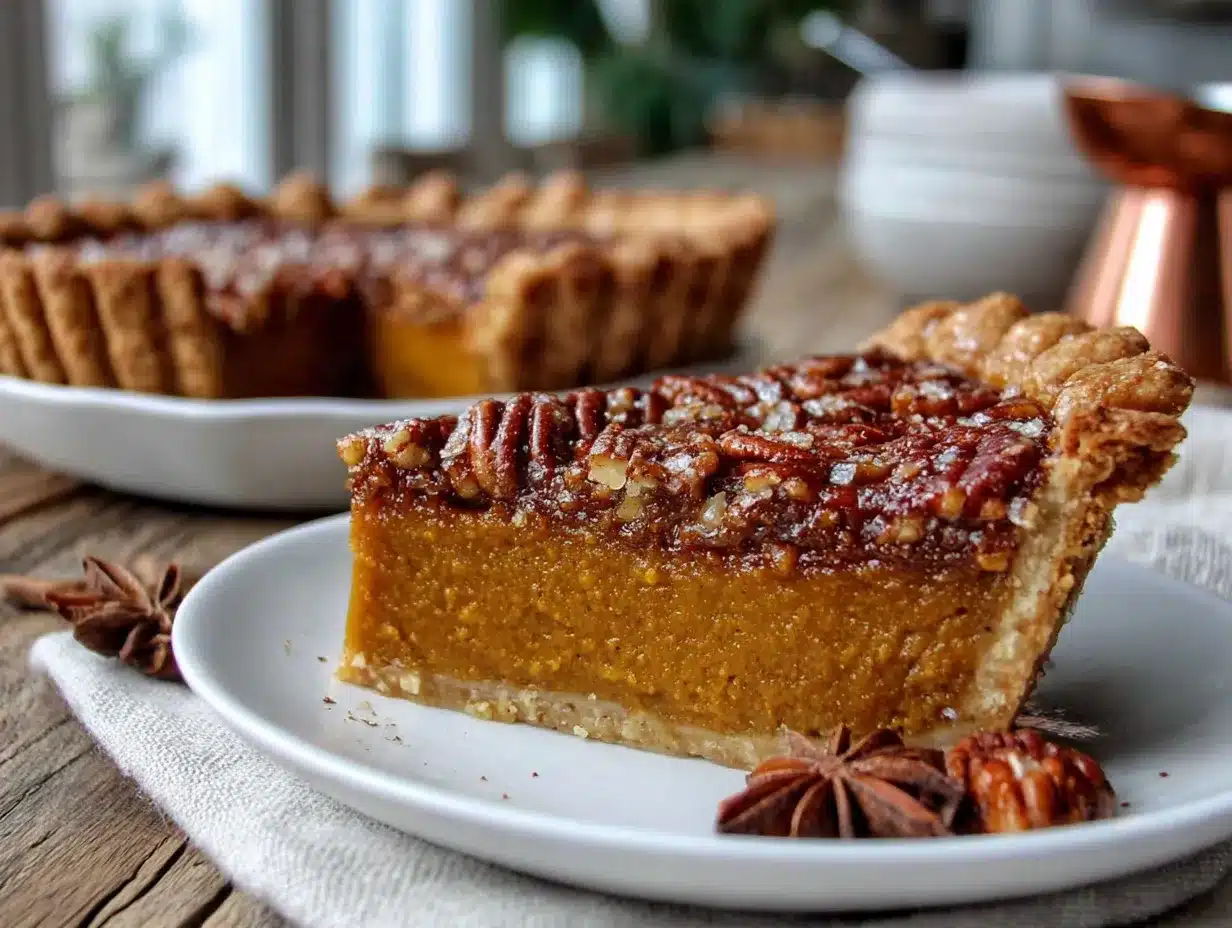
- 1 (15-ounce) can pumpkin puree (not pumpkin pie filling—stick with 100% pure pumpkin)
- ¾ cup heavy cream (full fat is best for that luscious texture)
- ⅓ cup pure maple syrup (use the real stuff, not pancake syrup)
- ¼ cup packed light brown sugar
- 2 large eggs, at room temperature
- 1 teaspoon vanilla extract
- 1 ½ teaspoons pumpkin pie spice (or make your own: ½ tsp cinnamon, ¼ tsp ginger, ¼ tsp nutmeg, ⅛ tsp cloves, ⅛ tsp allspice)
- ½ teaspoon ground cinnamon (for extra warmth)
- ¼ teaspoon fine sea salt
For the Topping (Optional but Lovely)
- ¼ cup pecan halves, toasted
- A light sprinkle of flaky sea salt, like Maldon
A few notes on ingredients: I really recommend using a good quality pumpkin puree. I’ve had the best luck with Libby’s for consistency, but store brands can work fine too—just make sure it’s not seasoned. For the pecans, try to find halves that are uniform in size for the most even texture in the crust. If you only have pecan pieces, that’s totally fine, just pulse them a little less so you don’t end up with pecan butter. And about the butter: make sure it’s cold. I pop my cubed butter in the freezer for about 10 minutes while I prep everything else. It makes a difference in how flaky the crust turns out, even though it’s a press-in crust.
Equipment Needed
You don’t need a ton of fancy gear for this pie, which is part of its charm. Here’s what you’ll want to have on hand:
- 9-inch pie plate : A standard glass or ceramic pie dish works perfectly. I use a deep-dish ceramic one because I like a generous slice.
- Food processor : This makes quick work of the crust. A pastry cutter or even two forks can work, but the food processor is much faster and gives a more consistent texture.
- Mixing bowls : One medium bowl for the crust ingredients and one large bowl for the filling.
- Whisk : For smoothing out the filling.
- Measuring cups and spoons : For accuracy, especially with the flour and spices.
- Rubber spatula : For scraping down the sides of the food processor and folding the filling.
- Cooling rack : Essential for letting the pie cool evenly so the filling sets properly.
If you don’t have a food processor, don’t run out and buy one just for this. You can finely chop the pecans by hand, then use a pastry blender or your fingers to work the butter into the flour mixture. It takes a little more elbow grease, but the result is just as delicious.
Preparation Method
Let’s walk through this step by step. I promise, it’s more straightforward than you think. The key is to take your time and enjoy the process.
- Preheat and Prep : Preheat your oven to 350°F (175°C). Lightly grease your 9-inch pie plate with a little butter or non-stick spray. Set it aside.
- Make the Crust : In the bowl of your food processor, combine the pecan halves, all-purpose flour, brown sugar, and fine sea salt. Pulse about 8-10 times until the pecans are finely ground and the mixture looks like coarse meal. You don’t want any big chunks of pecan, but a few tiny pieces are fine for texture.
- Add the Butter : Scatter the cold butter cubes over the pecan-flour mixture. Pulse again in short bursts, about 10-12 times, until the butter is cut into the mixture and it looks like damp sand. It should hold together when you squeeze a bit in your hand.
- Add the Water : Sprinkle 2 tablespoons of ice water over the mixture. Pulse 3-4 times. The dough should start to clump together. If it seems dry, add the remaining tablespoon of water, one teaspoon at a time, pulsing after each addition. Don’t over-process—you want it to just come together.
- Press the Crust : Dump the crumbly dough into your prepared pie plate. Using your fingers and the flat bottom of a measuring cup, press the mixture firmly and evenly into the bottom and up the sides of the plate. Make sure the thickness is consistent. Don’t make the edges too thin, or they might brown too quickly.
- Chill the Crust : Pop the pie plate into the refrigerator for at least 15 minutes while you make the filling. This helps the butter solidify again, which will give you a better texture.
- Blind Bake (Optional but Recommended) : For an even crispier bottom, you can blind bake the crust for 10 minutes. Line the chilled crust with parchment paper and fill with pie weights or dried beans. Bake at 350°F (175°C) for 10 minutes, then remove the paper and weights. I skip this step sometimes when I’m short on time, and the pie still turns out great—the filling is thick enough that it doesn’t make the crust soggy.
- Make the Filling : While the crust chills (or bakes), make the filling. In a large bowl, whisk together the pumpkin puree, heavy cream, maple syrup, and brown sugar until smooth. Make sure there are no lumps of brown sugar.
- Add the Eggs and Flavorings : Whisk in the eggs one at a time, mixing well after each addition. Then add the vanilla extract, pumpkin pie spice, cinnamon, and salt. Whisk until everything is completely combined and the mixture is silky and uniform. It should smell like autumn at this point.
- Pour and Bake : Take the crust out of the fridge (or oven, if you blind baked it). Give the filling one last whisk, then pour it carefully into the crust. It will fill the pie plate almost to the brim—that’s okay. Place the pie on a baking sheet (to catch any drips) and transfer it to the oven.
- Bake the Pie : Bake at 350°F (175°C) for 50-60 minutes. The edges of the filling should be set, and the center should still have a slight jiggle—like Jell-O, not like liquid. If the crust edges are browning too quickly, tent them with strips of aluminum foil or a pie shield after about 25 minutes.
- Cool Completely : Remove the pie from the oven and place it on a cooling rack. Let it cool to room temperature, which will take about 2 hours. The filling will continue to set as it cools. Don’t rush this step—cutting into a warm pie will result in a runny mess.
- Add the Topping : Once the pie is completely cool, arrange the toasted pecan halves around the edge of the pie in a decorative pattern, if you like. Just before serving, sprinkle a pinch of flaky sea salt over the top. That salty crunch against the sweet, creamy filling is pure magic.
Cooking Tips & Techniques
I’ve learned a few things from making this pie more times than I can count. Here are the tips that make the biggest difference.
Don’t over-process the crust. I made that mistake the first time I tried making a nut crust on my own. I got distracted and let the food processor run for too long, and I ended up with pecan butter. The crust was greasy and dense. You want to pulse, pulse, pulse. Stop when the mixture looks like coarse sand and just starts to clump together when you squeeze it.
Room temperature eggs matter. I know it seems fussy, but cold eggs can seize up the filling and make it less smooth. Just set your eggs out on the counter about 30 minutes before you start baking. If you forget, place them in a bowl of warm (not hot) water for 5 minutes.
The jiggle test is your friend. You’ll be tempted to bake the pie until the center is completely firm. Don’t do it. The pie will continue to cook from residual heat as it cools. If you bake it until the center is solid, you’ll end up with a cracked, dry pie. Trust the jiggle. The center should wobble gently when you nudge the pan.
Let it cool, then let it cool some more. I know the smell is intoxicating and you want a slice immediately. But a warm pumpkin pie is a sad, soupy pumpkin pie. Plan for at least 2 hours of cooling at room temperature, and then pop it in the fridge for another hour if you can. Cold pie slices much more cleanly.
Toast your topping pecans. If you’re using the extra pecans for garnish, toast them in a dry skillet over medium heat for 2-3 minutes, shaking the pan frequently, until they smell fragrant. It takes about two minutes and adds so much more depth than raw pecans.
Variations & Adaptations
This recipe is a great base for experimentation. Here are a few ways I’ve played with it over the years.
Dairy-Free Version : Swap the heavy cream for full-fat canned coconut milk. The texture will be slightly different—a little less rich, but still very creamy. Use a good vegan butter stick (like Miyoko’s) in the crust. I’ve made this for a friend with a dairy allergy and it was a hit.
Gluten-Free Adaptation : This one is easy because the crust is already mostly nuts. Simply substitute the all-purpose flour with a 1:1 gluten-free baking flour blend. I’ve used Bob’s Red Mill with great results. The crust will be a bit more delicate, so be gentle when pressing it into the pan.
Spice it Up : I love playing with the spice blend. Sometimes I add a pinch of cardamom for a floral note, or a tiny pinch of cayenne pepper for a subtle warmth that sneaks up on you. One year, I added a tablespoon of bourbon to the filling. Highly recommend that variation for adult gatherings.
Nut-Free Option : If you need to skip the nuts, you can make a traditional all-butter crust and just increase the salt slightly. Or, try using crushed graham crackers or digestive biscuits mixed with melted butter and a pinch of salt for a different kind of crunchy crust. It won’t have the same savory depth, but it will still be delicious.
Mini Pies : This filling works beautifully in a muffin tin. Press the crust mixture into greased muffin cups, fill, and bake for about 25-30 minutes. They’re perfect for parties or portion control.
Serving & Storage Suggestions
This pie is fantastic at room temperature. I actually prefer it that way, because the flavors are more pronounced than when it’s straight from the fridge. If you do refrigerate it (which I recommend for clean slices), let it sit on the counter for about 20 minutes before serving.
For serving, a dollop of barely-sweetened whipped cream is the classic choice. I like to whip heavy cream with a tiny bit of maple syrup and a drop of vanilla. It’s a lovely complement to the salty crust. A scoop of vanilla bean ice cream is also a fantastic option, especially if the pie is still slightly warm.
The pie pairs beautifully with coffee, a spiced chai latte, or even a glass of bourbon or dark rum for the adults. It’s the perfect ending to a big holiday meal.
Storage: Cover the cooled pie loosely with plastic wrap or foil and store it in the refrigerator for up to 4 days. The crust will stay crisp for the first 2 days, then it will soften slightly. It’s still delicious, just different.
Freezing: This pie freezes surprisingly well. Once it’s completely cool, wrap it tightly in a layer of plastic wrap, then a layer of foil. Freeze for up to 3 months. Thaw it overnight in the refrigerator before serving. Do not freeze the pie with the whipped cream or topping.
Reheating: If you want a warm slice, pop individual slices in a 300°F (150°C) oven for 5-10 minutes. The microwave will work in a pinch, but it will make the crust a bit soft.
The flavors actually deepen and meld together after a day in the fridge, so this is a fantastic make-ahead dessert. I always make mine the day before Thanksgiving, and it’s one less thing to worry about on the day.
Nutritional Information & Benefits
Let’s be honest, this is still a pie. It’s a treat. But I love that it’s made with real, wholesome ingredients that offer a little more than empty calories.
Estimated per slice (based on 10 slices): Approximately 380 calories, 24g fat (8g saturated), 38g carbohydrates, 6g protein, 4g fiber, 18g sugar.
The pumpkin puree is a fantastic source of vitamin A (in the form of beta-carotene), which is great for eye health and immune function. It also provides a good amount of fiber. Pecans are packed with healthy monounsaturated fats, which are good for your heart, and they also contain magnesium and zinc. Using maple syrup instead of refined white sugar gives you a lower glycemic index sweetener with some antioxidant minerals.
This pie is naturally vegetarian and can be made gluten-free and dairy-free with the swaps I mentioned. It contains nuts (pecans), dairy (butter, cream), and gluten (flour) in its standard form, so keep that in mind for any guests with allergies.
I love that I can serve this dessert and feel good about what’s in it. It’s a treat, yes, but it’s a treat made from food, not from chemicals. That’s a win in my book.
Conclusion
This wholesome classic pumpkin pie with salted pecan crust has become my signature dessert, and for good reason. It takes everything you love about a traditional pumpkin pie and makes it better, one nutty, salty, buttery bite at a time. The crust is a game-changer, the filling is perfectly spiced and creamy, and the whole thing comes together with way less stress than a traditional pie. Honestly, it’s the pie I turn to when I want to impress people without spending all day in the kitchen. It feels special, but it’s secretly simple.
I hope you give this recipe a try, and I hope you make it your own. Maybe you’ll add a little extra cinnamon, or swap the maple syrup for honey, or skip the topping altogether. That’s the beauty of cooking—you get to decide. Let me know how it turns out for you. Leave a comment below, tag me in your photos, or tell me about the time you finally conquered your fear of pie crust. I love hearing from you. Now go make some pie. You’ve got this.
Frequently Asked Questions
Can I use a store-bought crust instead of making the salted pecan crust?
You absolutely can, but you’ll be missing out on the best part of this recipe! The salted pecan crust is what makes this pie special. If you’re short on time, you could use a refrigerated pie crust and just add a layer of finely chopped pecans pressed into the bottom before adding the filling.
Why is my pumpkin pie filling watery?
This usually happens for one of two reasons. First, you might have used pumpkin pie filling instead of pure pumpkin puree—pie filling has added liquid and sugar. Second, the pie might not have baked long enough. Make sure the center has a slight jiggle, not a slosh, when you take it out of the oven.
Can I make this pie ahead of time?
Yes! This pie is actually better the next day. Make it a day ahead, let it cool completely, then cover and refrigerate. The flavors will meld and deepen overnight. Just add the flaky salt topping right before serving.
How do I prevent the crust from burning?
Pecan crusts can brown quickly because of the natural oils in the nuts. Keep an eye on the edges after about 25 minutes of baking. If they look dark, cover them with strips of foil or a silicone pie shield. I keep a roll of foil ready just for this purpose.
Can I use a different nut in the crust?
Absolutely. Walnuts or almonds would work beautifully. If you use almonds, you might want to add a touch more salt, as they’re less naturally salty than pecans. I’ve even made a version with toasted hazelnuts that was incredible—it paired wonderfully with the pumpkin spice.
Pin This Recipe!
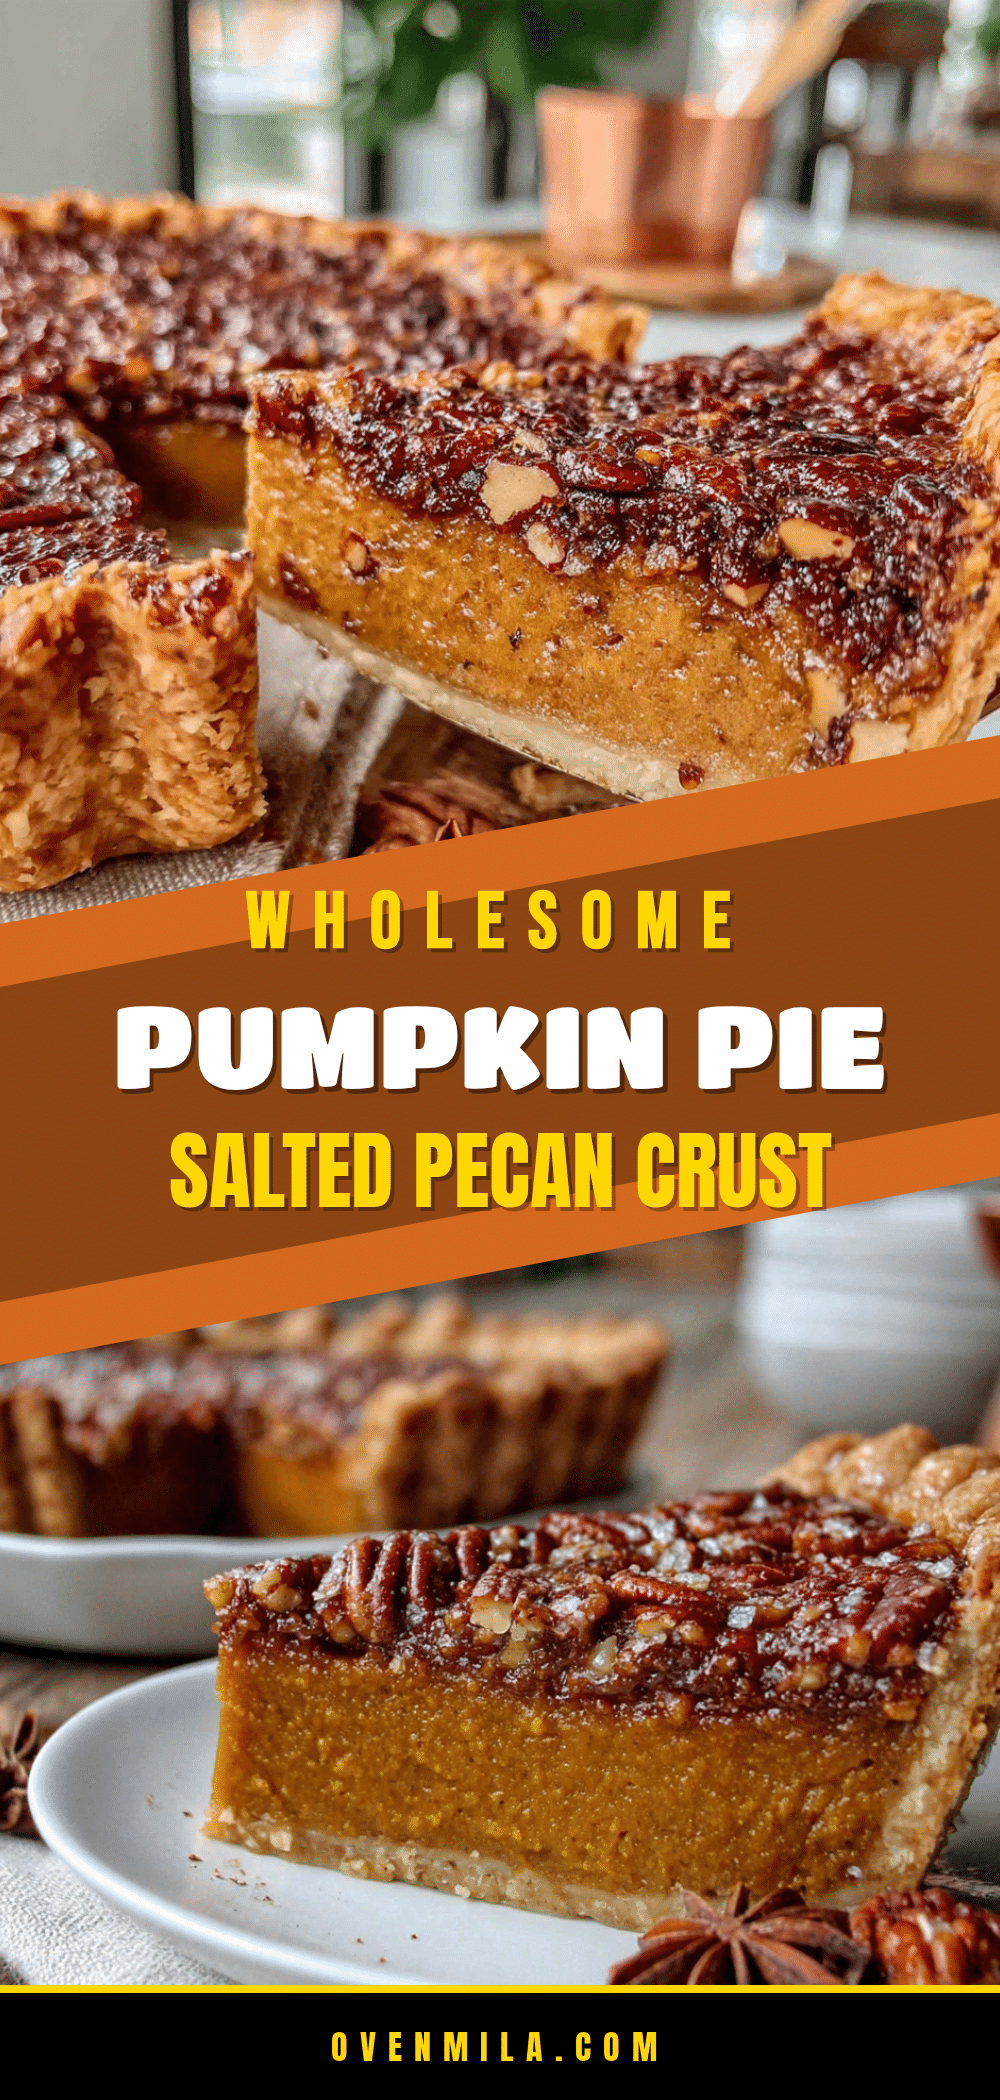
Wholesome Classic Pumpkin Pie with Salted Pecan Crust
A classic pumpkin pie with a nutty, buttery salted pecan crust that eliminates the need for rolling and blind baking. The filling is creamy, perfectly spiced, and not too sweet, making it a crowd-pleasing dessert for any fall gathering.
- Prep Time: 30 minutes
- Cook Time: 60 minutes
- Total Time: 2 hours 30 minutes (plus cooling time)
- Yield: 10 servings 1x
- Category: Dessert
- Cuisine: American
Ingredients
- 1 ½ cups pecan halves (raw)
- 1 ¼ cups all-purpose flour, spooned and leveled
- ¼ cup packed light brown sugar
- ½ teaspoon fine sea salt
- 6 tablespoons cold unsalted butter, cut into small cubes
- 2–3 tablespoons ice water
- 1 (15-ounce) can pumpkin puree (100% pure pumpkin)
- ¾ cup heavy cream
- ⅓ cup pure maple syrup
- ¼ cup packed light brown sugar
- 2 large eggs, at room temperature
- 1 teaspoon vanilla extract
- 1 ½ teaspoons pumpkin pie spice
- ½ teaspoon ground cinnamon
- ¼ teaspoon fine sea salt
- ¼ cup pecan halves, toasted (optional topping)
- Flaky sea salt, like Maldon (optional topping)
Instructions
- Preheat oven to 350°F (175°C). Lightly grease a 9-inch pie plate with butter or non-stick spray.
- Make the crust: In a food processor, combine pecan halves, flour, brown sugar, and fine sea salt. Pulse 8-10 times until pecans are finely ground and mixture resembles coarse meal.
- Add cold butter cubes to the pecan-flour mixture. Pulse 10-12 times until butter is cut in and mixture looks like damp sand.
- Sprinkle 2 tablespoons ice water over mixture. Pulse 3-4 times until dough starts to clump. If dry, add remaining water 1 teaspoon at a time, pulsing after each addition. Do not over-process.
- Press crumbly dough into prepared pie plate, using fingers and a flat-bottomed measuring cup to press firmly and evenly into bottom and up sides. Ensure consistent thickness.
- Chill crust in refrigerator for at least 15 minutes while making filling.
- Optional blind bake: Line chilled crust with parchment paper and fill with pie weights or dried beans. Bake at 350°F for 10 minutes, then remove paper and weights.
- Make the filling: In a large bowl, whisk together pumpkin puree, heavy cream, maple syrup, and brown sugar until smooth.
- Whisk in eggs one at a time, mixing well after each. Add vanilla extract, pumpkin pie spice, cinnamon, and salt. Whisk until completely combined and silky.
- Pour filling into crust (it will fill almost to the brim). Place pie on a baking sheet.
- Bake at 350°F for 50-60 minutes. Edges should be set, center should have a slight jiggle (like Jell-O). If crust edges brown too quickly, tent with foil after 25 minutes.
- Cool completely on a cooling rack, about 2 hours. Filling will continue to set as it cools.
- Once cool, arrange toasted pecan halves around edge of pie if desired. Just before serving, sprinkle with flaky sea salt.
Notes
For best results, use cold butter and room temperature eggs. The pie is better the next day—make ahead and refrigerate. Add flaky salt topping just before serving. For a dairy-free version, substitute heavy cream with full-fat canned coconut milk and use vegan butter. For gluten-free, use a 1:1 gluten-free flour blend. The crust can be made with walnuts or almonds instead of pecans.
Nutrition
- Serving Size: 1 slice (1/10 of pie
- Calories: 380
- Sugar: 18
- Sodium: 280
- Fat: 24
- Saturated Fat: 8
- Carbohydrates: 38
- Fiber: 4
- Protein: 6
Keywords: pumpkin pie, pecan crust, salted pecan, Thanksgiving dessert, fall baking, no-roll crust, holiday pie, pumpkin dessert


