By the fourth batch in three days, I’d stopped apologizing to my butter stash. The first batch of these Brown Butter Pumpkin Snickerdoodle Cookies was good—soft, spiced, the usual fall promise. But I wanted the catch. You know the one. That moment where a cookie doesn’t just taste like pumpkin pie filling in dough form. I wanted the thing that makes you close the oven door and just stand there, holding the tray like it might disappear. So I browned the butter again. And again. And then I stopped measuring the pumpkin and started measuring my patience.
It wasn’t a recipe failure. Honestly, the first version was fine. But fine doesn’t make you text your neighbor at 9 p.m. with a photo and no explanation. Fine doesn’t make you rewrite your grocery list specifically for more cinnamon-sugar. I kept coming back because the brown butter does this weird, nutty thing to pumpkin that I can’t explain without sounding dramatic. It toasts the sweetness, deepens the spice, and makes the whole kitchen smell like someone lit a candle that doesn’t exist yet.
By batch three, I stopped following my own notes. I added an extra tablespoon of butter just to brown more. I let the dough rest longer. I rolled them thicker. And somewhere between the third and fourth tray, I realized I wasn’t chasing a perfect cookie. I was chasing the feeling of the first bite—warm, crackly on the outside, impossibly soft in the middle, with that faint caramelized edge that only brown butter can give. These cookies are that. Every single time.
Why You’ll Love This Recipe
I’ve tested this one more times than I’d like to admit. But that’s exactly why I can tell you—it works. The brown butter adds a depth that plain butter just can’t touch, and the pumpkin keeps everything tender without making the dough sticky or wet. These cookies bake up with that signature snickerdoodle crackle, but the flavor is all fall.
- Quick & Easy: From start to finish, you’re looking at about 30 minutes of active time. The dough needs a quick chill, but that’s hands-off.
- Simple Ingredients: No weird extracts or hard-to-find flours. You probably have most of this in your pantry right now.
- Perfect for Fall Baking: Whether it’s a cozy weekend or a last-minute dessert for a gathering, these fit right in. Pair them with a homemade pumpkin spice latte for the ultimate fall moment.
- Crowd-Pleaser: I brought a batch to a potluck and watched three people ask for the recipe before the first round ended.
- Unbelievably Delicious: The combination of nutty brown butter, warm pumpkin, and cinnamon sugar is next-level comfort food. It’s the kind of cookie you eat standing up, leaning against the counter.
What makes this recipe different? It’s the technique. Browning the butter isn’t just a flavor boost—it changes the whole structure of the cookie. The milk solids toast and add a richness that makes the pumpkin taste deeper, almost caramelized. And the texture? Soft centers, slightly crisp edges, and that perfect crinkle top. This isn’t just another snickerdoodle. It’s the one you’ll make every single time fall rolls around.
What Ingredients You Will Need
This recipe uses simple, wholesome ingredients. Nothing fancy, but each one plays a specific role in getting that soft, crackly, deeply flavored cookie.
- Unsalted butter, 1 cup (2 sticks): You’ll brown this first. I recommend using a light-colored pan so you can see the milk solids turn amber. Kerrygold or any European-style butter works beautifully here for extra richness.
- Brown sugar, 1 cup (packed): Light or dark both work. Dark brown sugar gives a deeper molasses flavor that pairs well with the brown butter. (adds moisture and chew)
- Granulated sugar, ½ cup: Helps with spreading and gives the cookies a slightly crisper edge.
- Pumpkin puree, ½ cup: Make sure it’s 100% pumpkin, not pumpkin pie filling. Libby’s is my go-to. Blot it with a paper towel if it looks watery—this prevents soggy dough.
- Large egg, 1: Room temperature. It emulsifies better into the brown butter and sugar mixture.
- Vanilla extract, 2 teaspoons: Pure, not imitation. It rounds out the nutty notes from the browned butter.
- All-purpose flour, 2 ¼ cups: Spoon and level it. Scooping directly from the bag packs in too much flour and makes the cookies dry. (use a gluten-free 1:1 blend if needed)
- Cream of tartar, 2 teaspoons: This is non-negotiable for snickerdoodles. It gives them that signature tangy flavor and helps with the crackly top.
- Baking soda, 1 teaspoon: Works with the cream of tartar for lift.
- Salt, ½ teaspoon: Fine sea salt. It balances the sweetness and enhances the brown butter.
- Pumpkin pie spice, 1 ½ teaspoons: Store-bought or homemade. If making your own, use a mix of cinnamon, nutmeg, ginger, and cloves. (adds warmth)
- Cinnamon, 1 teaspoon (in dough): Extra warmth beyond the pumpkin pie spice.
For the coating:
- Granulated sugar, ¼ cup: For rolling.
- Cinnamon, 1 tablespoon: Mixed with the sugar for that classic snickerdoodle crust.
Ingredient Substitution Notes: If you’re out of cream of tartar, you can substitute with 2 teaspoons of lemon juice or white vinegar mixed into the wet ingredients, but the texture won’t be exactly the same. For a dairy-free option, use vegan butter that’s at least 80% fat content—it browns decently, though not as deeply. Pumpkin puree can be swapped with butternut squash puree in a pinch, but the flavor will be milder.
Equipment Needed
You don’t need a professional kitchen for these. Just a few basics, and I’ll tell you what I’ve learned from burning butter in the wrong pan.
- Light-colored skillet or saucepan: Essential for browning butter. A dark pan hides the color change, and you’ll end up with burnt butter. I use a stainless steel skillet.
- Stand mixer or hand mixer: A hand mixer works fine. You just need to cream the butter and sugar until fluffy. A wooden spoon works too, but your arm will feel it.
- Large mixing bowls: One for dry ingredients, one for wet. Glass or stainless steel—doesn’t matter.
- Whisk: For combining the dry ingredients evenly.
- Rubber spatula: For scraping every last bit of brown butter out of the pan. Trust me, you don’t want to leave any behind.
- Baking sheets: Two standard half-sheet pans work best. Line them with parchment paper or a silicone baking mat. (silicone mats help prevent over-spreading)
- Cookie scoop: A 1.5-tablespoon scoop gives you consistent cookies. I’ve used spoons in a pinch, but the scoop is worth it for even baking.
- Cooling rack: Lets air circulate so the bottoms don’t get soggy.
Budget-Friendly Tip: If you don’t have a cookie scoop, use two spoons to portion the dough. It’s not as uniform, but it works. And if you don’t have a cooling rack, transfer the cookies to a clean cutting board after a few minutes on the pan.
Preparation Method
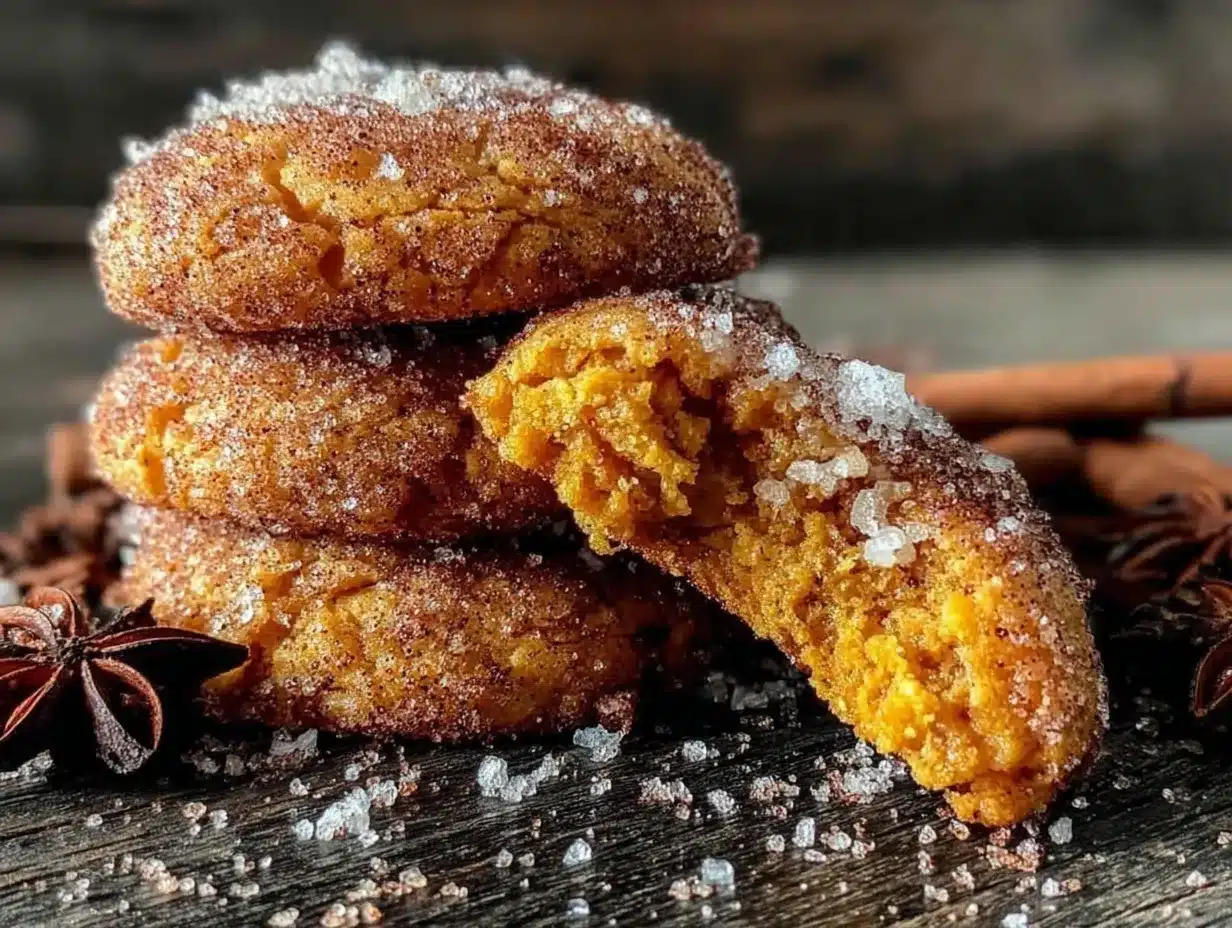
This method is written to avoid the mistakes I made. Follow it closely the first time, then tweak to your heart’s content.
- Brown the butter: Cut the 1 cup of butter into pieces and place in a light-colored skillet over medium heat. Stir constantly with a rubber spatula or wooden spoon. After about 5–7 minutes, the butter will foam, then the foam will subside, and you’ll see golden brown specks forming at the bottom. The smell will turn nutty and rich. As soon as it smells like toasted hazelnuts and the specks are amber, remove from heat. Pour into a heatproof bowl immediately to stop the cooking. Let it cool for 10–15 minutes. (Do not walk away during this step—burnt butter happens in seconds.)
- Mix the dry ingredients: In a medium bowl, whisk together the 2 ¼ cups all-purpose flour, 2 teaspoons cream of tartar, 1 teaspoon baking soda, ½ teaspoon salt, 1 ½ teaspoons pumpkin pie spice, and 1 teaspoon cinnamon. Set aside.
- Cream the butter and sugars: In a large mixing bowl, combine the cooled brown butter, 1 cup packed brown sugar, and ½ cup granulated sugar. Beat with a hand mixer or stand mixer on medium speed for 2–3 minutes until the mixture looks lighter and slightly fluffy. It won’t be as fluffy as room-temperature butter, but it should be well combined and smooth.
- Add the wet ingredients: Add the ½ cup pumpkin puree, 1 large egg, and 2 teaspoons vanilla extract. Beat on low until combined. The mixture might look a little separated at first—that’s normal. Keep mixing until it comes together into a smooth, creamy batter. Scrape the sides of the bowl with a spatula.
- Combine wet and dry: Gradually add the dry ingredients to the wet mixture, mixing on low speed. Stop as soon as the flour disappears. Overmixing here makes the cookies tough. The dough will be soft, slightly sticky, and smell incredible.
- Chill the dough: Cover the bowl with plastic wrap and refrigerate for at least 30 minutes. This step is crucial—the dough is too soft to roll without chilling, and the rest time lets the flavors meld. I’ve chilled it for up to 2 hours with even better results. (If you’re in a rush, 20 minutes is the absolute minimum.)
- Preheat the oven: About 10 minutes before you’re ready to bake, preheat your oven to 350°F (175°C). Line two baking sheets with parchment paper or silicone mats.
- Make the cinnamon sugar coating: In a small bowl, mix ¼ cup granulated sugar with 1 tablespoon cinnamon. Stir until well combined.
- Shape and coat the cookies: Using a 1.5-tablespoon cookie scoop or two spoons, portion out the dough. Roll each portion into a smooth ball between your palms. Then roll each ball in the cinnamon sugar mixture until fully coated. Place on the prepared baking sheets, spacing them about 2 inches apart. (I fit 8 cookies per sheet.)
- Bake: Bake one sheet at a time for 10–12 minutes. The cookies will look puffed, crackly on top, and slightly underdone in the center when you pull them out. That’s exactly what you want. The centers will set as they cool. For softer cookies, bake closer to 10 minutes. For crisper edges, go to 12.
- Cool: Let the cookies rest on the baking sheet for 5 minutes. This allows them to firm up without breaking. Then transfer to a cooling rack to cool completely. Or eat one warm. Honestly, that’s the best part.
Cooking Tips & Techniques
I’ve made every mistake you can imagine with these cookies. Here’s what I learned so you don’t have to.
Don’t skip browning the butter properly. The first time I tried this recipe, I got impatient and pulled the butter off the heat too early. The cookies were good, but they didn’t have that deep, nutty flavor. You need to see the amber specks and smell that toasted aroma. If you’re nervous, use a thermometer—brown butter hits around 250°F (120°C).
Chill the dough, no exceptions. I once skipped the chill because I was in a hurry. The cookies spread into flat, greasy discs. The brown butter makes the dough soft, and without chilling, it doesn’t hold its shape. Thirty minutes is the minimum. Overnight is even better—the flavors get more complex.
Watch the bake time. Ovens vary wildly. My old oven baked these in exactly 10 minutes. My current one takes 11. Check at 10 minutes and look for puffed, crackly tops with soft centers. If the edges are brown, they’re overdone. Remember, they continue baking on the hot sheet after you pull them out.
Use a cookie scoop for even sizing. I used to eyeball it, and I’d end up with some cookies burnt and some underdone. A scoop gives you uniform cookies that bake evenly. Plus, it’s faster.
Let them rest on the pan. I made the mistake of moving them immediately to a cooling rack once. They fell apart. The five-minute rest on the baking sheet lets them set properly. Be patient—it’s worth it.
Variations & Adaptations
These cookies are forgiving. Here are a few ways to make them your own.
- Gluten-Free Version: Swap the all-purpose flour with a 1:1 gluten-free baking blend that contains xanthan gum. I’ve used King Arthur’s Measure for Measure with great results. The texture is slightly more delicate, but the flavor is spot-on.
- Dairy-Free Version: Use a high-fat vegan butter for browning. Miyoko’s or Country Crock Plant Butter work well. The browning won’t be as dramatic, but you’ll still get a nutty flavor. Be sure to chill the dough a little longer—vegan butter is softer.
- Extra Spiced: Add ¼ teaspoon of ground cardamom to the dough for a floral, aromatic twist. I tried this on a whim and now I make it every third batch. It pairs beautifully with the pumpkin and brown butter.
- Chocolate Drizzle: Melt ½ cup of dark chocolate chips with a teaspoon of coconut oil and drizzle over the cooled cookies. It sounds extra, but the bitterness of dark chocolate cuts through the sweetness perfectly. I did this for a holiday cookie exchange and they disappeared first.
- Maple Glaze: Whisk together ½ cup powdered sugar, 2 tablespoons maple syrup, and a splash of milk. Drizzle over warm cookies for a breakfast-for-dessert vibe. (If you love maple and pumpkin together, try my maple pumpkin dump cake for a similar flavor in cake form.)
Serving & Storage Suggestions
These cookies are best served warm, straight from the oven, with a glass of cold milk or a hot cup of coffee. The contrast between the warm, soft center and the crisp cinnamon-sugar coating is pure magic. For a more decadent treat, sandwich two cookies with a scoop of vanilla ice cream or a dollop of whipped cream.
Storage: Store cooled cookies in an airtight container at room temperature for up to 4 days. Place a slice of bread in the container—it absorbs excess moisture and keeps the cookies soft. Replace the bread slice every day if you’re storing them longer.
Freezing: These freeze beautifully. You can freeze the baked cookies for up to 3 months. Layer them between sheets of parchment paper in a freezer-safe container. Thaw at room temperature for about 30 minutes, then warm in a 300°F (150°C) oven for 5 minutes. Or freeze the unbaked dough balls (coated in cinnamon sugar) on a baking sheet, then transfer to a freezer bag. Bake straight from frozen, adding 2–3 minutes to the bake time.
Flavor Development: Honestly, these cookies taste even better on day two. The brown butter flavor deepens, and the pumpkin spice mellows into something more rounded. I’ve hidden a few in the back of the fridge just to test this theory, and I’m not wrong.
Nutritional Information & Benefits
Per cookie (based on 24 cookies):
- Calories: 165
- Fat: 8g
- Carbohydrates: 22g
- Fiber: 1g
- Sugar: 13g
- Protein: 2g
These cookies aren’t health food, but they do have a few redeeming qualities. Pumpkin is packed with vitamin A and fiber, which supports eye health and digestion. The brown butter, while indulgent, adds a richness that means you’re satisfied with one or two cookies instead of half the batch. The cream of tartar adds a slight tang that balances the sweetness, so you don’t get that sugar crash feeling.
Dietary Considerations: This recipe contains gluten, dairy, and eggs. For gluten-free and dairy-free options, see the variations section above. If you’re watching your sugar intake, you can reduce the sugar in the dough by ¼ cup, but the texture will be less tender.
Conclusion
These Brown Butter Pumpkin Snickerdoodle Cookies are the kind of recipe that becomes a tradition. They’re not complicated, but they feel special—the kind of cookie you make when you want to impress without stress. The brown butter adds a richness that makes people pause mid-bite, and the pumpkin keeps everything soft and tender. It’s the perfect balance of fall flavors and classic comfort.
I love these cookies because they remind me that simple ingredients, treated with a little care, can become something memorable. You don’t need a dozen steps or a pantry full of obscure spices. Just good butter, a can of pumpkin, and a little patience.
I’d love to hear how yours turn out. Did you add the cardamom? Drizzle them with chocolate? Leave a comment below and tell me about your batch. And if you’re looking for another cozy fall treat, don’t miss my small batch pumpkin chocolate chip muffins—they’re perfect for when you don’t want a full dozen hanging around. Happy baking, and don’t forget to save one for yourself before they disappear.
Frequently Asked Questions
Can I use canned pumpkin pie filling instead of pumpkin puree?
No, please don’t. Pumpkin pie filling is pre-sweetened and spiced, which will throw off the sugar and spice balance in this recipe. Stick with 100% pumpkin puree for the best results.
Why did my cookies spread too much?
This usually happens when the dough isn’t chilled long enough or the butter was too warm when you mixed it. Make sure your brown butter is cooled to room temperature before creaming, and chill the dough for at least 30 minutes. If your kitchen is warm, chill for an hour.
Can I make the dough ahead of time?
Absolutely. The dough can be refrigerated for up to 3 days in an airtight container. Let it sit at room temperature for 10–15 minutes before scooping and rolling—it will be too firm to work with straight from the fridge. You can also freeze the dough balls for up to 3 months.
What’s the best way to get that crackly top?
The crackly top comes from the cream of tartar and the cinnamon sugar coating. Make sure you roll the dough balls generously in the cinnamon sugar mixture, and don’t overbake. Pull the cookies when the centers still look slightly soft and puffed. The cracks form as they cool.
Can I double this recipe?
Yes, and I do it all the time for holiday baking. Just make sure you brown the butter in batches—crowding the pan makes it steam instead of brown. Double all other ingredients and bake in batches, keeping the unused dough chilled between rounds.
Pin This Recipe!
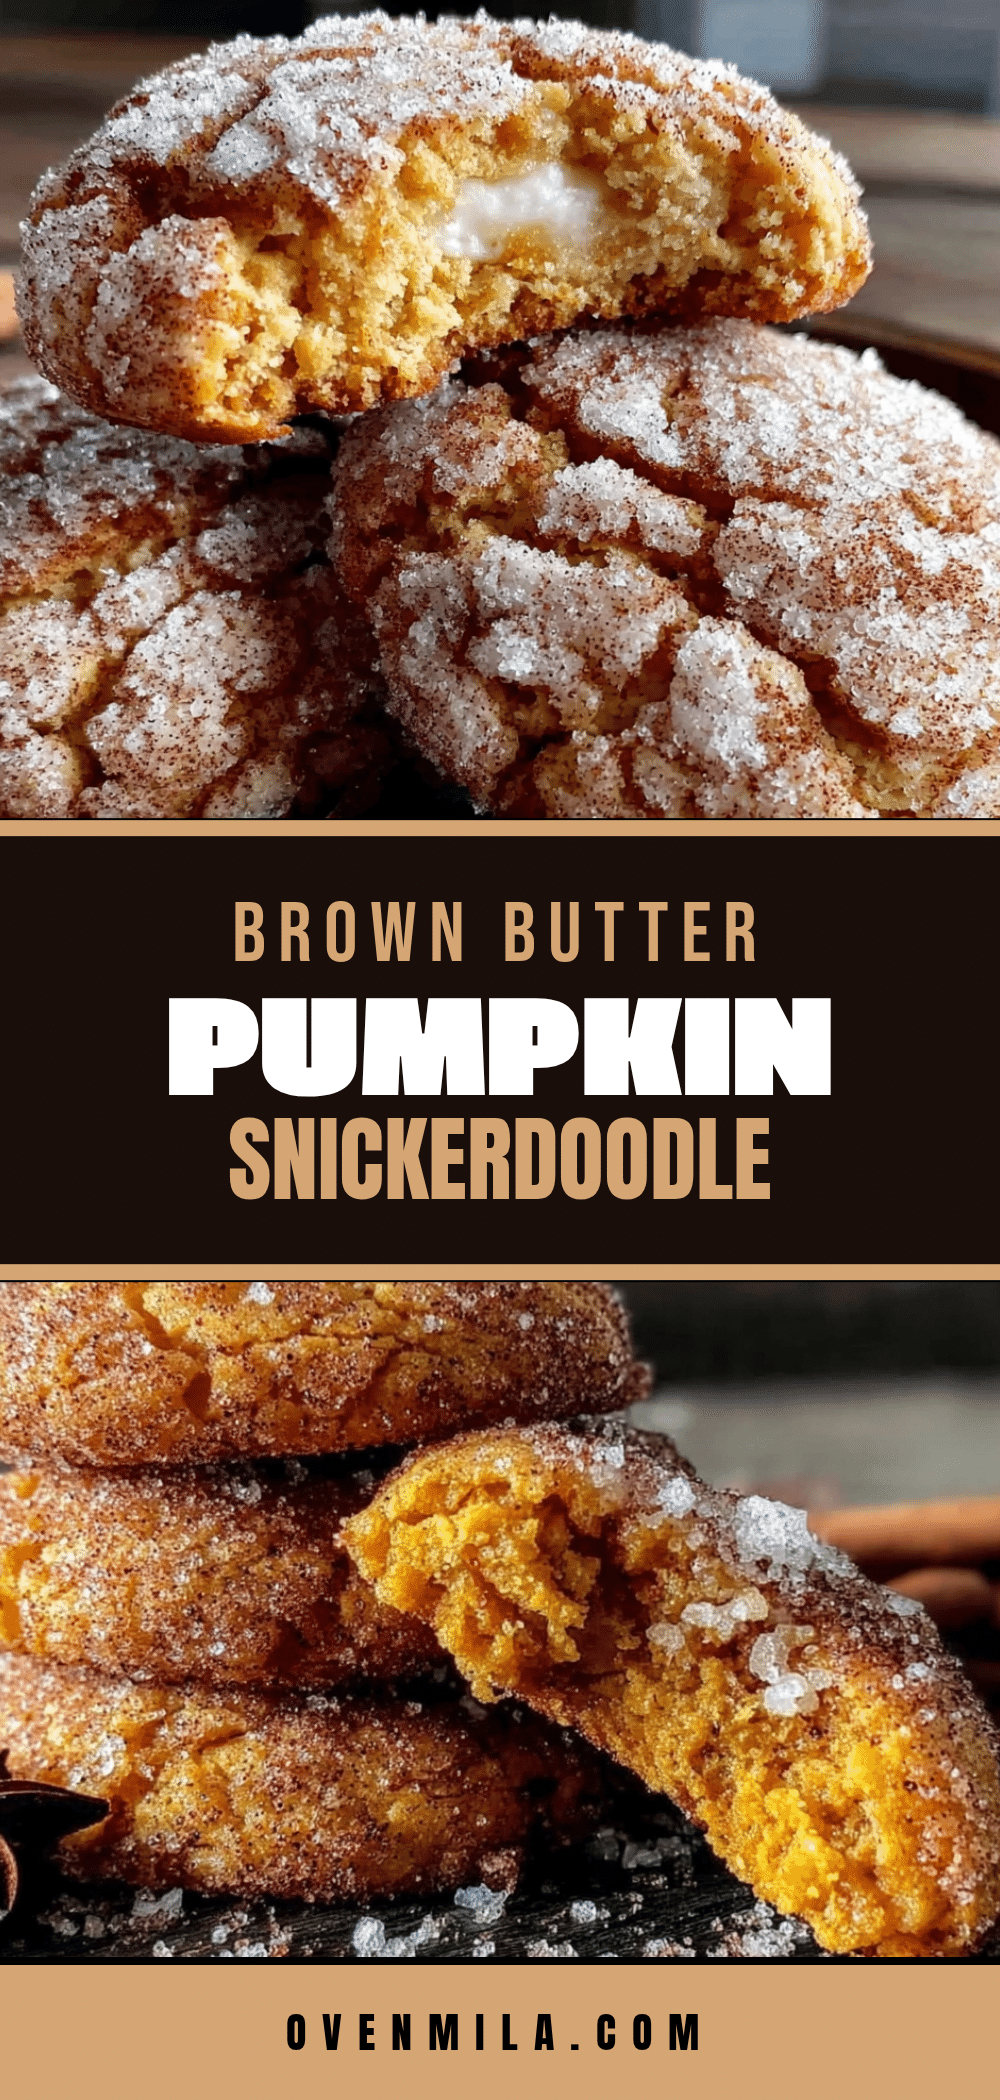
Best Brown Butter Pumpkin Snickerdoodle Cookies
These Brown Butter Pumpkin Snickerdoodle Cookies are soft, spiced, and deeply flavored with nutty brown butter and warm pumpkin. The perfect fall cookie with a crackly cinnamon-sugar coating and tender center.
- Prep Time: 30 minutes
- Cook Time: 10-12 minutes per batch
- Total Time: 1 hour 15 minutes (including chilling)
- Yield: 24 cookies 1x
- Category: Dessert
- Cuisine: American
Ingredients
- 1 cup (2 sticks) unsalted butter
- 1 cup packed brown sugar (light or dark)
- ½ cup granulated sugar
- ½ cup pumpkin puree (100% pumpkin, not pie filling)
- 1 large egg, room temperature
- 2 teaspoons vanilla extract
- 2 ¼ cups all-purpose flour
- 2 teaspoons cream of tartar
- 1 teaspoon baking soda
- ½ teaspoon fine sea salt
- 1 ½ teaspoons pumpkin pie spice
- 1 teaspoon cinnamon
- ¼ cup granulated sugar (for coating)
- 1 tablespoon cinnamon (for coating)
Instructions
- Brown the butter: Cut 1 cup butter into pieces and place in a light-colored skillet over medium heat. Stir constantly for 5–7 minutes until butter foams, foam subsides, and golden brown specks form at the bottom. Remove from heat immediately and pour into a heatproof bowl. Let cool for 10–15 minutes.
- Mix dry ingredients: In a medium bowl, whisk together flour, cream of tartar, baking soda, salt, pumpkin pie spice, and cinnamon. Set aside.
- Cream butter and sugars: In a large bowl, combine cooled brown butter, brown sugar, and granulated sugar. Beat with a hand mixer or stand mixer on medium speed for 2–3 minutes until lighter and slightly fluffy.
- Add wet ingredients: Add pumpkin puree, egg, and vanilla extract. Beat on low until combined and smooth. Scrape sides of bowl.
- Combine wet and dry: Gradually add dry ingredients to wet mixture, mixing on low just until flour disappears. Dough will be soft and slightly sticky.
- Chill dough: Cover bowl with plastic wrap and refrigerate for at least 30 minutes (up to 2 hours for best results).
- Preheat oven: About 10 minutes before baking, preheat oven to 350°F (175°C). Line two baking sheets with parchment paper or silicone mats.
- Make cinnamon sugar coating: In a small bowl, mix ¼ cup granulated sugar with 1 tablespoon cinnamon.
- Shape and coat cookies: Using a 1.5-tablespoon cookie scoop, portion dough and roll into smooth balls. Roll each ball in cinnamon sugar mixture until fully coated. Place on prepared baking sheets, spacing 2 inches apart.
- Bake: Bake one sheet at a time for 10–12 minutes. Cookies should look puffed, crackly on top, and slightly underdone in the center. For softer cookies, bake 10 minutes; for crisper edges, bake 12 minutes.
- Cool: Let cookies rest on baking sheet for 5 minutes, then transfer to a cooling rack to cool completely.
Notes
Do not skip browning the butter properly—look for amber specks and a nutty aroma. Chill the dough for at least 30 minutes to prevent spreading. For best results, use a light-colored pan to monitor butter browning. Cookies taste even better on day two as flavors deepen.
Nutrition
- Serving Size: 1 cookie
- Calories: 165
- Sugar: 13
- Sodium: 120
- Fat: 8
- Saturated Fat: 5
- Carbohydrates: 22
- Fiber: 1
- Protein: 2
Keywords: brown butter, pumpkin, snickerdoodle, cookies, fall baking, cinnamon sugar, pumpkin spice


