My partner asked why I couldn’t just use the same bowl for the whole banana bread. I started to explain why that wouldn’t work — then stopped. Honestly, I had no good reason. I’d been making banana bread for years, dutifully dirtying a separate bowl for the dry ingredients like some kind of kitchen ritual I’d never questioned. It was just how it was done. So that Tuesday afternoon, with three overripe bananas practically begging to be used, I decided to try her way. Everything went into one bowl. The flour, the sugar, the mashed bananas, the melted butter — all of it, right on top of each other. I was sure I’d end up with a lumpy, overmixed disaster.
The batter looked… fine. Maybe a little more rustic than usual, but not the catastrophe I’d braced myself for. I poured it into the loaf pan, slid it into the oven, and waited, half-expecting it to sink in the middle or turn out tough. But when I pulled that loaf out forty-five minutes later, the kitchen smelled like my grandmother’s house in the best possible way. The top was a deep, glossy gold, cracked perfectly down the center. I let it cool for maybe ten minutes — impatience got the better of me — and sliced into it. It was moist, tender, and had that slightly craggy crumb that soaks up a pat of butter like it was made for it.
I stood there at the counter, eating a slice still warm from the oven, and had to admit it: I’d been wrong. All those years of extra dishes, of insisting on separate bowls, and the one-bowl version was just as good. Maybe better. There’s something about the simplicity of it that makes the whole process feel less like a chore and more like a cozy afternoon project. Maybe you’ve been there — stuck in a cooking habit that you’ve never stopped to question, only to discover the easier way was right in front of you. This recipe became my go-to from that day on, not just because it tastes incredible, but because it reminded me that sometimes the best lessons come from letting someone else take the lead.
Why You’ll Love This Recipe
This isn’t just another banana bread recipe. After testing this method at least a dozen times, tweaking the flour ratio and the baking time, I can say with confidence that this one-bowl approach delivers consistent results every single time. The texture is exactly what you want from a great banana bread: moist, tender, and full of nutty flavor from the toasted walnuts.
- Quick & Easy: From start to oven in under 15 minutes. No stand mixer needed, no sifting, no fuss. Perfect for those mornings when you need a baking fix but don’t want to spend an hour cleaning up.
- Simple Ingredients: You probably have everything in your pantry right now. Butter, sugar, eggs, flour, baking soda, salt, and bananas. That’s it. No buttermilk, no sour cream, no specialty flours.
- Perfect for Cozy Mornings: There’s something about the smell of banana bread baking that turns any ordinary day into a special one. It’s the kind of recipe you make on a rainy Sunday or a chilly Wednesday evening when you just need a little warmth.
- Crowd-Pleaser: I’ve brought this to brunches, potlucks, and holiday gatherings, and it never lasts long. Kids love it, adults love it, and people always ask for the recipe.
- Unbelievably Delicious: The secret is in the technique — melting the butter instead of creaming it, and using very ripe bananas. It creates a depth of flavor that makes this bread taste like it took hours of effort.
What makes this recipe different from the dozens of banana bread recipes out there is the one-bowl method itself. By mixing the wet and dry ingredients together in a single bowl, you actually reduce the risk of overmixing. You’re less tempted to keep stirring because there’s no separate bowl of flour to gradually incorporate. You just fold everything together until it’s combined, and you’re done. The result is a tender, evenly textured loaf that stays moist for days.
This is the recipe you make when you want comfort without complication. It’s the kind that makes you close your eyes after the first bite — warm, sweet, and exactly what you needed.
What Ingredients You Will Need
This recipe relies on simple, everyday ingredients that work together to create something truly special. Each component plays a specific role in the final texture and flavor, and I’ve tested enough variations to know what works best.
- Unsalted butter, melted (1/2 cup / 113g): Melting the butter instead of creaming it with sugar is what gives this bread its tender, moist crumb. I use unsalted so I can control the salt level. If you only have salted butter on hand, just reduce the added salt to 1/4 teaspoon.
- Granulated sugar (3/4 cup / 150g): Regular white sugar provides the perfect sweetness without overwhelming the banana flavor. You can substitute coconut sugar for a deeper, more caramel-like taste, but the texture will be slightly denser.
- Large eggs, room temperature (2): Room-temperature eggs incorporate more easily into the melted butter, creating a smoother batter. If you forget to take them out ahead of time, place them in a bowl of warm water for 5 minutes.
- Very ripe bananas, mashed (3 medium, about 1 1/2 cups / 340g): This is non-negotiable. The bananas should be heavily speckled with brown spots, almost black. That’s when they’re at their sweetest and most flavorful. Underripe bananas will result in a bland, dense loaf.
- Vanilla extract (1 teaspoon): A good-quality vanilla adds warmth and rounds out the flavor. I prefer pure vanilla extract, but imitation works fine in a pinch.
- All-purpose flour (1 1/2 cups / 190g): Spoon and level your flour for the most accurate measurement. Scooping directly from the bag can pack in too much flour, leading to a dry bread.
- Baking soda (1 teaspoon): This is the only leavening agent you need. Baking soda reacts with the acidity in the bananas to create lift. Make sure it’s fresh — if it doesn’t fizz when mixed with a little vinegar, it’s time to replace it.
- Salt (1/2 teaspoon): Salt enhances all the flavors and balances the sweetness. Don’t skip it, even if you’re using salted butter.
- Chopped walnuts (1/2 cup / 60g), toasted: Toasting the walnuts before adding them to the batter makes a huge difference. It brings out their natural oils and adds a nutty depth that complements the bananas perfectly. Toast them in a dry skillet over medium heat for 3-4 minutes, stirring frequently, until fragrant.
For the best results, I recommend using King Arthur Flour for the all-purpose flour — it has a consistent protein content that yields reliable results. And for the vanilla, Nielsen-Massey is my go-to, though it’s definitely a splurge. Any good-quality vanilla will work.
If you’re out of walnuts, pecans are a fantastic substitute. You can also leave the nuts out entirely for a classic banana bread, or swap in chocolate chips for a sweeter version.
Equipment Needed
The beauty of this recipe is that you don’t need much. Here’s what you’ll need to have on hand:
- One large mixing bowl: Any bowl will do, but a wide, shallow one makes mixing easier. I use a standard ceramic mixing bowl that I’ve had for years.
- 9×5-inch loaf pan: A metal pan will give you a darker, crisper crust, while glass or ceramic will produce a softer, more evenly browned loaf. I prefer a light-colored metal pan for the best balance.
- Parchment paper: Lining the pan with parchment paper makes removal effortless. Leave an overhang on two sides to create handles.
- Whisk or wooden spoon: A whisk works well for incorporating the wet ingredients, but a wooden spoon is better for folding in the flour and nuts without overmixing.
- Potato masher or fork: For mashing the bananas. A fork works perfectly fine, but a potato masher is faster and gives you a more consistent texture.
- Cooling rack: Essential for allowing air to circulate around the loaf as it cools, preventing a soggy bottom.
If you don’t have a 9×5-inch pan, you can use an 8×4-inch pan instead. Just increase the baking time by 5-10 minutes and keep an eye on it. You can also make muffins — divide the batter among 12 muffin cups and bake for 18-22 minutes.
I’ve been using the same Nordic Ware loaf pan for years, and it’s never let me down. It’s affordable, distributes heat evenly, and cleans up easily.
Preparation Method
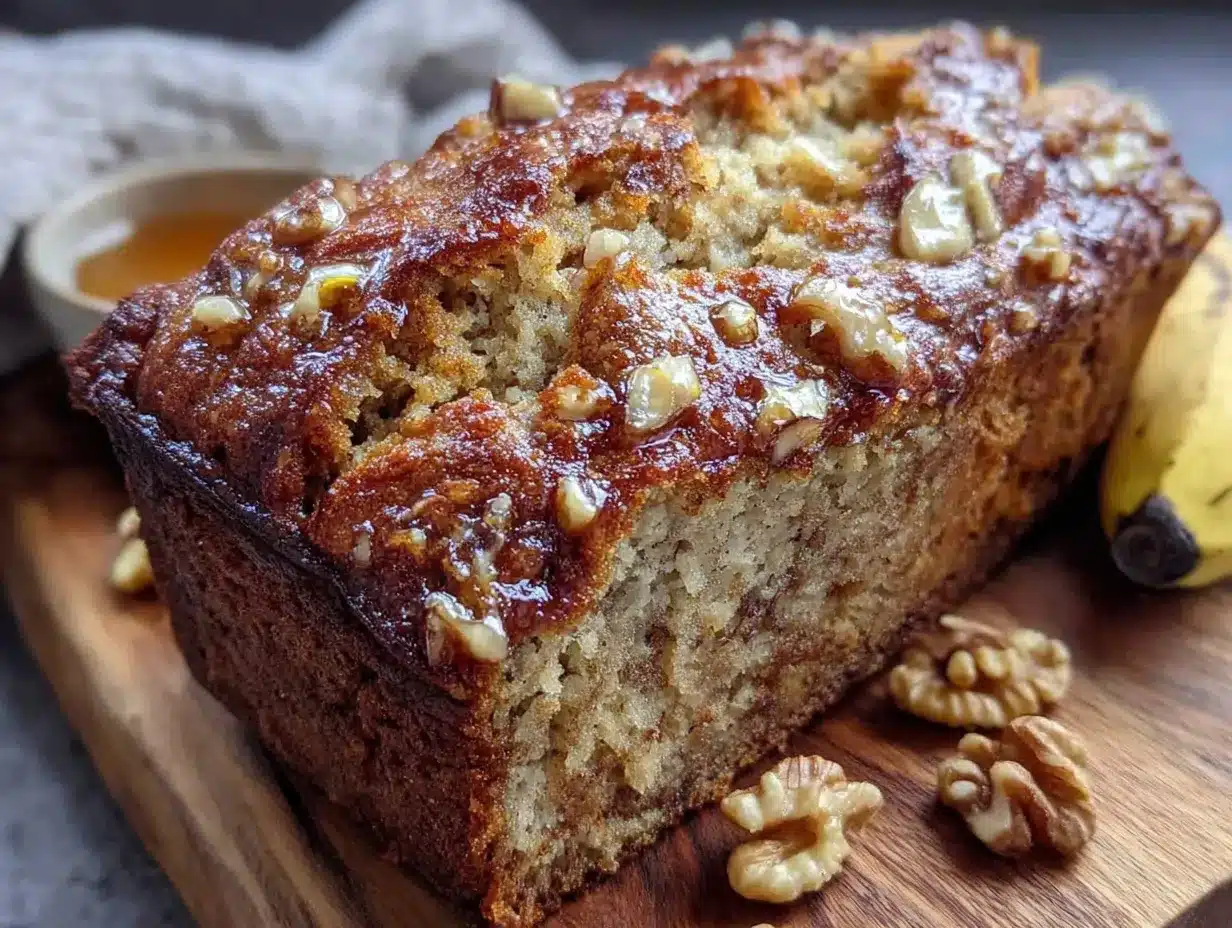
Preheat your oven to 350°F (175°C). Line your loaf pan with parchment paper, leaving an overhang on the two long sides. This will make lifting the finished bread out so much easier.
- Mash the bananas: In your large mixing bowl, mash the three ripe bananas with a fork or potato masher until they’re mostly smooth with a few small lumps remaining. You want some texture here — completely smooth banana puree can make the bread a bit gummy. It should look like a thick, chunky puree.
- Add the melted butter: Pour the melted butter over the mashed bananas and stir until combined. The butter should be warm but not hot — if it’s too hot, it can cook the eggs later. Let it cool for a minute if needed.
- Mix in the sugar: Add the granulated sugar and stir vigorously for about 30 seconds. This helps dissolve the sugar slightly and creates a smoother batter. The mixture will look glossy and slightly thickened.
- Add the eggs and vanilla: Crack the two eggs directly into the bowl and add the vanilla extract. Whisk everything together until the eggs are fully incorporated and the batter is smooth and uniform. It should be pale yellow and creamy at this point.
- Add the dry ingredients: Sprinkle the flour, baking soda, and salt evenly over the wet mixture. Don’t dump them all in one spot — spreading them out makes it easier to incorporate without overmixing. Using a rubber spatula or wooden spoon, fold the dry ingredients into the wet mixture with gentle, sweeping motions. Stop as soon as you no longer see streaks of flour. A few small lumps are perfectly fine. Overmixing at this stage will develop the gluten too much and result in a tough, dense bread.
- Fold in the walnuts: Add the toasted, chopped walnuts and fold them in with just a few strokes. Distribute them evenly throughout the batter without overworking it.
- Pour and bake: Scrape the batter into your prepared loaf pan and spread it into an even layer. Bake for 45-55 minutes, or until a toothpick inserted into the center comes out clean or with just a few moist crumbs attached. The top should be golden brown and cracked. If the top is browning too quickly (after about 30 minutes), tent the loaf loosely with aluminum foil.
- Cool in the pan: Place the pan on a cooling rack and let the bread cool in the pan for 10 minutes. This allows it to set and makes it easier to remove without falling apart.
- Remove and cool completely: Using the parchment paper overhang, lift the bread out of the pan and transfer it to the cooling rack. Let it cool completely before slicing — about 1 hour. I know it’s tempting to slice into it warm, but it will be much more fragile and may crumble.
A quick note: if your bananas aren’t quite ripe enough, you can speed up the process by placing them on a baking sheet in a 300°F (150°C) oven for 15-20 minutes until the skins turn black. Let them cool before mashing.
Cooking Tips & Techniques
After making this recipe more times than I can count, I’ve learned a few things the hard way. Here are my best tips for perfect banana bread every time.
Don’t overmix the batter. This is the most common mistake. Once you add the flour, mix only until it disappears. Overmixing develops gluten, which makes the bread tough and dense. You want it to be tender and moist, not chewy. I once got distracted and kept stirring, and the resulting loaf was so tough it was almost inedible. Lesson learned.
Use a kitchen scale for accuracy. If you have one, weighing your flour is the most reliable way to get consistent results. A cup of flour can vary by as much as 20-30 grams depending on how you scoop it. For this recipe, 190 grams of all-purpose flour is the sweet spot.
Toast your nuts. I cannot stress this enough. Toasting walnuts (or any nut) before adding them to the batter transforms their flavor. It takes just a few minutes in a dry skillet or a 350°F oven, and it makes the nuts taste richer and more aromatic. Skip this step, and you’ll miss out on a huge layer of flavor.
Check for doneness with a thermometer. If you have an instant-read thermometer, the internal temperature of a fully baked banana bread should be around 200-205°F (93-96°C). This is more reliable than the toothpick test, especially if you’re baking in a glass or ceramic pan.
Let it cool completely. I know it’s hard to wait, but slicing into warm banana bread is a recipe for a crumbly mess. The bread continues to set as it cools, and the texture becomes much more stable. If you absolutely must have a warm slice, wait at least 30 minutes and use a serrated knife with a gentle sawing motion.
Plan your timing. This bread takes about 15 minutes to prep and 45-55 minutes to bake. I like to make the batter while the oven preheats, so everything is ready at the same time. If you’re making multiple loaves, you can bake them at the same time on the center rack, just rotate them halfway through.
Variations & Adaptations
This recipe is incredibly versatile. Here are some of my favorite variations, all tested and approved.
Chocolate Chip Banana Bread: Swap the walnuts for 1/2 cup of semi-sweet or dark chocolate chips. The chocolate melts into little pockets of richness throughout the bread. I’ve also tried using white chocolate chips, which adds a sweet, creamy contrast to the banana flavor.
Gluten-Free Banana Bread: Substitute the all-purpose flour with a good-quality gluten-free flour blend that contains xanthan gum. I’ve had great results with Bob’s Red Mill 1-to-1 Baking Flour. The texture will be slightly more delicate, so handle the batter gently and let the bread cool completely before slicing.
Vegan Banana Bread: Replace the eggs with two flax eggs (2 tablespoons ground flaxseed mixed with 6 tablespoons water, let sit for 5 minutes) and use melted coconut oil or vegan butter instead of dairy butter. The bread will be a bit denser but still deliciously moist. I’ve made this version for friends with dietary restrictions, and they always ask for seconds.
Spiced Banana Bread: Add 1 teaspoon of cinnamon, 1/2 teaspoon of nutmeg, and 1/4 teaspoon of ground ginger to the flour mixture. This gives the bread a warm, aromatic flavor that’s perfect for fall. I once added a pinch of cardamom too, and it was incredible.
Streusel-Topped Banana Bread: Before baking, mix together 1/4 cup flour, 1/4 cup brown sugar, 2 tablespoons cold butter, and 1/2 teaspoon cinnamon until crumbly. Sprinkle this over the batter before baking. It creates a crunchy, sweet topping that takes the bread to another level.
Serving & Storage Suggestions
This banana bread is best served at room temperature, but a warm slice with a pat of butter melting into it is pure comfort. I like to toast slices lightly in a skillet or toaster oven for a crisp exterior and soft, warm interior.
For a cozy breakfast or brunch, serve slices alongside a cup of coffee or a glass of cold milk. It also pairs beautifully with a dollop of Greek yogurt and a drizzle of honey. If you’re feeling indulgent, spread a slice with cream cheese frosting or a little Nutella.
Storage: Wrap the cooled loaf tightly in plastic wrap or aluminum foil and store at room temperature for up to 4 days. The flavors actually improve after a day or two as the banana flavor mellows and deepens. Do not refrigerate — it will dry out the bread.
Freezing: This bread freezes beautifully. Wrap the completely cooled loaf (or individual slices) tightly in plastic wrap, then in a layer of aluminum foil, and place in a freezer-safe bag. It will keep for up to 3 months. To thaw, leave it on the counter for a few hours or pop individual slices in the toaster or microwave.
Reheating: For a freshly baked taste, wrap slices in foil and warm in a 300°F (150°C) oven for 10 minutes. Or simply toast them in a toaster until warm and slightly crisp on the edges.
Nutritional Information & Benefits
Here’s an approximate nutritional breakdown per slice (based on 10 slices):
| Nutrient | Amount per Slice |
|---|---|
| Calories | 285 |
| Total Fat | 13g |
| Saturated Fat | 6g |
| Cholesterol | 55mg |
| Sodium | 260mg |
| Total Carbohydrates | 38g |
| Dietary Fiber | 2g |
| Sugars | 19g |
| Protein | 5g |
Bananas are a great source of potassium, vitamin B6, and vitamin C. Walnuts add healthy omega-3 fatty acids and antioxidants. This bread is a treat, but it does offer some nutritional benefits compared to other baked goods. If you’re watching your sugar intake, you can reduce the sugar to 1/2 cup (100g) without significantly affecting the texture.
This recipe contains gluten (from the flour), dairy (from the butter), eggs, and tree nuts (from the walnuts). For allergen-friendly versions, see the variations section above.
Conclusion
This one-bowl banana nut bread has become a staple in my kitchen for good reason. It’s simple, reliable, and delivers every single time. The flavor is rich and comforting, the texture is perfectly moist, and the whole process leaves you with just one bowl to wash. Honestly, I don’t think I’ll ever go back to the old way.
I hope you give this recipe a try and make it your own. Maybe you’ll add chocolate chips, or swap in pecans, or double the cinnamon. That’s the beauty of a good basic recipe — it’s a starting point for your own creativity. I’d love to hear how it turns out for you. Leave a comment below and let me know what variations you tried, or share a photo of your loaf on Pinterest. Happy baking, and may your kitchen always smell like warm bananas and toasted walnuts.
Frequently Asked Questions
Can I use frozen bananas for this recipe?
Absolutely. Thaw frozen bananas completely, then drain off any excess liquid before mashing. The texture will be slightly softer, but the flavor is just as good. In fact, frozen bananas are often even sweeter than fresh ones.
Why did my banana bread sink in the middle?
This usually happens when the bread is underbaked. Make sure your oven is at the correct temperature (an oven thermometer is a worthwhile investment) and bake until a toothpick inserted in the center comes out clean. It can also happen if the batter is overmixed, which creates too much air that collapses as the bread cools.
Can I make this recipe without nuts?
Yes, absolutely. Simply omit the walnuts, and you’ll have a classic banana bread. You can also replace them with an equal amount of chocolate chips, dried fruit, or seeds like pumpkin or sunflower seeds for a nut-free crunch.
How do I know when my bananas are ripe enough?
Look for bananas that are heavily speckled with brown spots, or even mostly brown. They should be soft to the touch and smell distinctly sweet. If your bananas are still yellow with green tips, they’re not ready. You can speed up ripening by placing them in a paper bag with an apple overnight.
Can I double this recipe?
Yes, this recipe doubles beautifully. Simply double all the ingredients and bake in two separate loaf pans. You can also bake it in a 9×13-inch pan for a thinner, bar-style banana bread — just reduce the baking time to 25-30 minutes and check for doneness early.
Pin This Recipe!
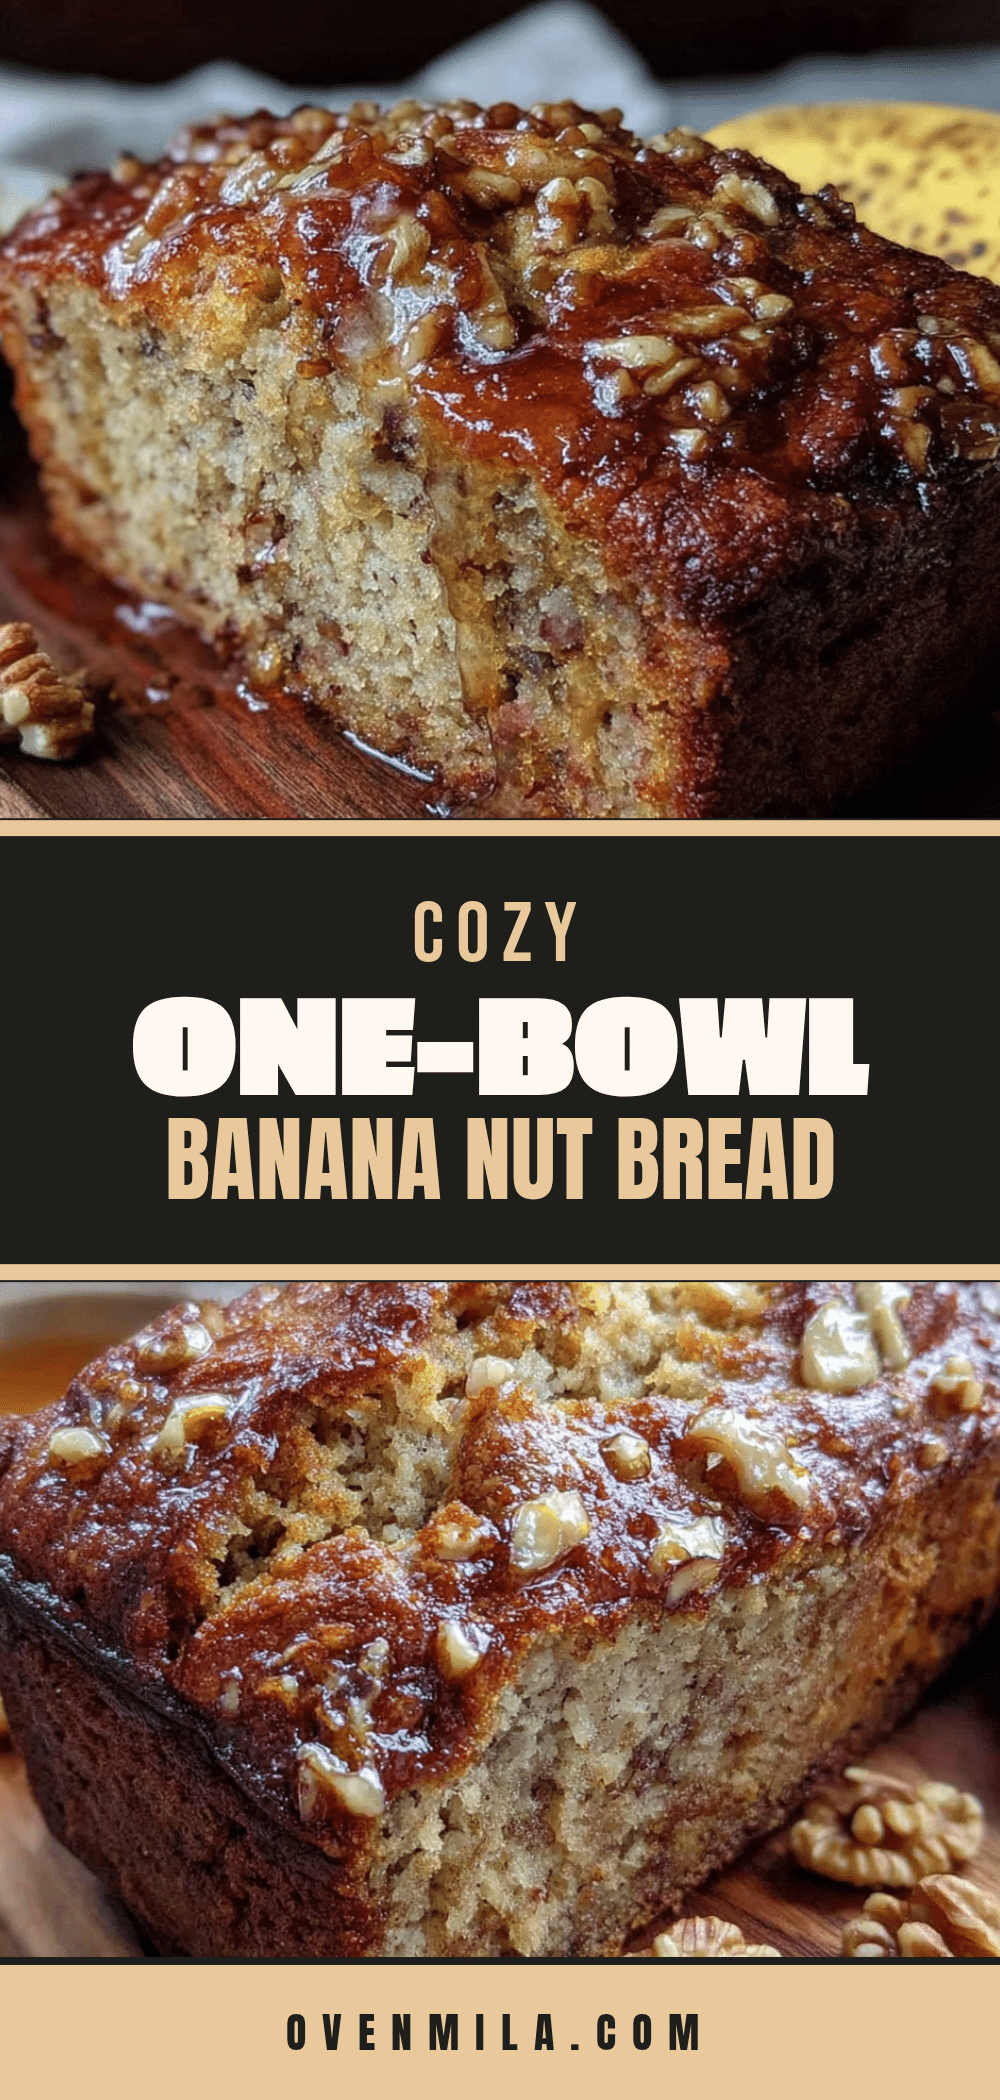
Cozy One-Bowl Banana Nut Bread
This one-bowl banana nut bread is moist, tender, and full of nutty flavor from toasted walnuts. It’s quick, easy, and uses simple ingredients for a comforting treat.
- Prep Time: 15 minutes
- Cook Time: 50 minutes
- Total Time: 1 hour 5 minutes
- Yield: 10 servings 1x
- Category: Dessert
- Cuisine: American
Ingredients
- 1/2 cup (113g) unsalted butter, melted
- 3/4 cup (150g) granulated sugar
- 2 large eggs, room temperature
- 3 very ripe bananas, mashed (about 1 1/2 cups / 340g)
- 1 teaspoon vanilla extract
- 1 1/2 cups (190g) all-purpose flour
- 1 teaspoon baking soda
- 1/2 teaspoon salt
- 1/2 cup (60g) chopped walnuts, toasted
Instructions
- Preheat oven to 350°F (175°C). Line a 9×5-inch loaf pan with parchment paper, leaving an overhang on the two long sides.
- In a large mixing bowl, mash the bananas with a fork or potato masher until mostly smooth with a few small lumps.
- Pour the melted butter over the mashed bananas and stir until combined.
- Add the granulated sugar and stir vigorously for about 30 seconds until glossy and slightly thickened.
- Add the eggs and vanilla extract, whisk until fully incorporated and the batter is smooth and pale yellow.
- Sprinkle the flour, baking soda, and salt evenly over the wet mixture. Fold gently with a rubber spatula or wooden spoon until just combined (a few small lumps are fine).
- Fold in the toasted walnuts with a few strokes.
- Pour the batter into the prepared loaf pan and spread evenly.
- Bake for 45-55 minutes, until a toothpick inserted in the center comes out clean or with a few moist crumbs. If browning too quickly, tent with foil after 30 minutes.
- Cool in the pan on a wire rack for 10 minutes, then lift out using the parchment paper and cool completely (about 1 hour) before slicing.
Notes
For best results, use very ripe bananas (heavily speckled or black). Toast walnuts in a dry skillet over medium heat for 3-4 minutes until fragrant. Do not overmix the batter to avoid a tough loaf. Let the bread cool completely before slicing for best texture.
Nutrition
- Serving Size: 1 slice
- Calories: 285
- Sugar: 19
- Sodium: 260
- Fat: 13
- Saturated Fat: 6
- Carbohydrates: 38
- Fiber: 2
- Protein: 5
Keywords: banana bread, one-bowl banana bread, banana nut bread, easy banana bread, moist banana bread


