My sister asked why I couldn’t just melt white chocolate chips and stir in some cookie butter. I started to explain why that wouldn’t work—then stopped. Honestly, I had no good reason. I’d been testing sugar cookie fudge recipes for weeks, each one more complicated than the last with butter and sugar and heavy cream and a candy thermometer that I kept dropping in the sink. She was visiting for the weekend and watching me scrape another failed batch into the trash. She just shrugged and said, “Seems like you’re making it harder than it needs to be.”
That stung a little, not gonna lie. I’ve been developing recipes professionally for over a decade, and here she was, a woman who burns toast with alarming regularity, suggesting I simplify my approach. But I was tired. It was a rainy Saturday in November, and I’d already ruined two pounds of white chocolate. So I grabbed the bag of Ghirardelli white melting wafers I keep in the pantry for emergencies, a jar of Biscoff cookie butter I’d been hoarding, and a container of rainbow sprinkles that had been sitting in my baking cabinet since last summer. I figured I’d prove her wrong and then we’d laugh about it.
Three minutes later, I was staring at the smoothest, most perfect fudge I’d ever made. It set up in the fridge in under an hour. My sister didn’t say a word—just raised an eyebrow and helped herself to a piece. Then another. Then she wrapped up half the pan to take home. That was three years ago, and I’ve never made sugar cookie fudge any other way since. It’s the recipe that taught me something I should have already known: sometimes the best version of a thing is the simplest one. And maybe you’ve been there too, overcomplicating a recipe when the answer was right in front of you the whole time.
Why You’ll Love This Recipe
This easy sugar cookie fudge is the kind of recipe that makes you look like a kitchen hero with almost zero effort. I’ve tested it for three holiday seasons straight, brought it to cookie exchanges, mailed it to friends across the country, and it works perfectly every single time.
- Only Three Ingredients: White chocolate, cookie butter, and sprinkles. That’s it. No condensed milk, no butter, no sugar boiling on the stove.
- Ready in Under 10 Minutes: From start to fridge takes less time than watching one episode of your favorite show. Perfect for those nights when you realize you need a gift or a potluck contribution fast.
- No Candy Thermometer Required: I cannot stress this enough. No tempering chocolate, no soft-ball stage, no guessing games. Just melt, stir, and chill.
- Perfect for Gifting: This fudge travels beautifully, stacks neatly in tins, and stays fresh for over a week. It’s my go-to for teacher gifts and neighbor drop-offs.
- Completely Foolproof: I’ve made this with different brands of white chocolate, different types of cookie butter, even accidentally left it on the counter overnight. It still sets up beautifully.
- That Sugar Cookie Flavor: The cookie butter gives it that unmistakable warm, spiced sweetness that tastes exactly like a soft sugar cookie in fudge form.
This isn’t just another fudge recipe—it’s the one that made me stop overthinking. The texture is creamy and dense, not grainy or greasy like some microwave fudges can be. And when you bite into it, those sprinkles add just the right little crunch. It’s the kind of treat that makes people close their eyes after the first bite, then immediately ask for the recipe.
What Ingredients You Will Need
This recipe uses three simple ingredients, but each one plays a specific role in creating that perfect sugar cookie fudge texture and flavor. I’ve tested this with various brands and substitutions, so I’ll share what works best based on my experience.
- White Melting Wafers or White Chocolate Chips (12 ounces): This is the base of your fudge, so quality matters here. I prefer Ghirardelli white melting wafers for the smoothest melt and creamiest texture. White chocolate chips from brands like Nestlé or Toll House work too, but they contain stabilizers that can make the fudge slightly thicker. If you use chips, add one teaspoon of coconut oil or vegetable shortening to help them melt smoothly. Look for white chocolate that contains cocoa butter for the best flavor—some cheaper white chocolates use palm oil and taste waxy.
- Cookie Butter or Speculoos Spread (½ cup): This is what gives the fudge its sugar cookie flavor. Biscoff cookie butter is my favorite—it has that warm, caramelized spice blend that tastes exactly like a baked sugar cookie. Trader Joe’s cookie butter works beautifully too. You want the creamy version, not crunchy, for the smoothest fudge texture. If you can’t find cookie butter, you can substitute with melted vanilla caramel or even a mix of melted white chocolate with ¼ teaspoon of cinnamon and ¼ teaspoon of vanilla extract, but honestly, the cookie butter really makes this recipe special.
- Rainbow Sprinkles or Jimmies (⅓ cup, plus more for topping): Sprinkles add that classic sugar cookie look and a little pop of texture. Use rainbow jimmies (the long, rod-shaped sprinkles) rather than nonpareils (the tiny round balls), because nonpareils can bleed their color into the white fudge and turn it muddy. I’ve made that mistake, and it’s not pretty. You can also use holiday-themed sprinkles for Christmas, Valentine’s Day, or Easter. Just avoid the sprinkle mixes that contain large candy pieces, as they can make cutting the fudge difficult.
That’s truly all you need. No butter, no sugar, no condensed milk, no vanilla extract. The cookie butter provides both the flavor and the sweetness, while the white chocolate gives the fudge its structure and creamy mouthfeel. I keep a jar of cookie butter in my pantry specifically for this recipe now—it’s become a year-round staple in my house.
Equipment Needed
You don’t need much for this recipe, which is part of why I love it so much on busy weeknights or during the holiday chaos.
- Microwave-Safe Mixing Bowl: A medium-sized glass or ceramic bowl works best. I use a Pyrex 4-cup measuring cup because the spout makes pouring easier, but any microwave-safe bowl will do.
- 8×8-Inch Baking Pan: This gives you the perfect thickness for fudge—not too thin, not too thick. If you only have a 9×9 pan, your fudge will be slightly thinner, which is fine, just reduce the chill time a little. Line it with parchment paper for easy removal.
- Parchment Paper or Aluminum Foil: Line your pan so the fudge lifts out in one clean piece. Leave some overhang on two sides for handles.
- Silicone Spatula: For stirring the melted chocolate and spreading the fudge evenly. A rubber spatula works too, just make sure it’s heat-safe.
- Sharp Knife: For cutting the fudge into clean squares. A chef’s knife or a long serrated knife works well. Run it under hot water and dry it between cuts for the cleanest edges.
That’s it. No double boiler, no candy thermometer, no stand mixer. If you’ve got a microwave and a fridge, you’re ready to go. I’ve made this in my sister’s tiny apartment kitchen with a warped baking sheet and a butter knife, and it still came out perfect.
Preparation Method
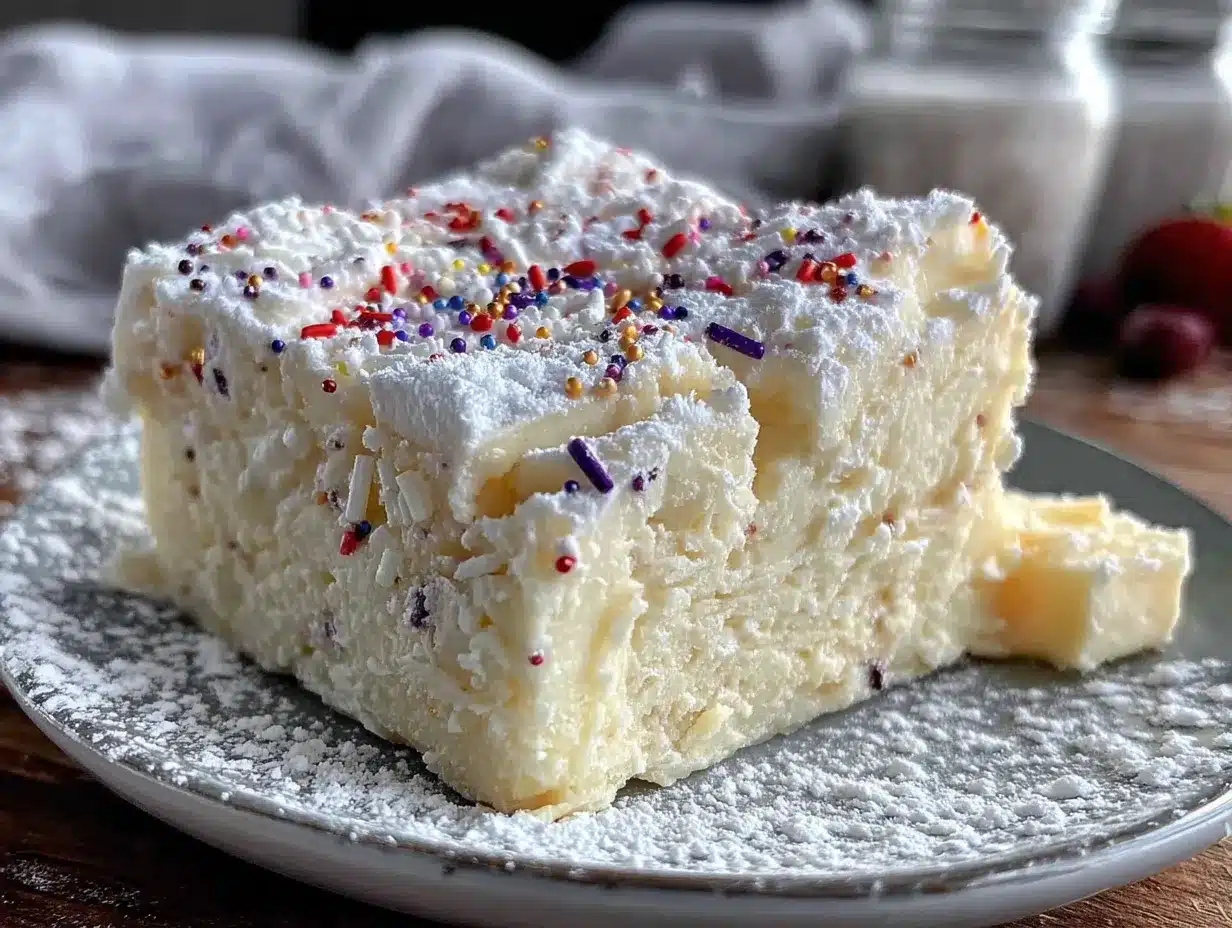
This comes together fast, so I recommend having all your ingredients measured and your pan lined before you start. Trust me on this—melted white chocolate waits for no one.
- Line your 8×8 pan with parchment paper. Cut a piece of parchment long enough to overhang on two opposite sides. This creates handles that let you lift the fudge out cleanly. Press the parchment into the corners of the pan. If it curls up, you can use a tiny dab of butter or a piece of tape on the outside to hold it in place.
- Pour the white melting wafers into your microwave-safe bowl. If you’re using white chocolate chips instead of wafers, add one teaspoon of coconut oil or vegetable shortening to help them melt smoothly. Spread them in an even layer so they melt evenly.
- Microwave in 30-second intervals at 50% power. I cannot emphasize this enough—low and slow is the way to go. Full power can scorch white chocolate in seconds, and scorched white chocolate turns grainy and unusable. After each 30-second interval, stir thoroughly with your silicone spatula. The residual heat will continue melting the wafers. It usually takes me about 2 to 3 intervals total.
- When the white chocolate is about 75% melted, stop microwaving. Keep stirring until the remaining solid pieces melt completely from the heat of the bowl. The mixture should be smooth, glossy, and completely lump-free. If you see any streaks or lumps, give it one more 15-second burst at 50% power.
- Add the cookie butter to the melted white chocolate. Spoon in the full ½ cup. Stir gently but thoroughly until the cookie butter is completely incorporated. The mixture will look slightly thicker and take on a warm, beige color. Stir until you don’t see any streaks of white or brown—it should be a uniform pale caramel shade.
- Fold in the sprinkles. Add ⅓ cup of rainbow jimmies and stir just until they’re evenly distributed. Don’t overmix here, or the sprinkles might start to bleed their color. You want distinct little pops of color throughout the fudge.
- Pour the fudge mixture into your prepared pan. Use your spatula to spread it into an even layer, pushing it into the corners. The mixture will be thick and slightly tacky, so take your time. Don’t worry if it looks a little uneven—it will settle as it chills.
- Add the topping sprinkles immediately. Sprinkle the remaining tablespoon or two of sprinkles over the top while the fudge is still warm. Press them in very gently with your fingertips so they stick. If you wait until the fudge sets, the sprinkles will just roll off.
- Refrigerate for at least 1 hour, or until firm. The fudge should feel solid to the touch and pull away from the edges of the parchment slightly. Don’t rush this step—warm fudge will not cut cleanly and will be a sticky mess.
- Lift the fudge out of the pan using the parchment handles. Place it on a cutting board. Use a sharp knife to cut it into 1-inch squares. For the cleanest cuts, run your knife under hot water, dry it off, then slice. Wipe the blade clean between each cut.
Your fudge should be creamy, dense, and perfectly sliceable. If it’s too soft to cut cleanly, pop it back in the fridge for another 30 minutes. If it’s too hard straight from the fridge, let it sit at room temperature for 5 minutes before cutting.
Cooking Tips & Techniques
I’ve made this easy sugar cookie fudge at least two dozen times, and I’ve learned a few things the hard way so you don’t have to.
White chocolate is temperamental. It scorches at a much lower temperature than dark or milk chocolate, so microwaving at full power is a recipe for disaster. I learned this the first time I made this recipe—I walked away for 45 seconds and came back to a bowl of grainy, burnt-smelling goop. Stick to 50% power and 30-second intervals. Your patience will be rewarded with silky-smooth fudge.
Don’t skip the parchment paper. I know it’s tempting to just grease the pan and hope for the best, but parchment makes removal so much easier. I’ve had fudge that I had to chip out of the pan with a butter knife, and it was not a good look. The overhanging edges are your friend.
Room temperature ingredients matter. If your cookie butter has been sitting in a cold pantry, it can seize the white chocolate when you stir it in. Let your cookie butter sit on the counter for 20 minutes before you start. Same goes for your sprinkles—if they’re cold, they can create little temperature spots in the fudge.
Watch your sprinkle placement. I once used a sprinkle blend that had those little silver dragées in it, and they were impossible to cut through. The knife kept slipping, and the fudge looked like it had been attacked by a tiny jackhammer. Stick to soft sprinkles like jimmies or sanding sugar.
Multitask strategically. While your fudge is chilling in the fridge, clean up your dishes. The melted white chocolate can be stubborn once it hardens, so wash your bowl and spatula while they’re still warm. Hot water and a little dish soap will get them clean in seconds.
Variations & Adaptations
One of the best things about this recipe is how easily it adapts to different holidays, dietary needs, and flavor preferences. Here are some variations I’ve tried and loved.
Holiday Theme Variations: Swap the rainbow sprinkles for red and green for Christmas, pink and red for Valentine’s Day, pastels for Easter, or orange and black for Halloween. The fudge itself stays exactly the same—just change the sprinkle colors to match the occasion. I made a batch with red and green sprinkles last Christmas and brought it to my neighbor’s cookie swap, and it was gone in twenty minutes.
Chocolate Sugar Cookie Fudge: Use 12 ounces of milk chocolate melting wafers instead of white chocolate, and reduce the cookie butter to ¼ cup. The chocolate flavor is more prominent, but you still get that warm cookie butter undertone. Top with chocolate jimmies or crushed gingerbread cookies. This version is a little richer and less sweet than the original.
Vegan Version: Use dairy-free white chocolate chips or melting wafers (Enjoy Life makes a good one) and a vegan cookie butter. Most cookie butters are naturally vegan, but double-check the label. The texture will be slightly different—dairy-free white chocolate tends to be a bit softer—so you may need to chill the fudge for an extra 30 minutes.
Gluten-Free Variation: This recipe is naturally gluten-free as long as you use certified gluten-free sprinkles. Some sprinkles contain wheat starch, so check the label if you’re serving someone with celiac disease. Cookie butter is typically gluten-free, but again, always verify.
Peppermint Sugar Cookie Fudge: Add ½ teaspoon of peppermint extract along with the cookie butter, and top with crushed candy canes instead of sprinkles. This is my favorite Christmas variation—it tastes like a sugar cookie and a peppermint bark had a baby. Just crush the candy canes in a zip-top bag with a rolling pin before sprinkling them on top.
Serving & Storage Suggestions
This fudge is best served cold or at room temperature, depending on your preference. Straight from the fridge, it has a firm, dense texture that’s satisfyingly chewy. At room temperature, it softens slightly and becomes almost creamy. I personally prefer it cold, especially in warmer months, but my husband likes it at room temperature. We compromise by keeping the pan in the fridge and letting individual pieces sit out for five minutes before eating.
For gifting: Cut the fudge into 1-inch squares and layer them in a decorative tin or gift box, separated by sheets of parchment paper or wax paper. It makes an impressive hostess gift or teacher appreciation treat. I like to package it in a clear cellophane bag tied with a ribbon and a handwritten tag.
Storage: Store the fudge in an airtight container in the refrigerator for up to 2 weeks. Layer it between sheets of parchment paper to prevent the pieces from sticking together. The fudge also freezes beautifully—wrap the whole slab or individual pieces tightly in plastic wrap, then in aluminum foil, and freeze for up to 3 months. Thaw in the refrigerator overnight before serving.
Reheating: You don’t really need to reheat fudge, but if you want that just-made softness, let it sit at room temperature for 10 to 15 minutes before serving. If you’ve frozen it, thaw it in the fridge first, then let it come to room temperature for the best texture.
Flavor development: The flavor of this fudge actually improves after a day or two in the fridge. The cookie butter flavor melds with the white chocolate, and the texture becomes more uniform. So if you’re making this for a party, make it a day ahead—your future self will thank you.
Nutritional Information & Benefits
Let’s be real—this is a treat, not a health food. But that doesn’t mean it can’t fit into a balanced lifestyle. Here’s the approximate nutritional breakdown per 1-inch square (based on 36 squares per batch):
- Calories: 110
- Fat: 6g
- Carbohydrates: 13g
- Sugar: 11g
- Protein: 1g
- Sodium: 25mg
Health highlights: White chocolate contains calcium and a small amount of iron. Cookie butter provides a bit of fiber from the spices and grains used in the speculoos cookies. Sprinkles are essentially pure sugar and food coloring, but they bring joy, and that counts for something in my book.
Dietary considerations: This recipe is vegetarian and can be made gluten-free and vegan with the substitutions mentioned above. It contains dairy and soy (from the white chocolate) and potential traces of nuts depending on the brands you use. Always check labels if you’re serving someone with allergies.
My personal take: I believe in enjoying treats in moderation. This fudge is rich and satisfying, so one or two squares is usually enough to hit that sweet craving. I make it for special occasions and holidays, not for everyday snacking. And honestly, knowing exactly what’s in it—just three simple ingredients—makes me feel better about indulging than I do with store-bought candy.
Conclusion
This easy sugar cookie fudge has become my most-requested recipe for a reason. It’s simple enough to make on a busy Tuesday night, impressive enough to bring to any holiday gathering, and delicious enough that people genuinely can’t believe it only has three ingredients. Every time I make it, I think about that rainy Saturday when my sister called me out for overcomplicating things. She was right, and I’m glad she was.
I hope you’ll try this recipe and make it your own—swap in different sprinkles, experiment with flavors, or keep it exactly as written. Either way, I’d love to hear how it turns out. Drop a comment below and let me know what variations you tried, or tag me in your photos on social media. There’s something special about knowing this little recipe is bringing a little sweetness to your kitchen too. Happy cooking, and don’t forget to save a piece for yourself before you gift the rest away!
Frequently Asked Questions
Can I use almond bark instead of white chocolate chips?
Yes, almond bark works great in this recipe. It’s designed for melting and sets up firmly, so it’s actually a good substitute. Use 12 ounces of vanilla almond bark in place of the white chocolate wafers. The flavor will be slightly less rich, but the texture will be excellent.
My fudge turned out grainy. What went wrong?
Grainy fudge usually means the white chocolate got too hot or was heated too quickly. White chocolate is sensitive to high heat and can seize or scorch easily. Next time, microwave at 50% power and stop when the wafers are about 75% melted—stir until the residual heat melts the rest. If your fudge is already grainy, you can try remelting it with a tablespoon of heavy cream or coconut oil, but honestly, it’s usually better to start fresh.
Can I make this without a microwave?
Absolutely. Use a double boiler or a heatproof bowl set over a pot of simmering water. Make sure the bowl doesn’t touch the water. Stir the white chocolate constantly until it’s melted, then proceed with the recipe. It takes a few minutes longer, but the results are just as good.
How do I get clean cuts on my fudge?
Use a sharp chef’s knife and run it under hot water before each cut. Dry the blade with a clean towel, then slice through the fudge with one smooth motion. Wipe the blade clean and reheat it between each cut. This prevents the fudge from cracking or crumbling and gives you those beautiful, bakery-style edges.
Can I use crunchy cookie butter instead of creamy?
You can, but the texture will be different. The crunchy bits in the cookie butter will add little cookie pieces throughout the fudge, which some people love. Just be aware that the fudge may be slightly harder to cut cleanly, and the texture won’t be as smooth. If you’re making this for a gift or a fancy occasion, I’d stick with creamy cookie butter.
Pin This Recipe!
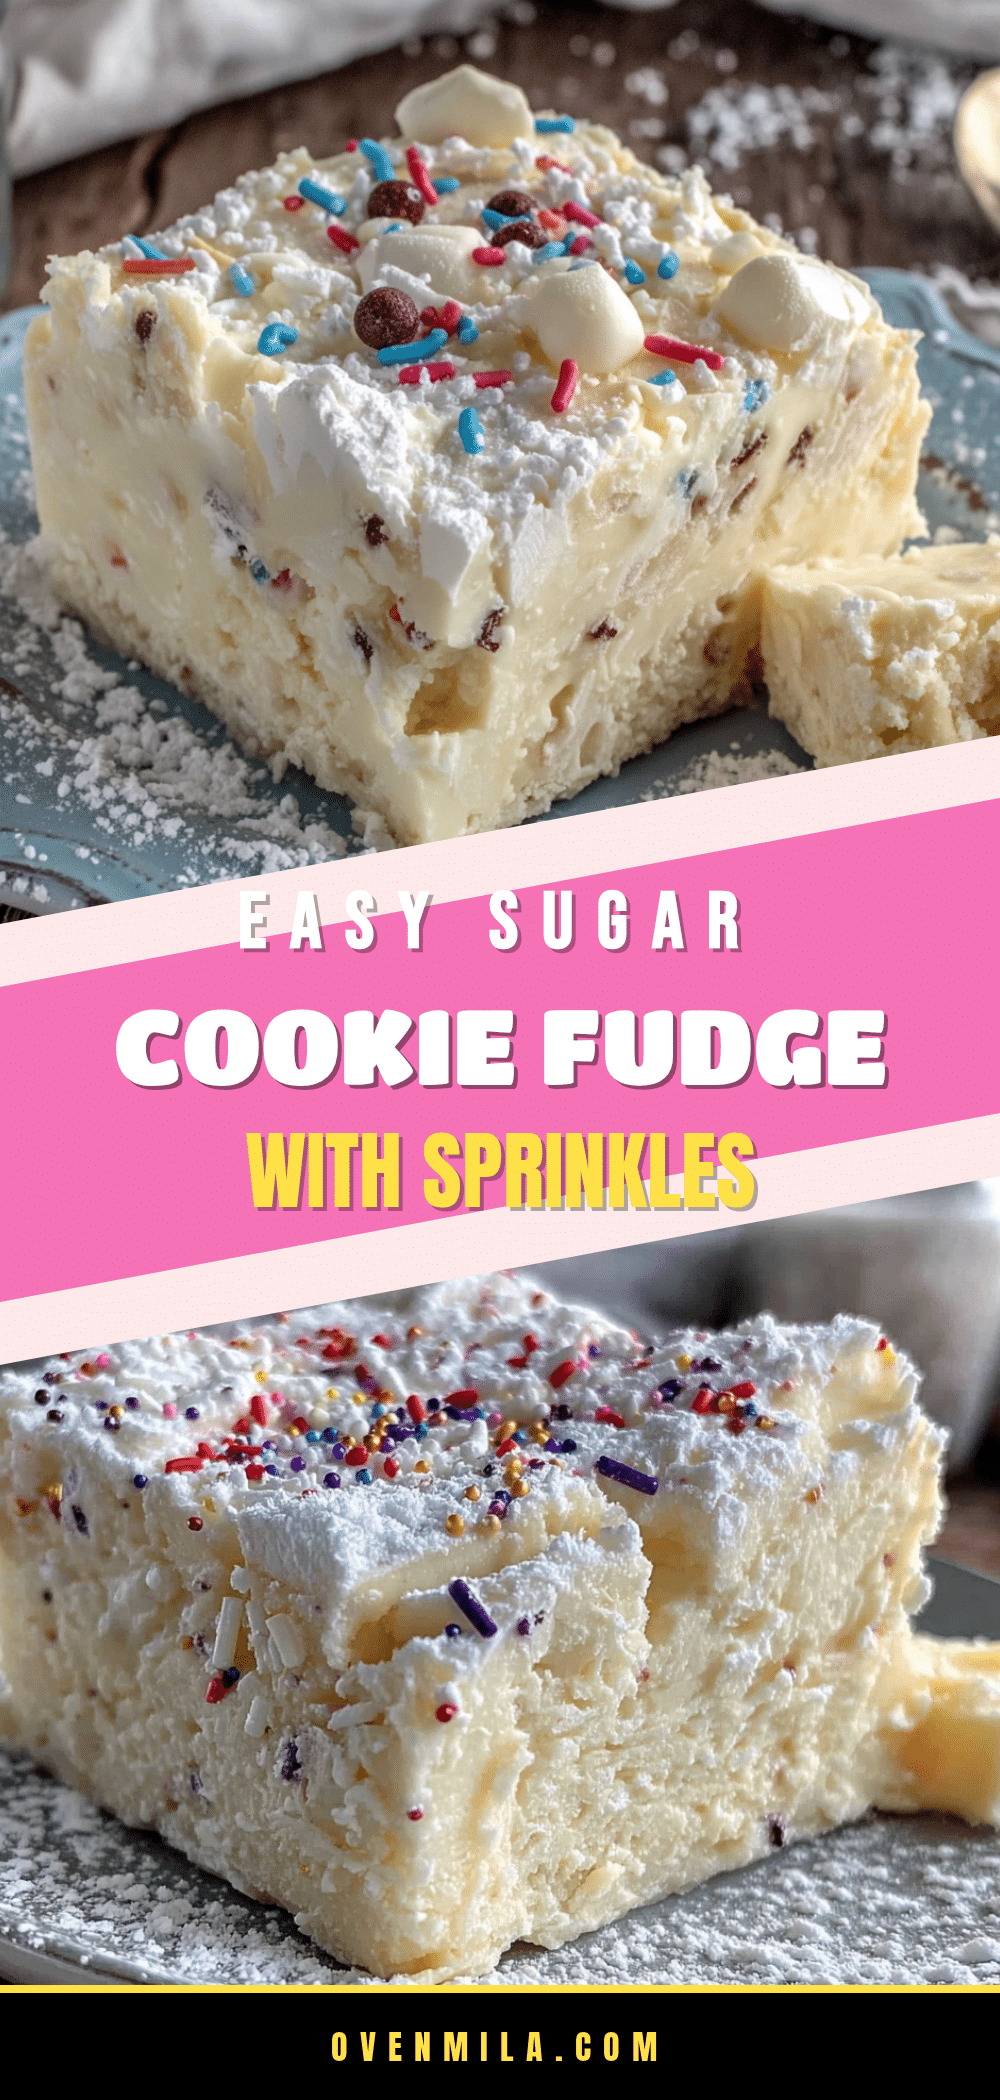
Easy Sugar Cookie Fudge: Best 3-Ingredient Holiday Treat

This easy sugar cookie fudge is made with just three ingredients—white chocolate, cookie butter, and sprinkles—and comes together in under 10 minutes. It’s creamy, dense, and perfectly sliceable, making it an ideal last-minute holiday treat or gift.
- Prep Time: 10 minutes
- Cook Time: 0 minutes
- Total Time: 1 hour 10 minutes
- Yield: 36 servings 1x
- Category: Dessert
- Cuisine: American
Ingredients
- 12 ounces white melting wafers or white chocolate chips
- 1/2 cup cookie butter or speculoos spread (creamy)
- 1/3 cup rainbow sprinkles or jimmies, plus more for topping
Instructions
- Line an 8×8-inch baking pan with parchment paper, leaving overhang on two opposite sides.
- Pour the white melting wafers into a microwave-safe bowl. If using white chocolate chips, add 1 teaspoon of coconut oil or vegetable shortening.
- Microwave in 30-second intervals at 50% power, stirring after each interval, until about 75% melted. Continue stirring until completely smooth.
- Add the cookie butter to the melted white chocolate and stir until fully incorporated and uniform in color.
- Fold in 1/3 cup of rainbow sprinkles until evenly distributed.
- Pour the fudge mixture into the prepared pan and spread into an even layer.
- Immediately sprinkle additional sprinkles on top and press gently to adhere.
- Refrigerate for at least 1 hour, or until firm.
- Lift the fudge out of the pan using the parchment handles and place on a cutting board.
- Cut into 1-inch squares using a sharp knife. For clean cuts, run the knife under hot water and dry it between cuts.
Notes
White chocolate is temperamental; microwave at 50% power to avoid scorching. Use room temperature cookie butter to prevent seizing. For clean cuts, run the knife under hot water and dry between cuts. The fudge can be stored in an airtight container in the refrigerator for up to 2 weeks or frozen for up to 3 months.
Nutrition
- Serving Size: 1 square
- Calories: 110
- Sugar: 11
- Sodium: 25
- Fat: 6
- Saturated Fat: 3.5
- Carbohydrates: 13
- Protein: 1
Keywords: sugar cookie fudge, 3-ingredient fudge, easy fudge, holiday fudge, white chocolate fudge, cookie butter fudge, no-bake fudge


