Three times in five days, I found myself in my kitchen, flour-dusted hands wrestling with the same cookie dough. The first batch was a hopeful experiment; the second, a near-perfect comfort; by the third, I was convinced I’d stumbled onto a soft chewy chocolate chip cookie that could actually survive the chaos of back-to-school mornings without losing its charm. There’s something oddly addictive about the way these cookies come out—edges just set, centers begging to be stretched, and chocolate chips that melt into little pools of happiness. The smell alone, that warm vanilla and brown sugar scent, starts pulling me back before the timer even dings.
It wasn’t just the craving for cookies—it was the texture shifts I chased. I tweaked the butter temperature, swapped some brown sugar for white, and fiddled with baking time. Honestly, I went down the rabbit hole because I wanted a cookie that held up to lunchbox jostling yet stayed tender enough to practically melt in your mouth. The real kicker? These cookies don’t just feel like a sweet treat; they’re a tiny pause button on hectic mornings, a shared secret between me and the kids before the school bell rings.
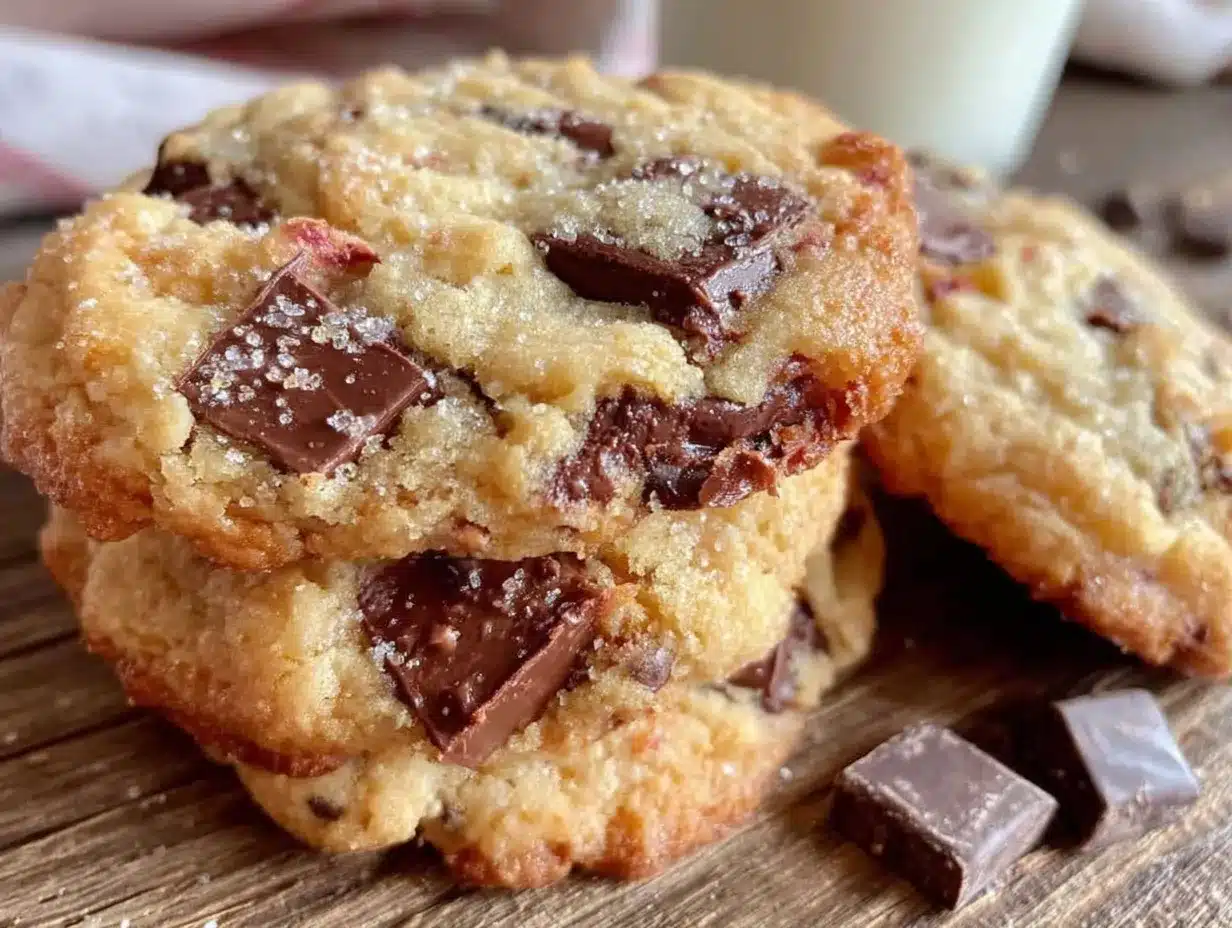
After that third batch, I finally got it right. Soft, chewy, just the right thickness, with chocolate chips that sneak out in every bite. It’s a cozy little recipe that stuck with me—not just because it’s good, but because it feels like a small victory each time I pull a tray from the oven.
So here’s the thing: these soft chewy back-to-school chocolate chip cookies aren’t just cookies. They’re a little ritual, a warm breath of calm before the whirlwind. And honestly? That’s why they matter so much.
Why You’ll Love This Recipe
Having tested countless chocolate chip cookie recipes over the years (some disasters, many hits), this one stands out for reasons that go beyond just flavor. It’s a back-to-school staple that’s been through the real-world test: rushed mornings, eager little hands, and snack cravings that strike at all hours.
- Quick & Easy: You can have these cookies ready in under 30 minutes, making them perfect for those last-minute lunchbox additions or after-school snacks.
- Simple Ingredients: No need to hunt down fancy components—everything is likely already in your pantry, from basic flour to classic semi-sweet chocolate chips.
- Perfect for Back-to-School: These cookies hold up well, staying soft in lunchboxes while still tasting fresh and indulgent.
- Crowd-Pleaser: Tried and approved by my entire family, including picky eaters who usually turn their noses up at homemade treats.
- Unbelievably Delicious: The combination of melty chocolate, buttery dough, and that perfect chewy texture makes them feel like a little hug in cookie form.
What sets this recipe apart? It’s the careful balance of ingredients and the baking technique that locks in softness without sacrificing structure. For example, using a mix of brown and white sugar creates the right chewiness, while slightly underbaking ensures the center stays tender. Plus, the method of chilling the dough briefly (but not too long!) is something I learned after many trials—trust me, it’s worth it.
Honestly, these cookies feel like the kind that make you close your eyes and savor the moment, which is a rare win in the frenzy of back-to-school season. They’re not just a recipe; they’re a little daily celebration.
What Ingredients You Will Need
This recipe uses simple, wholesome ingredients to deliver bold flavor and that satisfying soft chewy texture without any fuss. Most are pantry staples, so you won’t be scrambling to make a special grocery run right before school starts.
- Butter: 1 cup (227g) unsalted butter, softened (room temperature but not melted; this adds richness and helps with texture)
- Sugars: ¾ cup (150g) light brown sugar, packed (for chewiness and that deep caramel note)
- ½ cup (100g) granulated white sugar (balances the sweetness and crisp edges)
- Eggs: 2 large eggs, room temperature (helps with moisture and binding)
- Vanilla Extract: 2 teaspoons (real vanilla adds warmth and depth)
- Flour: 2 ¼ cups (280g) all-purpose flour (I recommend King Arthur for consistent results)
- Baking Soda: 1 teaspoon (for just enough lift)
- Salt: ½ teaspoon fine sea salt (balances sweetness and enhances flavor)
- Chocolate Chips: 2 cups (340g) semi-sweet chocolate chips (I prefer Ghirardelli for rich flavor and melting quality)
Optional: For a fun twist, swap in ½ cup chopped walnuts or pecans for a bit of crunch, or use dairy-free chocolate chips if needed.
Seasonal note: In the fall, swapping half the chocolate chips for butterscotch chips adds a cozy touch that pairs perfectly with back-to-school vibes.
Equipment Needed
- Mixing Bowls: One large for wet ingredients and one medium for dry ingredients—glass or stainless steel works great.
- Electric Mixer or Stand Mixer: Helpful for creaming butter and sugar, but a sturdy whisk and a bit of elbow grease can do the job too.
- Measuring Cups and Spoons: Accurate measurements make all the difference, especially with baking soda and salt.
- Baking Sheets: Heavy-duty, rimmed baking sheets to prevent spreading are ideal; you can line them with parchment paper or a silicone baking mat.
- Cooling Rack: To let cookies cool evenly and avoid sogginess.
Tip from my experience: a silicone baking mat is a game-changer for even baking and cleanup. If you don’t have one, parchment paper works just fine. Avoid greasing the pan to keep the cookies’ edges crisp yet soft inside.
Preparation Method
- Prep the Ingredients (5 minutes): Take the butter and eggs out of the fridge to warm to room temperature. Measure all your ingredients precisely. Preheat your oven to 350°F (175°C).
- Cream Butter and Sugars (3-5 minutes): In a large bowl, beat the softened butter with brown and white sugars until the mixture is pale and fluffy. This step traps air, which helps with the cookie’s texture.
- Add Eggs and Vanilla (2 minutes): Beat in the eggs one at a time, making sure each is fully incorporated before adding the next. Then stir in the vanilla extract.
- Combine Dry Ingredients (2 minutes): In a separate bowl, whisk together flour, baking soda, and salt. This ensures even distribution of the leavening agent and salt.
- Mix Dry into Wet (1-2 minutes): Gradually add the dry ingredients to the wet mixture, folding gently until just combined. Avoid overmixing, or the cookies can turn tough.
- Fold in Chocolate Chips (1 minute): Use a spatula to fold in the chocolate chips evenly throughout the dough.
- Chill the Dough (Optional, 30 minutes): Cover the dough and chill it briefly. This step is optional but helps reduce spreading during baking. I found that 30 minutes is the sweet spot—any longer and the dough gets too stiff.
- Scoop and Bake (10-12 minutes per batch): Use a cookie scoop or tablespoon to portion dough onto lined baking sheets, spacing about 2 inches (5 cm) apart. Bake for 10-12 minutes until edges are set but centers look soft and slightly underbaked.
- Cool Cookies (10 minutes): Let cookies cool on the baking sheet for 5 minutes before transferring to a wire rack. They continue to firm up as they cool but stay chewy inside.
Note: If your cookies flatten too much, your butter might be too warm or the dough needs chilling. If too cakey, next time reduce flour by a tablespoon or bake a minute less.
Cooking Tips & Techniques
Here’s what I learned after baking (and eating) dozens of cookie batches:
- Butter Temperature Matters: Softened butter is key. Too warm and your cookies spread too thin; too cold and the dough won’t mix properly. I usually soften butter by leaving it out for about 30 minutes or microwaving in 5-second bursts.
- Brown Sugar for Chewiness: The molasses in brown sugar holds onto moisture better than white sugar, which keeps cookies soft. Mixing both sugars creates a balanced texture.
- Don’t Overmix: Once you add flour, mix just until combined. Overworking flour develops gluten, which makes cookies tough instead of tender.
- Chill the Dough Briefly: I tried chilling overnight but found it made the dough too stiff and the cookies denser. A short chill keeps dough manageable and improves texture.
- Watch the Bake Time: Pull cookies out when edges are set but centers still look a bit underdone. They’ll firm up on the sheet, and that’s how you get that perfect chew.
These tips took me from crumbly failures to reliably soft and chewy cookies every time. And honestly, they’re worth remembering when your kitchen feels like a cookie battleground.
Variations & Adaptations
You can easily switch up this recipe to suit your taste or dietary needs without losing that soft, chewy magic:
- Gluten-Free: Substitute all-purpose flour with a gluten-free baking blend like Bob’s Red Mill 1-to-1. The texture might be slightly different but still delicious.
- Vegan Version: Use plant-based butter and replace eggs with flax eggs (1 tablespoon ground flaxseed + 3 tablespoons water per egg). Also, choose dairy-free chocolate chips.
- Flavor Twists: Add a teaspoon of cinnamon or espresso powder to deepen the flavor. For a seasonal spin, swap half the chocolate chips for dried cranberries or butterscotch chips.
- Nutty Crunch: Fold in chopped toasted walnuts, pecans, or even a sprinkle of sea salt on top before baking for a sweet-salty kick.
Personally, I tried adding a handful of rolled oats once, which gave a rustic chewiness, perfect for a snack that feels a bit more wholesome. It’s a nice way to sneak in some fiber without losing cookie soul.
Serving & Storage Suggestions
These soft chewy back-to-school chocolate chip cookies are best enjoyed fresh but also store well:
- Serving: Serve at room temperature so the chocolate chips are melty but not gooey. Pair with a cold glass of milk or a warm cup of coffee for grown-ups.
- Storage: Store cookies in an airtight container at room temperature for up to 4 days. Place a slice of bread in the container to keep them soft (the bread helps maintain moisture).
- Freezing: Freeze baked cookies in a single layer on a baking sheet, then transfer to a freezer-safe bag for up to 3 months. Thaw at room temperature before serving.
- Reheating: Warm cookies in the microwave for 10-15 seconds or in a 300°F (150°C) oven for 5 minutes to bring back softness and melty chocolate.
- Flavor Development: These cookies hold their flavor well, but if kept too long, the chocolate chips can harden. Best to enjoy within a couple of days for that fresh-baked feel.
If you want to balance a sweet lunchbox, these cookies pair nicely with fresh fruit or a savory snack like crunchy kale chips. For ideas on wholesome sides, my fresh quinoa salad with roasted edamame is a great complement.
Nutritional Information & Benefits
Estimated per cookie (based on 24 cookies per batch): approximately 180 calories, 9g fat, 25g carbohydrates, 2g protein.
This recipe delivers a comforting treat, and while it’s an indulgence, the use of real butter and quality chocolate chips means you’re enjoying wholesome ingredients without artificial additives.
For those mindful of allergens, note that this recipe contains gluten, dairy, and eggs, but as mentioned, easy substitutions for gluten-free or vegan diets are possible.
From a wellness standpoint, cookies like these can be a small joy in busy routines, especially during the hectic back-to-school period. Sometimes, a soft chewy chocolate chip cookie is just the little boost everyone needs.
Conclusion
Soft chewy back-to-school chocolate chip cookies have become a staple in my kitchen, not just because they taste amazing, but because they hold up to the real-life hustle of school mornings. They’re forgiving, easy to whip up, and above all, satisfy that universal cookie craving with a tender, chewy bite.
Feel free to tweak the recipe—add nuts, swap sugars, or try a vegan version. The key is finding your perfect cookie rhythm, one batch at a time.
These cookies remind me that simple moments—sharing a warm cookie before the school rush—can make a big difference. I hope they bring a little calm and sweetness to your day too.
Frequently Asked Questions
How do I keep my chocolate chip cookies soft?
Use a combination of brown and white sugar, slightly underbake the cookies, and store them in an airtight container with a slice of bread to retain moisture.
Can I freeze the cookie dough?
Yes! Scoop the dough onto a baking sheet, freeze until firm, then transfer to a bag. Bake from frozen, adding a couple of minutes to the baking time.
What’s the best way to measure flour for cookies?
Fluff the flour, spoon it into your measuring cup, and level off with a knife. Avoid scooping directly from the bag to prevent packing, which can make dough dry.
Can I use different types of chocolate?
Absolutely. Semi-sweet is classic, but you can use milk, dark, or even white chocolate chips. Just keep the total amount about the same for balance.
Why did my cookies spread too much?
This often happens if the butter is too warm or the dough wasn’t chilled. Try chilling the dough briefly before baking and make sure your baking sheets aren’t greased.
Pin This Recipe!
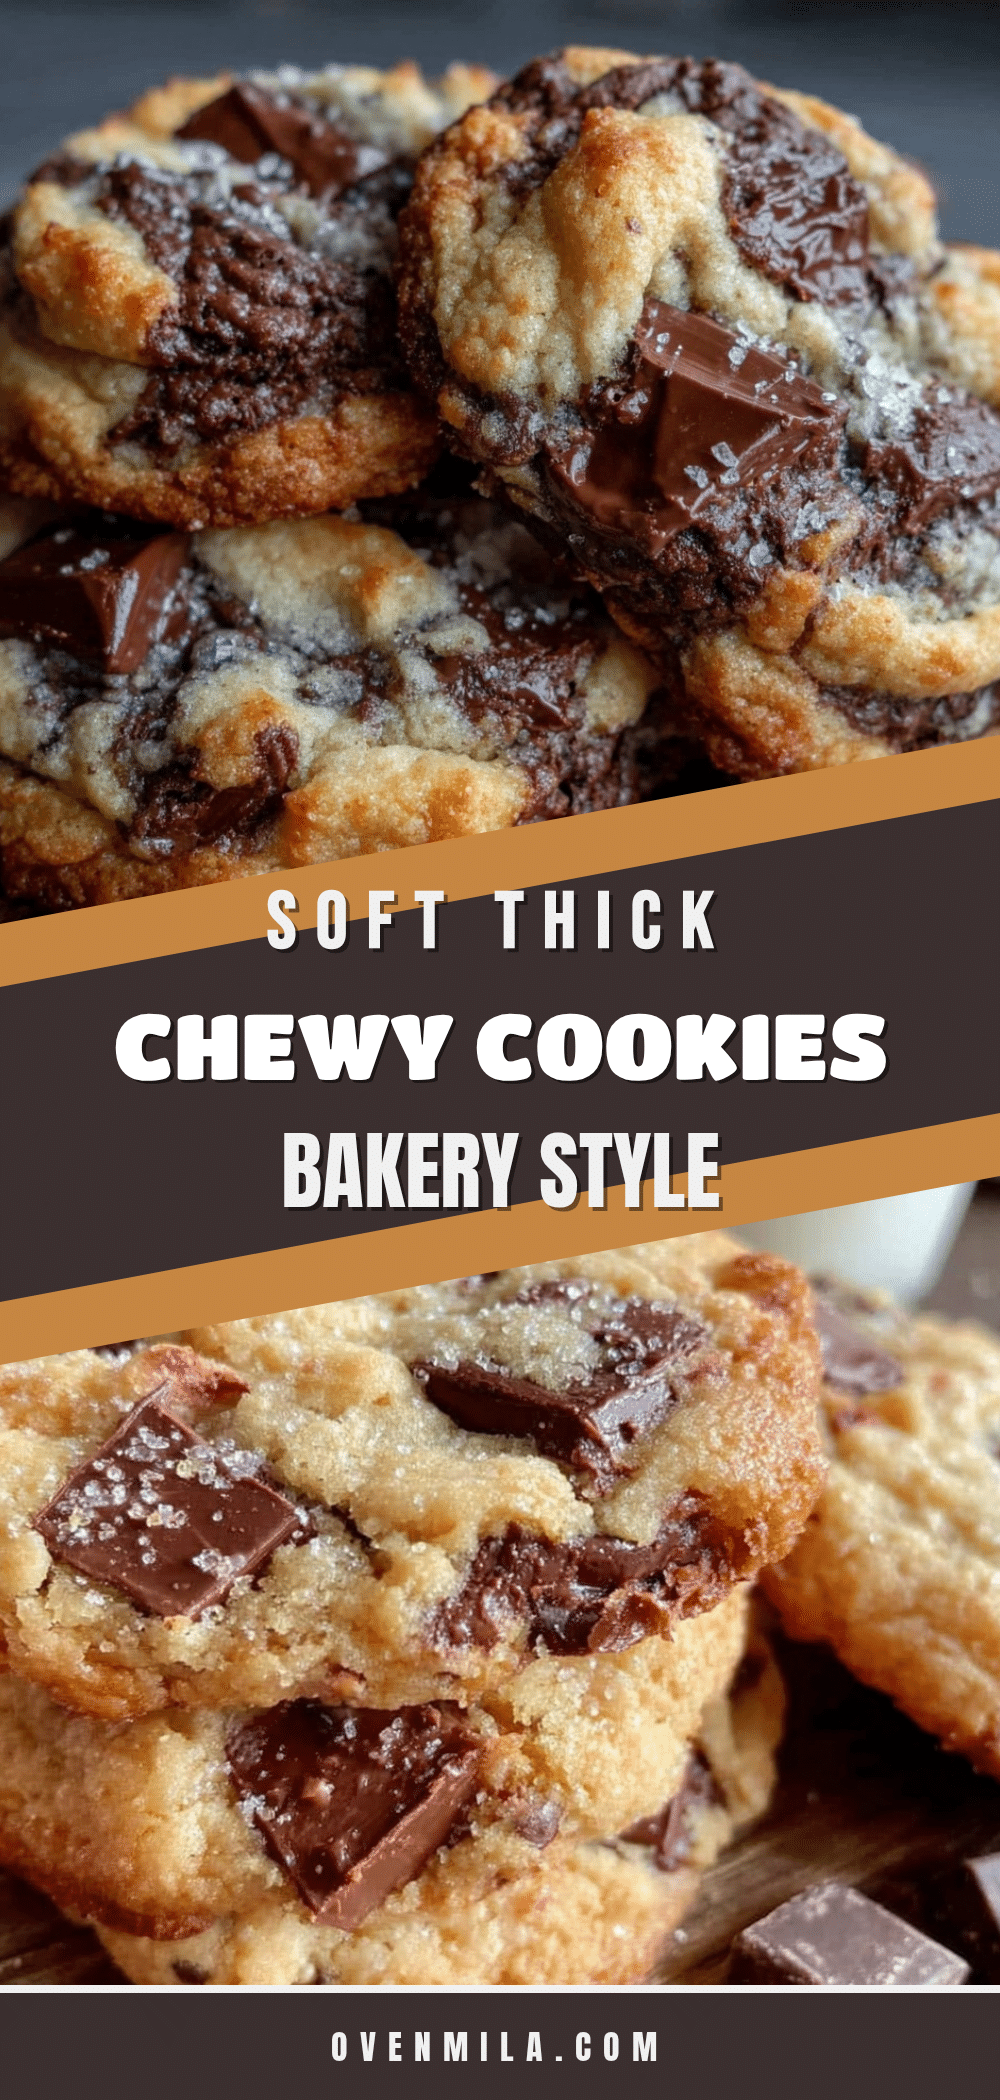
Soft Chewy Chocolate Chip Cookies

A soft and chewy chocolate chip cookie recipe perfect for back-to-school mornings, with a tender center and melty chocolate chips that hold up well in lunchboxes.
- Prep Time: 10 minutes
- Cook Time: 12 minutes
- Total Time: 22 minutes
- Yield: 24 cookies 1x
- Category: Dessert
- Cuisine: American
Ingredients
- 1 cup (2 sticks or 227g) unsalted butter, softened (room temperature but not melted)
- 3/4 cup (packed, 150g) light brown sugar
- 1/2 cup (100g) granulated white sugar
- 2 large eggs, room temperature
- 2 teaspoons vanilla extract
- 2 1/4 cups (280g) all-purpose flour
- 1 teaspoon baking soda
- 1/2 teaspoon fine sea salt
- 2 cups (12 oz or 340g) semi-sweet chocolate chips
Instructions
- Take the butter and eggs out of the fridge to warm to room temperature. Measure all your ingredients precisely. Preheat your oven to 350°F (175°C).
- In a large bowl, beat the softened butter with brown and white sugars until the mixture is pale and fluffy.
- Beat in the eggs one at a time, making sure each is fully incorporated before adding the next. Stir in the vanilla extract.
- In a separate bowl, whisk together flour, baking soda, and salt.
- Gradually add the dry ingredients to the wet mixture, folding gently until just combined. Avoid overmixing.
- Fold in the chocolate chips evenly throughout the dough.
- Optionally, cover the dough and chill it for 30 minutes to reduce spreading during baking.
- Use a cookie scoop or tablespoon to portion dough onto lined baking sheets, spacing about 2 inches apart.
- Bake for 10-12 minutes until edges are set but centers look soft and slightly underbaked.
- Let cookies cool on the baking sheet for 5 minutes before transferring to a wire rack to cool completely.
Notes
Use softened butter at room temperature but not melted to control spreading. Slightly underbake cookies for a soft center. Chilling dough for 30 minutes helps reduce spreading but avoid chilling too long to prevent stiffness. Store cookies in an airtight container with a slice of bread to keep them soft. For gluten-free or vegan versions, substitute ingredients accordingly.
Nutrition
- Serving Size: 1 cookie
- Calories: 180
- Fat: 9
- Carbohydrates: 25
- Protein: 2
Keywords: soft chewy chocolate chip cookies, back-to-school cookies, easy chocolate chip cookies, homemade cookies, lunchbox snacks


